Free Crochet Christmas Gnome Wreath Pattern
This post includes affiliate links.
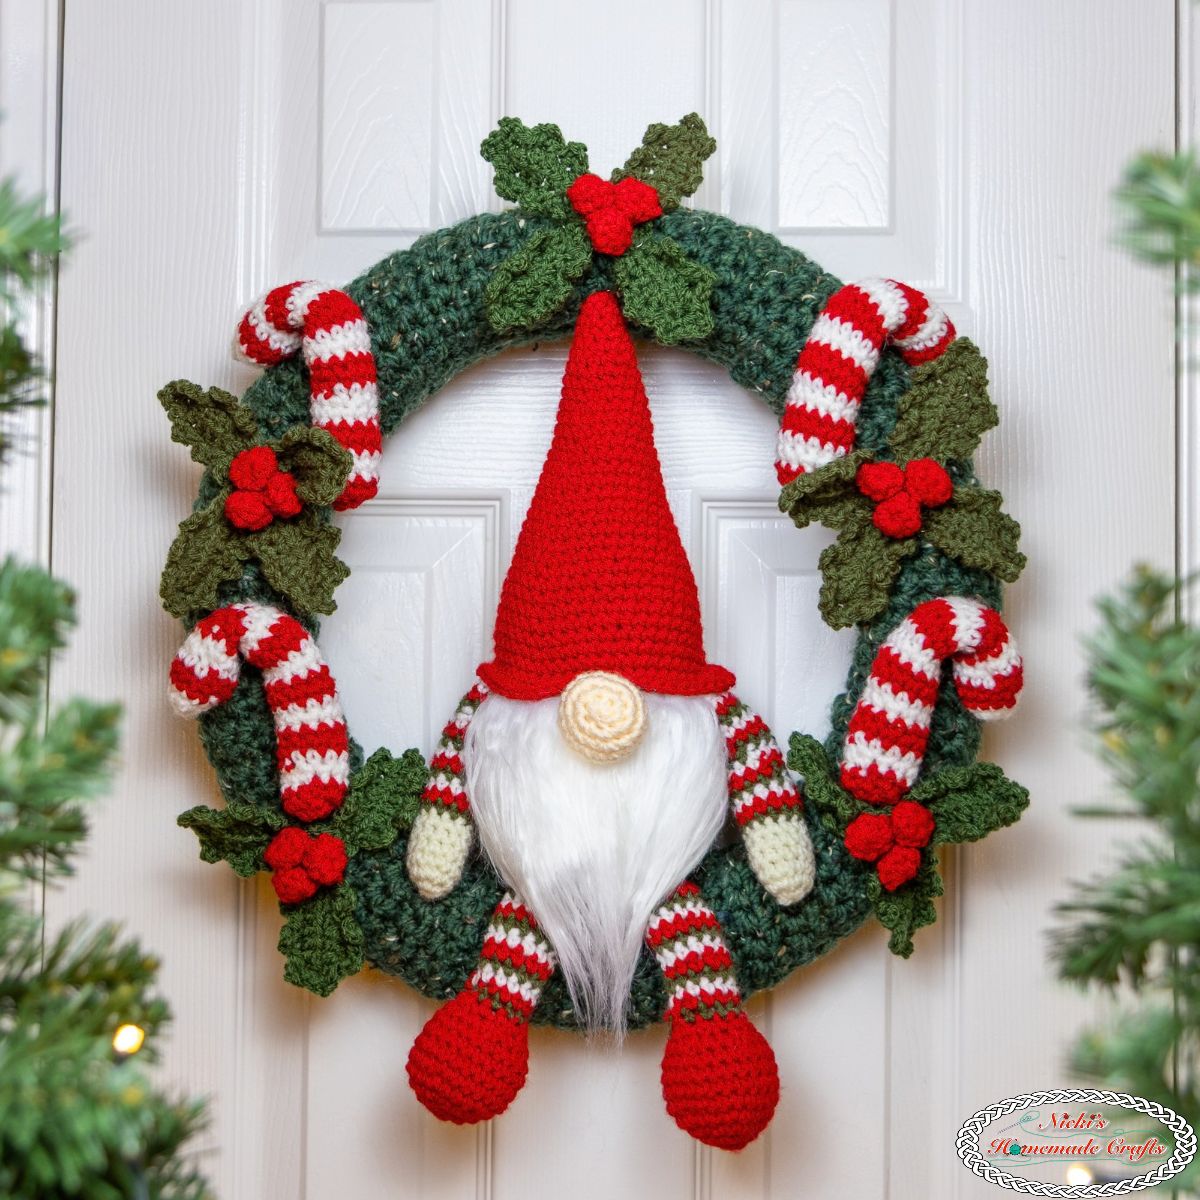
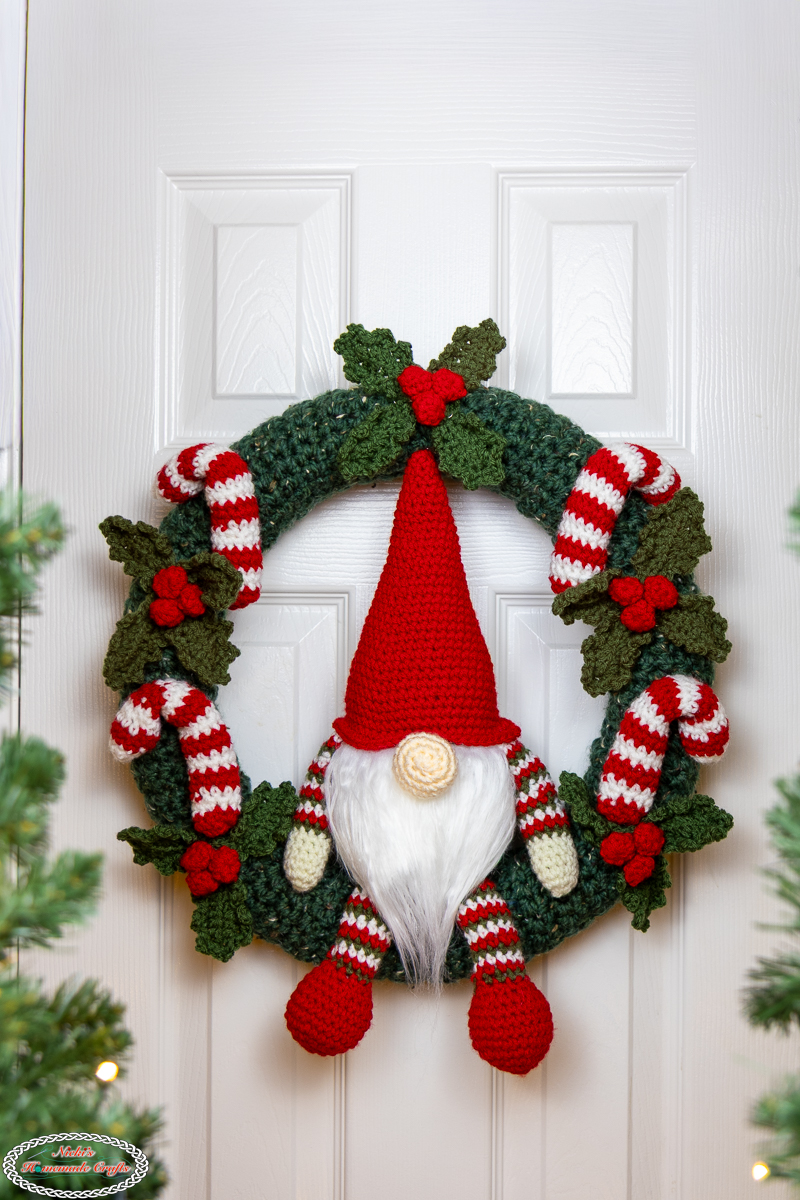
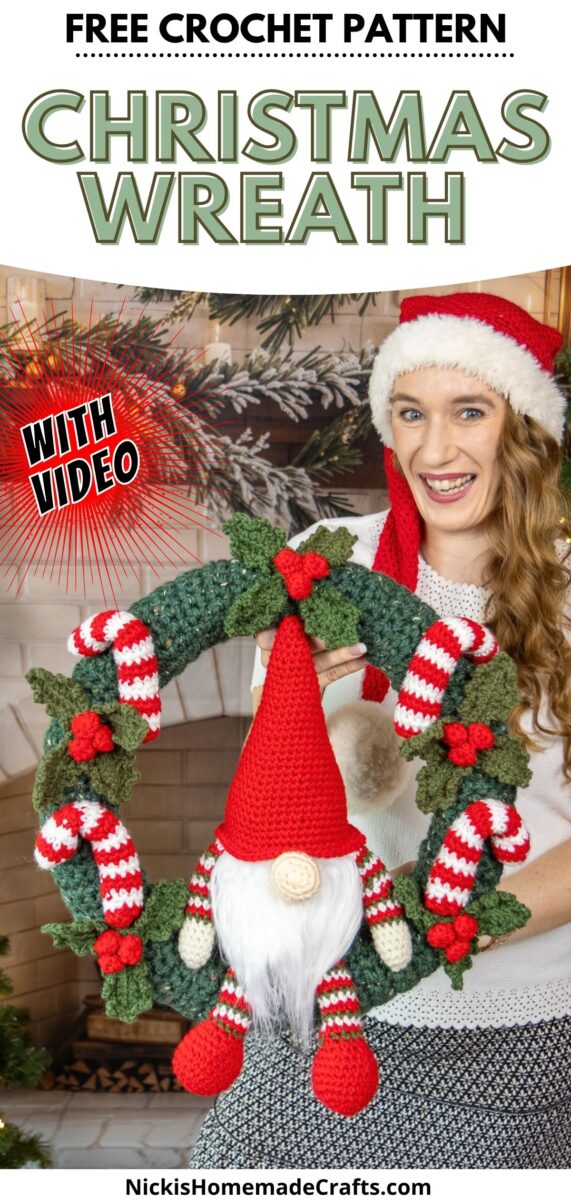
Decorate your home for the holidays with this festive Christmas gnome wreath crochet pattern – featuring an adorable and festive gnome surrounded by candy canes and holly.
Welcome to my Christmas MCAL! Over the course of the crochet-along, I’ll be releasing a collection of free crochet patterns featuring festive and cheerful Christmas patterns. Each pattern will include a live tutorial, making it easy to crochet along while making handmade heirloom Christmas decorations!
The third free pattern is a Christmas gnome wreath, designed to bring a festive handmade touch to your holiday decor. Featuring an adorable gnome in the center surrounded by other fun and festive decor. This crochet wreath is a fun way to dress up your front door, entryway, or any space in your home with cheerful handmade Christmas charm.
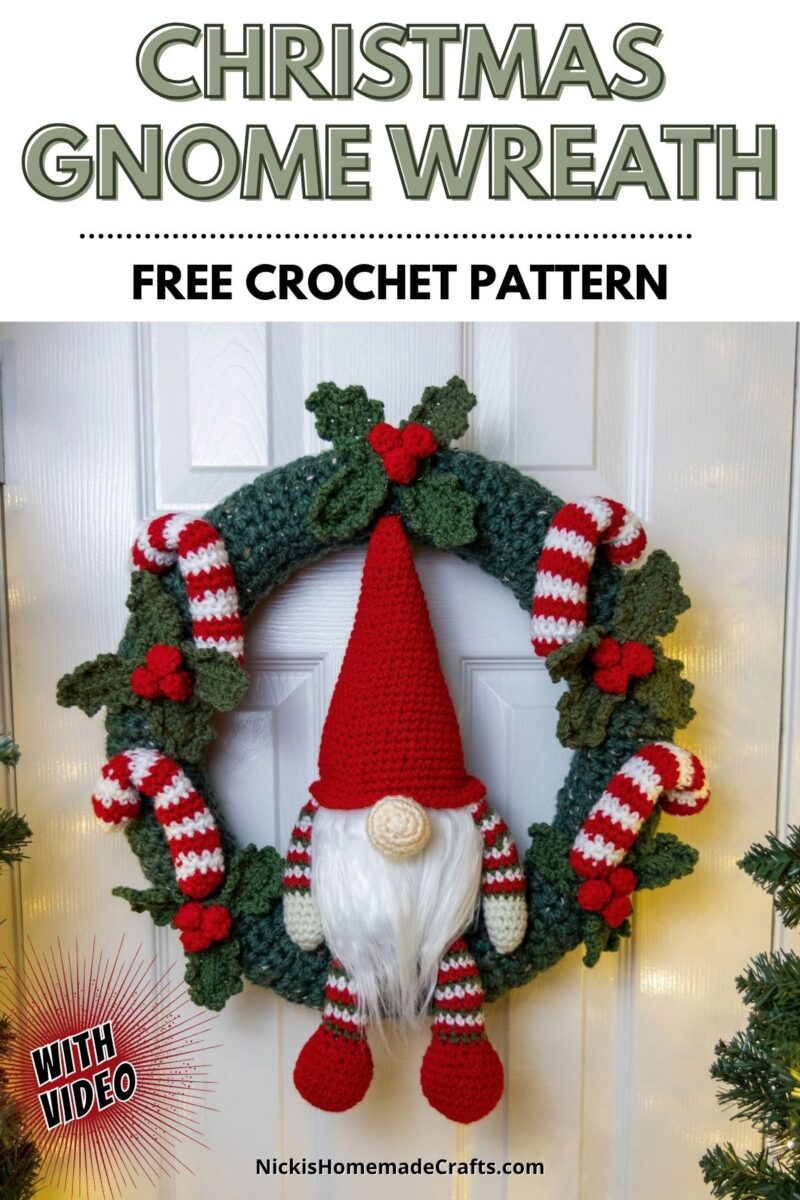
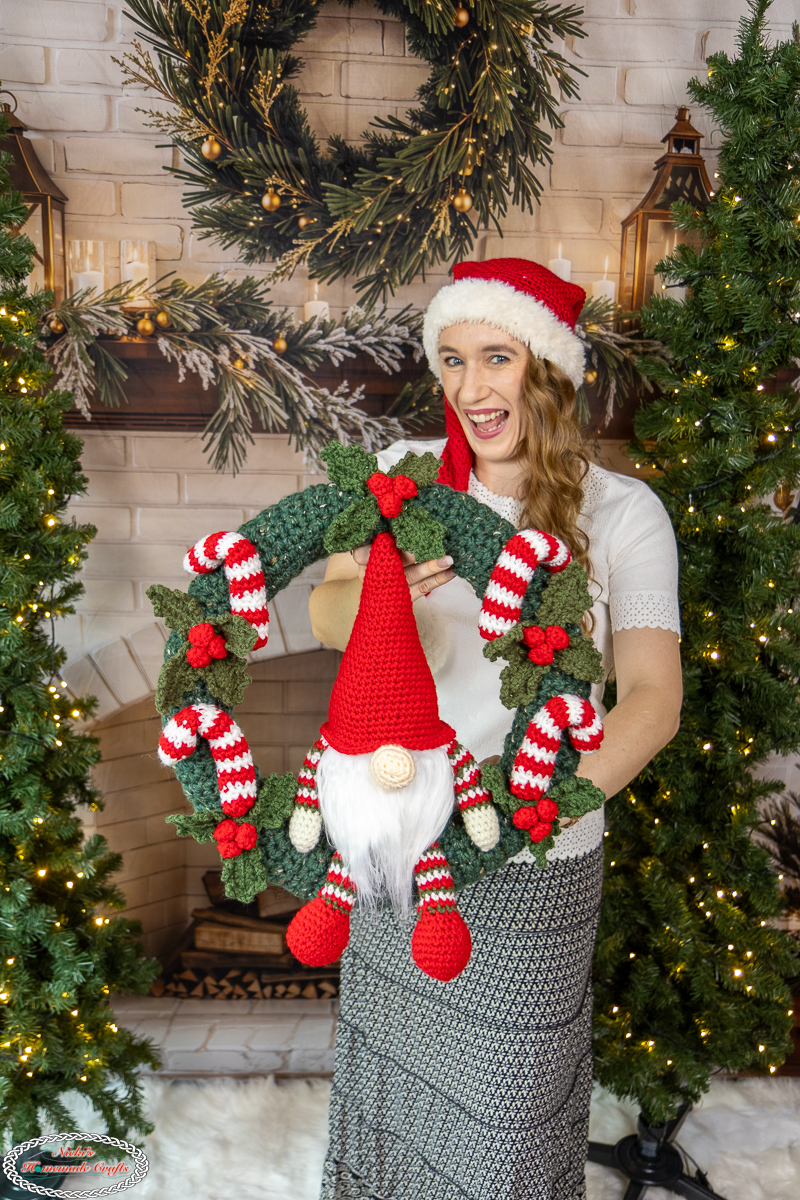
This crochet Christmas gnome wreath is such a fun way to add a festive handmade touch to your holiday decor. Featuring an adorable gnome surrounded by candy canes and holly, it’s a project you’ll be excited to bring out year after year. You can stick with traditional Christmas colors or choose shades that match your holiday decorating style to make your wreath truly your own.
You can crochet this festive decoration for your own home or create a thoughtful handmade Christmas gift or just enjoy working on a holiday project alongside a community of crocheters. The Christmas MCAL makes this project even more fun.
Ready to start stitching your very own Christmas gnome wreath?
Play Scavenger Hunt – Christmas Crochet LIVE Mystery CAL
Whether you join the FREE LIVE Crochet Christmas MCAL or get the Christmas Crochet Made Easy with 50 Patterns, you can play the Scavenger Hunt Game with us and win prizes between October 5th and October 17th, 2026. Just sign up for 1 of the 2 options to access the Scavenger Hunt sheet!
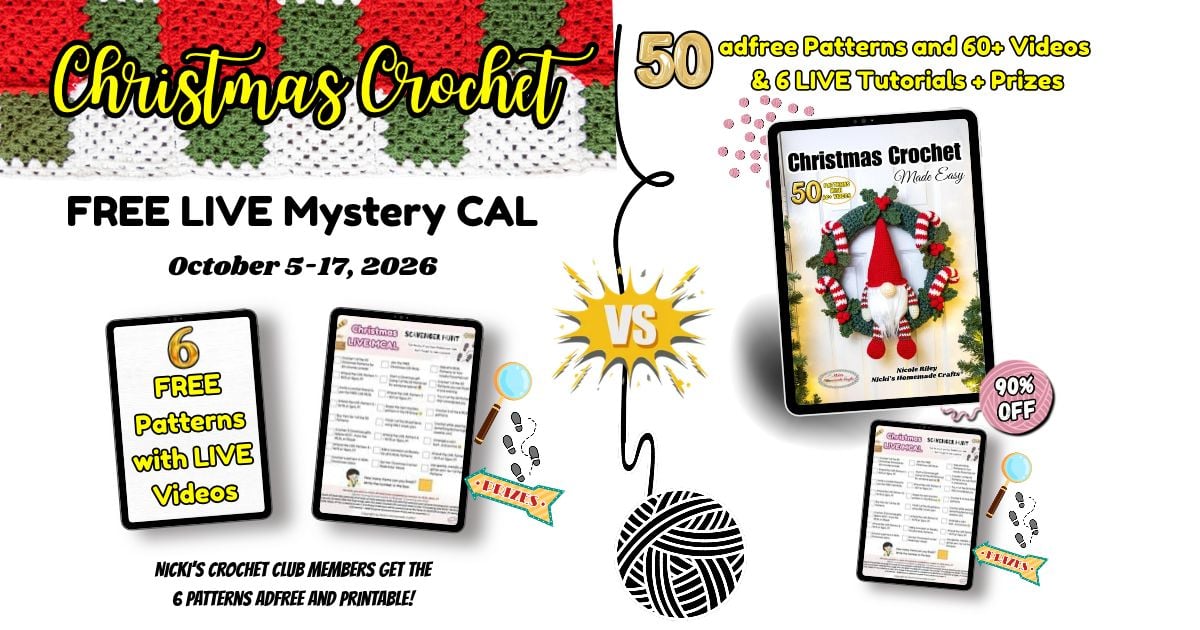
Get All 50 Christmas Crochet Patterns in my Ebook
If you love learning new crochet techniques, you don’t want to miss out this ebook! Full of 50 fun and unique Christmas projects that showcase the versatility of this timeless crochet technique.
When you get the Ebook, you get ALL 50 Crochet Christmas Patterns adfree and printable with 60+ Videos INSTANTLY AND also get access to the 6 LIVE Tutorials with Prizes at the end of each one.
One picture can’t capture ALL the patterns, so it’s best to TAP HERE and see them all, one by one. The code CHRISTMAS20 will save you $20 between October 5th – October 17th.
Get the PDF of the Crochet Gnome Wreath Pattern

This pattern is also available as an ad-free, printer-friendly pdf pattern that can be purchased at the links below on Ravelry and Etsy for only a small fee.



So, let me now give you the supplies you need in order to crochet this fun project.
Free Crochet Gnome Wreath Pattern
Materials you will need
- Red Heart Super Saver Yarn (198g/364yd) – Worsted (#4) yarn
- White
- Cherry red
- Thyme
- Aran
- Lion Brand Wool Ease Thick and Quick Super Bulky
- Kale (350g)
- 5.0 mm hook
- Scissors
- tapestry needle
- Polyfill
- white foam wreath (2 in x 15.6 in)
- U-pins
- Gnome beard (2 white)
Gauge
4 sts x 4 rows = 1 square inch
Size
Fits a 2x 15.6 inch foam wreath
Stitches used in the pattern
Learn all the basic crochet stitches HERE (US crochet terms and abbreviations)
- st/sts = stitch/stitches
- ch = chain
- sc = single crochet
- dc = double crochet
- Inc = increase
- Dec = decrease
- Flo = front loop only
- Blo = back loop only
Live Video Tutorial
The live video tutorial for the crochet gnome wreath pattern will be on 10/9/2026 at 12 pm PT. The replay will be available after the event, but you will want to be there for the live if you can, because it will be a ton of fun.
The video tutorial will not only provide instructions for how to make the pattern but we’ll also be playing bingo and giving away prizes during the live video, so you don’t want to miss out!
Free Crochet Gnome Wreath Pattern – Written Instructions
Do NOT like ADS? No worries! I have got a solution for you!
You can also get THIS pattern plus 49 other Christmas Crochet Patterns, in 1 ebook with NO ADS and it’s printer-friendly too!
Get the “Christmas Crochet Made Easy” Ebook HERE
Start with the wreath and the super bulky yarn (only used for the wreath).
Wreath
R1: ch 17, starting from the 2nd ch from the hook 1 sc per st, turn
R2: 1 sc per st
Repeat R2 until the piece fits around the entire wreath and the first and last rows touch. The entire piece measures 7 inches by 46 inches
Sew the last and first row together, then wrap around the foam wreath and sew the long edges together.
Holly Leaves and Berries
4 sets using: Red Heart Thyme and Red Heart Cherry Red
2 sets using: Red Heart Thyme and Red Heart Cherry Red
3 extra Holly Leaves (no berries) using Red Heart Thyme
Holly leaf: Make 21
Ch 9, starting from the 2nd ch from the hook.
R1: all the following stitches go into the back bump of the chains: sc, sc, hdc, hdc, dc, dc, hdc, sc; now you will be on the opposite side of the chain (you’re leaving a tail here), all the following stitches go into the BLO: sc, hdc, dc, dc, hdc, hdc, sc, sc (no sl st)
R2: ch 1, [1 sc, ch 3, 1 sc] into the 1st sc, sl st into the next 2 sts, [1 sc, ch 3, 1 sc] into the next st, sl st into the next st, [1 sc, ch 3, 1 sc] into the next st, sl st into the next st, [1 sc, ch 3, 1 sc] into the next st, [1 sc, ch 3, 1 sc] into the next st, sl st into the next st, [1 sc, ch 3, 1 sc] into the next st, sl st into the next st, [1 sc, ch 3, 1 sc] into the next st, sl st into the next 2 st, [1 sc, ch 3, 1 sc] into the next st, [1 sc, ch 3, 1 sc] to the top (was ch 1), sl st to the 1st st, fasten off
Berries: Make 18
R1: MR, ch 1, add 8 sc, close ring (so sl st’s)
R2: 1 sc in each st (8 sts)
R3: 1 sc dec 4 times, sl st to the 1st st of that round, fasten off
Making the Holly Set:
Stack 3 leaves onto of each other so they point outwards into 3 equally separated directions. Sew those 3 leaves together in the center where they come together.
Video if needed for the Holly Leaves and Berries: https://youtube.com/live/Vi6QIH_vi1
Snowflake: make 8
First DC is an ATC
R1: MR, 12 dc, close the ring, sl st
For the chains, always sk the first ch from the hook, so start from 2nd ch from the hook
R2: (ch 5, 1 sl st in 2 chs, ch 5, 1 sl st in 2 chs, ch 3, 1 sl st in 2 chs, ch 3, 1 sl st in 2 chs, 1 sl st in 2 chs (from the main center section), ch 3, 1 sl st in 2 chs, 1 sl st in 2 chs (from the main center section), sl st to the st in the circle, 1-2 sc in the next st, 1 sl st to the next st) x 6, fasten off
Now tie together 3 berries and sew them onto the center of the 3 leaves. Fasten off and weave in all the ends, but 2, so you can sew the set to the wreath.
4 Candy Cane
R1: white, MR, 6 sc, sl st
R2: white, 2 sc per st, sl st, drop white, don’t cut
R3: red, 1 sc per st, sl st
R4: red, 1 sc per st, sl st, drop red, don’t cut, pick up white
R5: white, 1 sc per st, sl st
R6: white, 1 sc per st, sl st, drop white, don’t cut, pick up red
Repeat R3-6 until 7 inches in height; add a pipe cleaner and stuffing, then weave through the front loops of the last round, and pull and close the hole. Fasten off and weave in ends. Bend the candy canes to its shape.
Gnome
R1: Magic Ring, add 6 sc, close the ring, use a stitch marker for continuous rounds (6)
R2: 1 sc per st (6)
R3: *1 sc, then 2 sc in the next st, repeat from * all around (9)
R4: 1 sc per st (9)
R5: *1 sc in 2 sts, then 2 sc in the next st, repeat from * all around (12)
R6: 1 sc per st (12)
R7: *1 sc in 3 sts, then 2 sc in the next st, repeat from * all around (15)
R8: 1 sc per st (15)
R9: *1 sc in 4 sts, then 2 sc in the next st, repeat from * all around (18)
R10: 1 sc per st (18)
R11: *1 sc in 5 sts, then 2 sc in the next st, repeat from * all around (21)
R12: 1 sc per st (21)
R13: *1 sc in 6 sts, then 2 sc in the next st, repeat from * all around (24)
R14: 1 sc per st (24)
R15: *1 sc in 7 sts, then 2 sc in the next st, repeat from * all around (27)
R16: 1 sc per st (27)
R17: *1 sc in 8 sts, then 2 sc in the next st, repeat from * all around (30)
R18: 1 sc per st (32)
R19: *1 sc in 9 sts, then 2 sc in the next st, repeat from * all around (33)
R20: 1 sc per st (33)
R21: *1 sc in 10 sts, then 2 sc in the next st, repeat from * all around (36)
R22: 1 sc per st (36)
R23: *1 sc in 11 sts, then 2 sc in the next st, repeat from * all around (39)
R24: 1 sc per st (39)
R25: *1 sc in 12 sts, then 2 sc in the next st, repeat from * all around (42)
R26: 1 sc per st (42)
R27: *1 sc in 13 sts, then 2 sc in the next st, repeat from * all around (45)
R28: 1 sc per st (45)
R29: *1 sc in 14 sts, then 2 sc in the next st, repeat from * all around (48)
R30: 1 sc per st (48)
R31: *1 sc in 15 sts, then 2 sc in the next st, repeat from * all around (51)
R32: 1 sc per st (51)
My hat is 8.5 inches tall.
Nose
Aran (or any skin color)
R1: MR, 6 sc, continuous rounds, stitch marker, close the ring
R2: 2 sc per st
R3: (1 sc, 2 sc) x 6
R4-6: 1 sc per st
R7: (1 sc, dec) x 6
Stuff
R8: 6 dec, then fasten off
2 Arms
Start with Aran for hands
R1: MR, 6 sc, close the ring, sl st
R2: 2 sc per st, sl st
R3-6: 1 sc per st, sl st
Cut aran
R7-18: 1 sc per st – arm section stripe in this order: green, red, white (1 color per round)
Body
Thyme
Ch 45, make a loop, slip stitch 1st to last ch, keep 45 sts per round
R1-16: 1 sc per st
R17: (1 sc in 7 sts, dec) x 5
R18: (1 sc in 6 sts, dec) x 5
R19: (1 sc in 5 sts, dec) x 5
R20: (1 sc in 4 sts, dec) x 5
R21: (1 sc in 3 sts, dec) x 5
R22: (1 sc in 2 sts, dec) x 5
R23: (1 sc, dec) x 5
R34: 5 dec, fasten off, weave in ends
Stuff the gnome hat and body, then sew (or glue) the body to BELOW the hat (about 2-3 rounds in from the inside of the hat).
Glue on 2 beard pieces (see link provided i material section) next to each other, right below the hat (slightly underneath).
Sew on the arms next to the beard. Glue or sew the nose to the center of the top section of the beard, right underneath the hat.
2 Legs
R1: start with red, MR, 6 sc (continuous rounds first)
R2: 2 sc per st
R3: (1 sc, 2 sc) x 6
R4: (1 sc in 2 st, 2 sc) x 6
R5-8: 1 sc per st
R9: (1 sc in 2 sts, inv sc dec) x6
R10: (1 sc, inv sc dec) x6
R11-22: 1 sc per st, green, red, white (1 color per round)
Stuff the legs, sew to the bottom of the body such that the gnome can sit on the wreath.
Assembly:
Sew OR pin (with U-pins – did that method, so I can rearrange them as I like) the pieces like the picture below.
Be sure to join my Crochet Facebook Group and show off your completed crochet creation. I would love to admire them and cheer you on as you’re working on creating it and after you finish it.
I’m also always here to support you through this and any other pattern and tutorial. Simply ask in my group and me and other amazing and kind crocheters will help you along.
If you loved this free crochet pattern feel free to use the social media share buttons above or below and share this pattern link with the world and your friends.
You might like these other popular free crochet Christmas patterns:


That way you will find it easily again when you need it and you also provide the world and your friends with the ability to gain extra crochet knowledge as well. And to top it off, you help me as it allows me to create more content that you love already and want to see more of – free crochet patterns and tutorials. So, thank you for sharing.
If you love my crochet patterns and the way I teach, I would suggest subscribing to my newsletter below as I share new patterns, tutorials, and special announcements often.