Free Crochet Foldable HOLIDAY Market Bags – 15-in-1 Pattern LIVE CAL + Prizes
This post includes affiliate links.
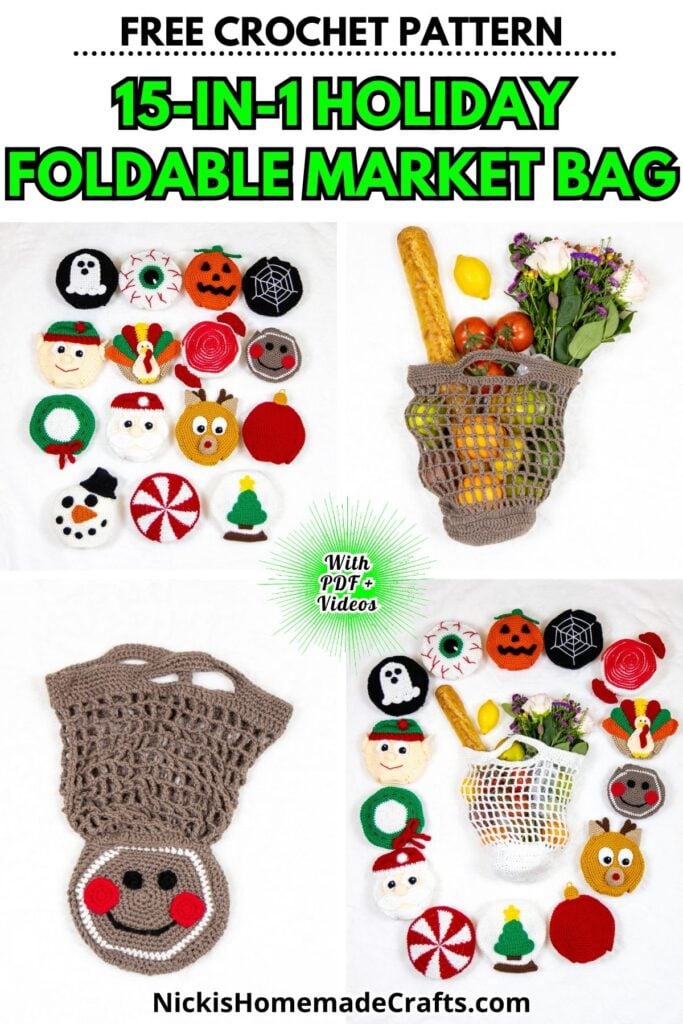
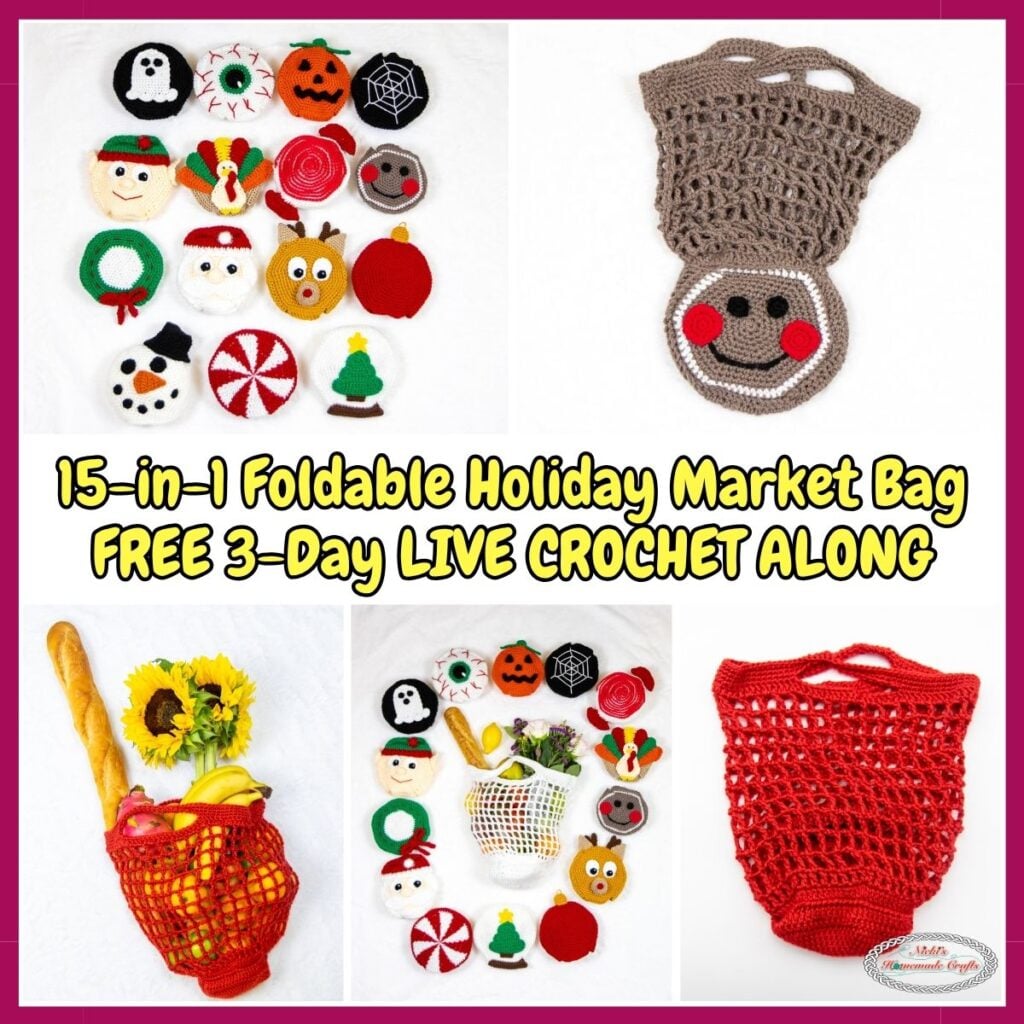
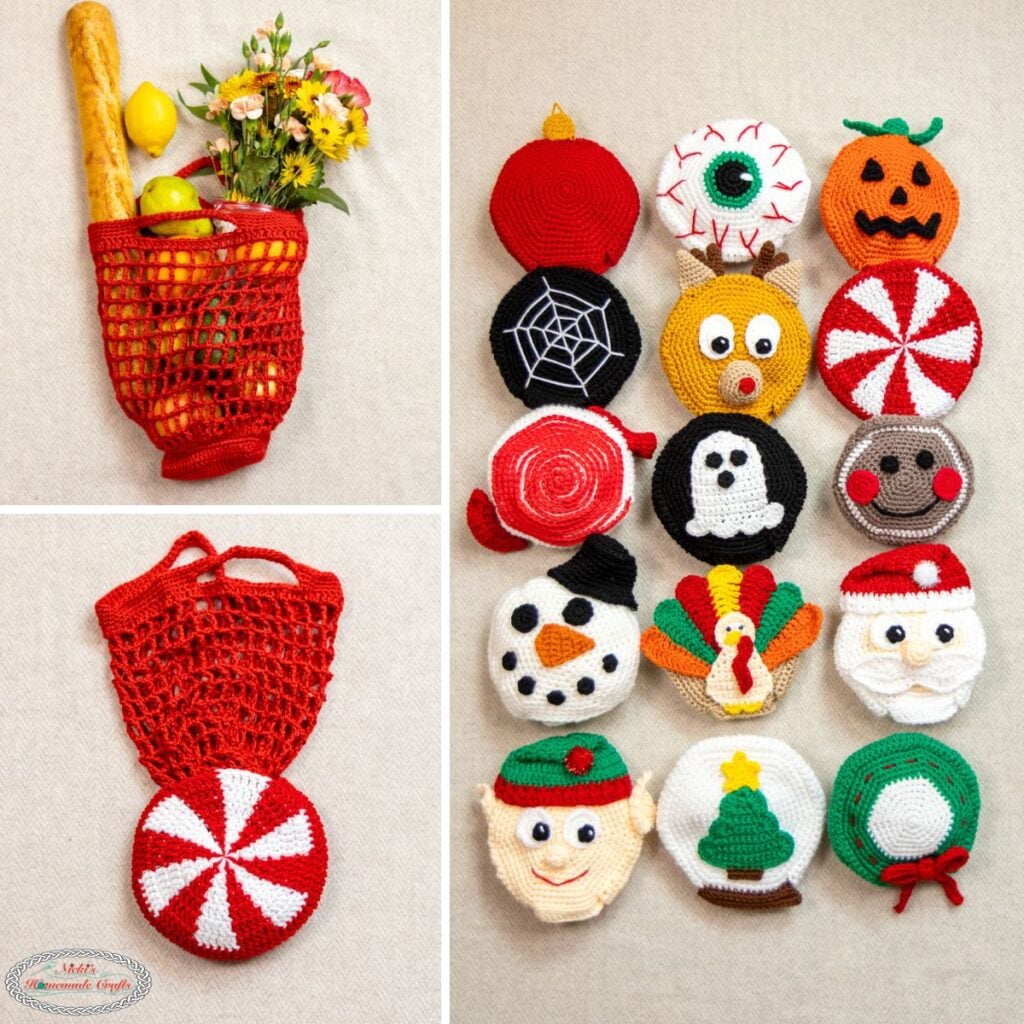
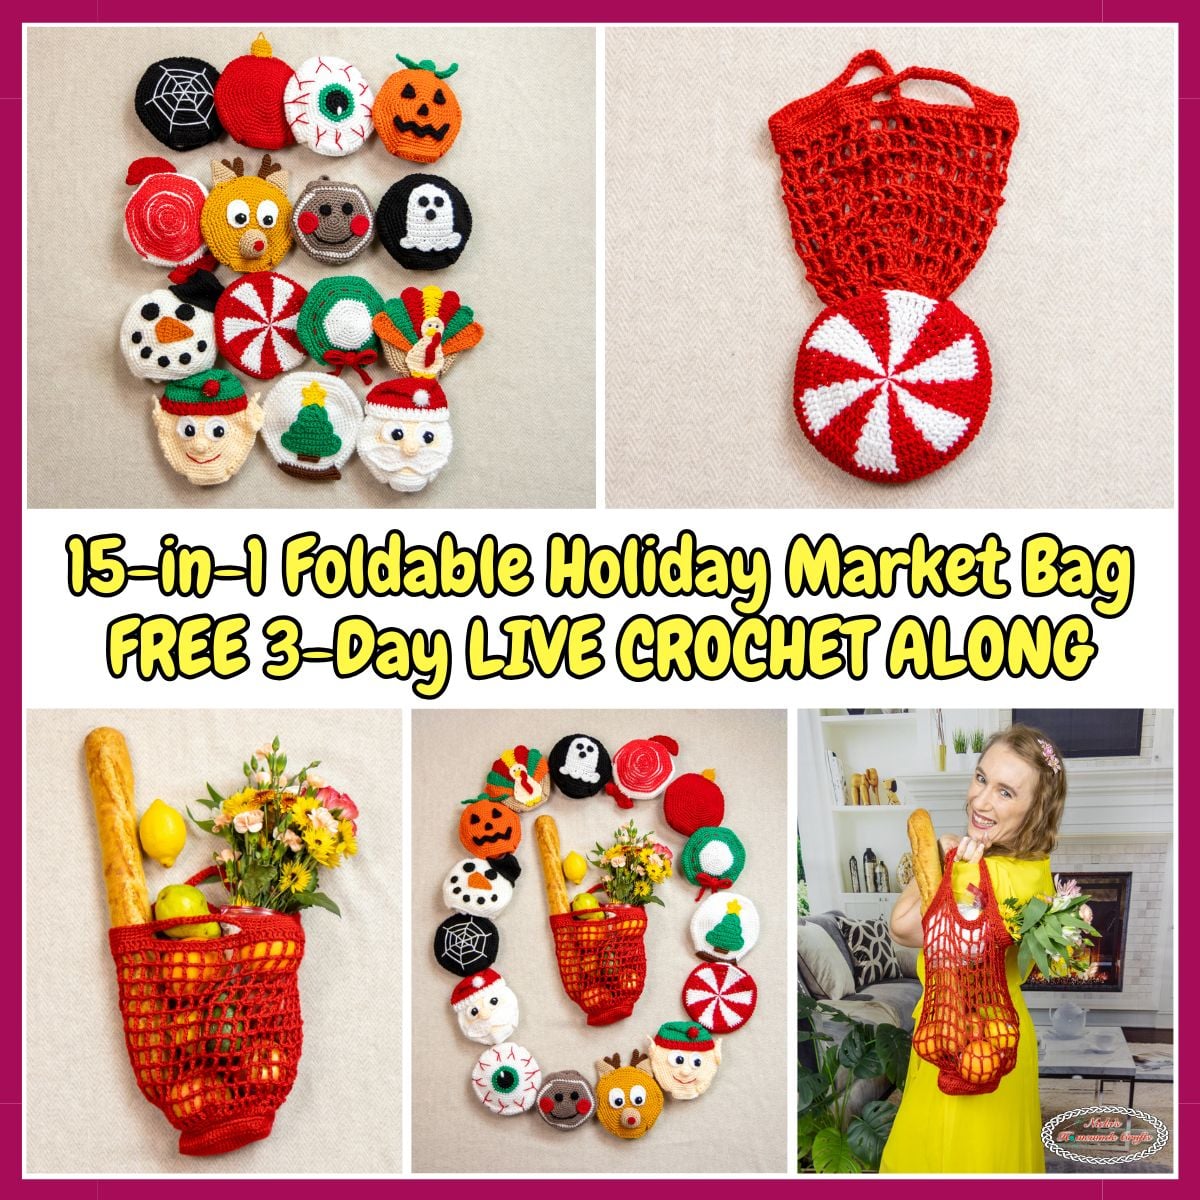
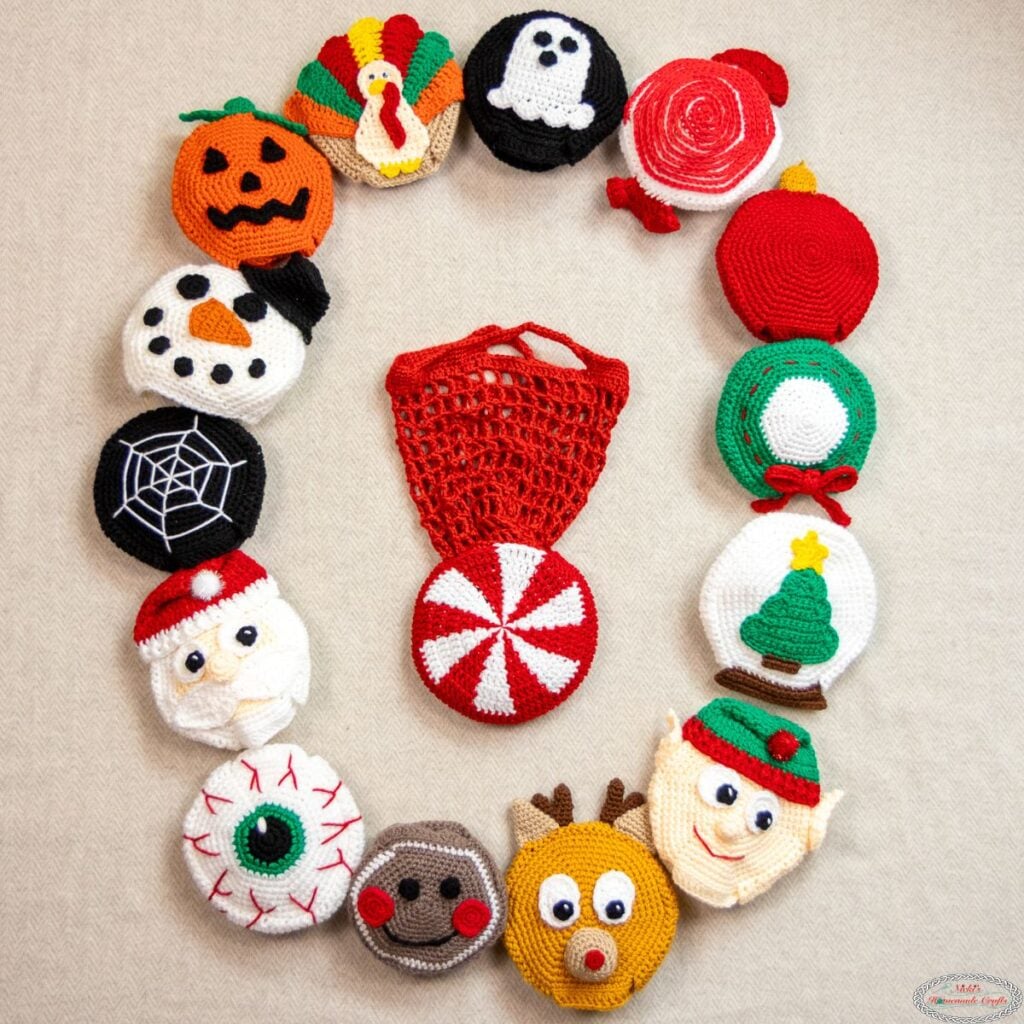
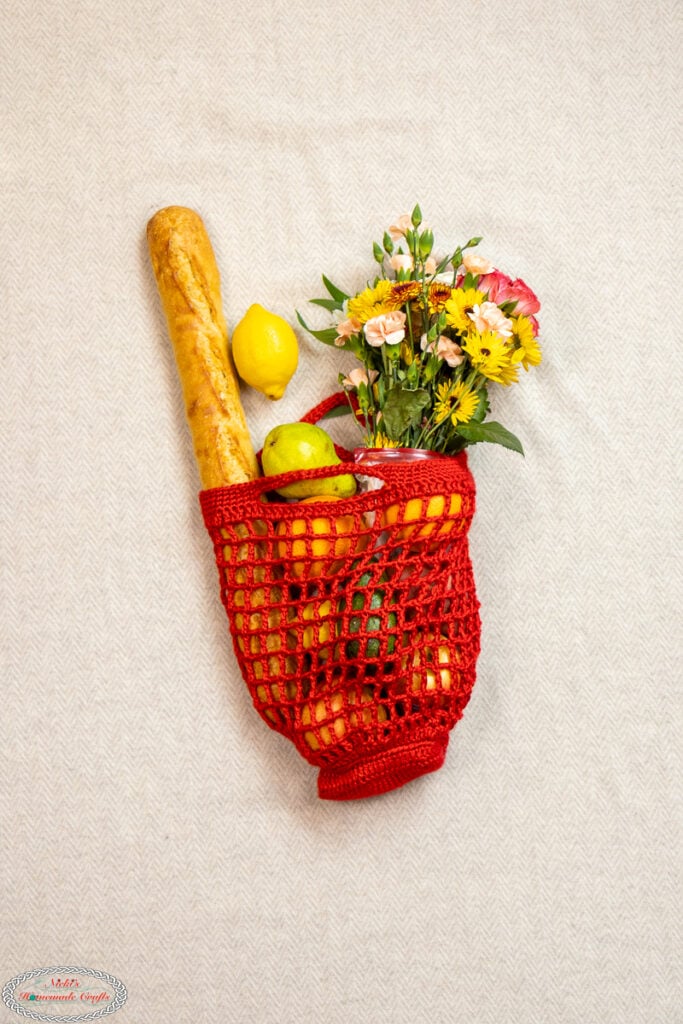
Since my 10-in-1 Animal Market Bags and 10-in-1 Fruit Market Bags are still very popular even years after they were designed, and thousands of crocheters have made those cute bags, I thought it would be perfect also to have a Holiday Market Bag version with 15 different designs… I just couldn’t resist.
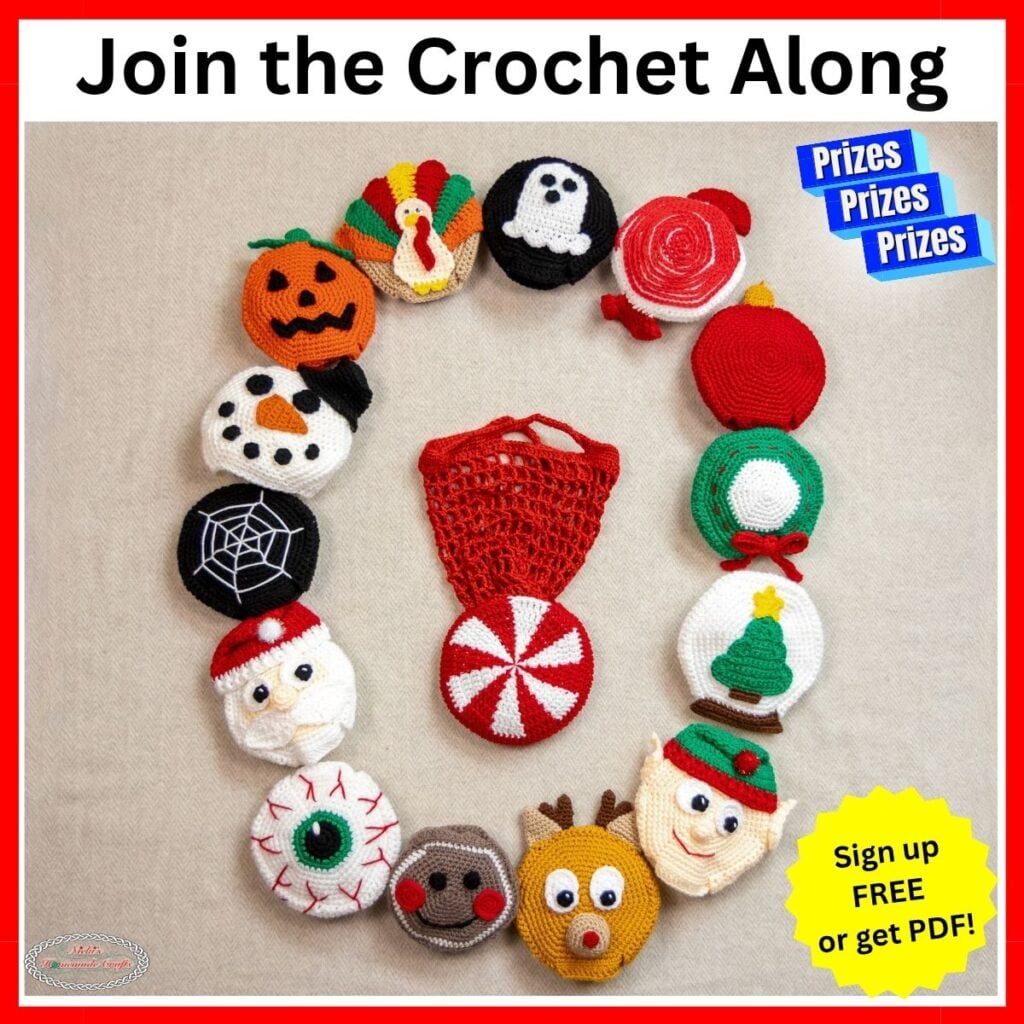
To celebrate, I’m hosting a FREE LIVE Crochet Along (CAL) starting September 14th—with 3 parts, 3 LIVE tutorials, and PRIZES! 🎉 Join below to crochet along with me, get all the details, and be entered to win one of 12 giveaways announced at our Crochet Party on September 14th!
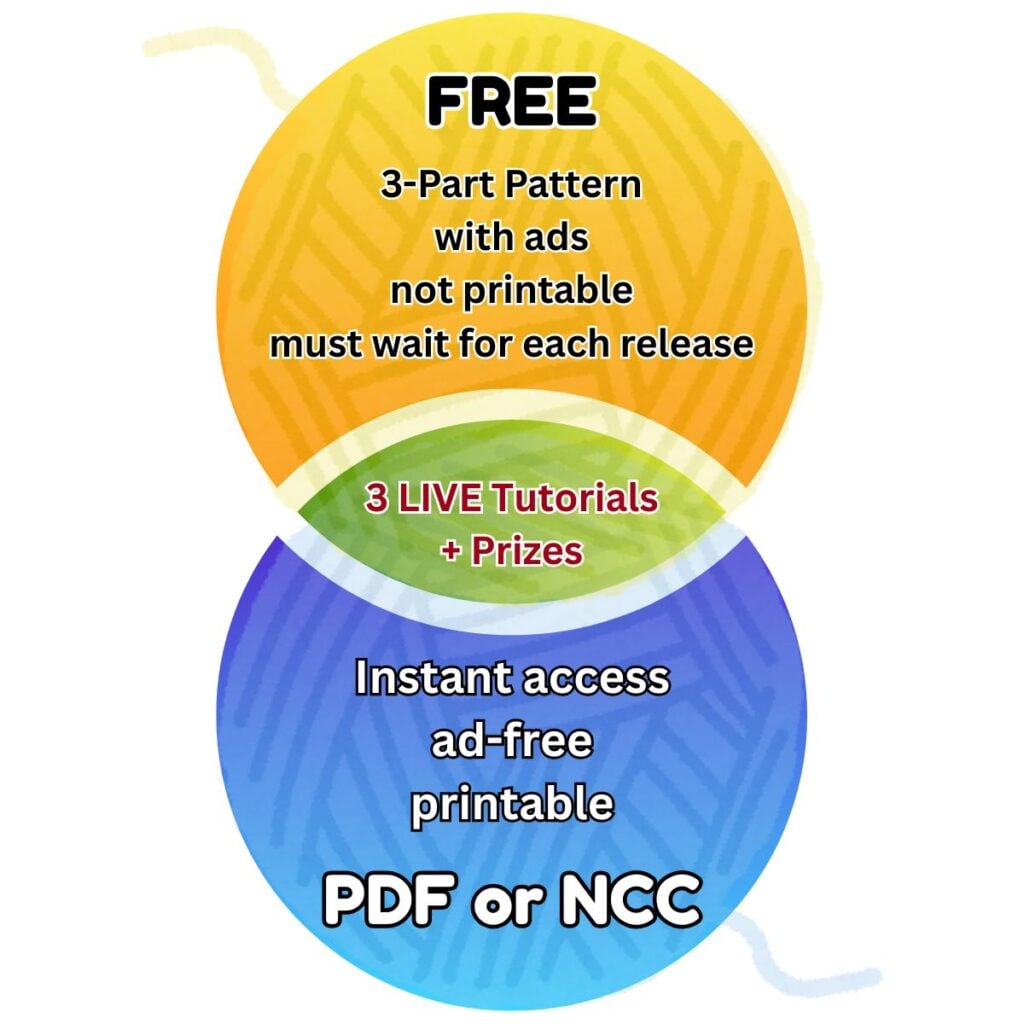
Get the PDF Pattern now to crochet ad-free

You can also purchase the PDF via Ravelry and Etsy, but it will cost more than if you purchase it on my website (just $12).
If you are a FULL MEMBER of Nicki’s Crochet Club (formally The Crochet Club), you will NOT need to purchase the PDF! You, NCC Members, automatically get the FULL AD-FREE WRITTEN Pattern HERE (not the 3 LIVE Tutorials videos yet), starting September 4th!
You’ll also get access to the LIVE Tutorials as they are being published!
This pattern includes the following Holiday features
- Ghost
- Eye
- Jack-O-Lantern Pumpkin
- Spiderweb
- Candy
- Turkey
- Gingerbread Man
- Reindeer
- Ornament
- Snowglobe with Tree
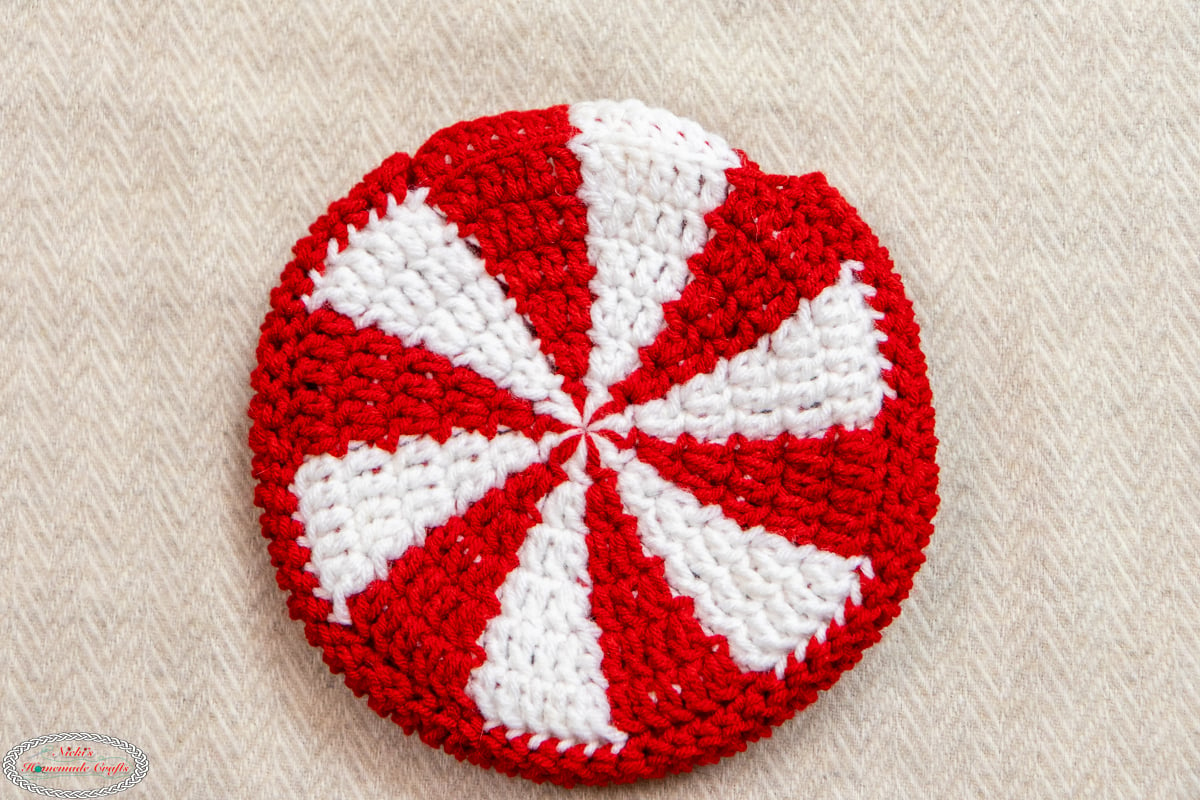
- Peppermint
- Santa
- Wreath
- Elf
- Snowman
🧶 How the FREE LIVE CAL Works
This is a 3-part LIVE CAL to teach you how to crochet the 15-in-1 Holiday Market Bag, with each part released every other day starting September 14th. Each part includes:
- A FREE written pattern (viewable on the blog, with ads)
- A step-by-step LIVE video tutorial (with replay) at 12pm, PT on each scheduled day
✨ Bonus for signing up:
You’ll get early access to each written part the evening before it goes live — plus the full material list and all event details sent straight to your inbox!
🎁 12 WINNERS – Multiple Ways to Win! 🎉
You don’t have to do everything to win — just jump in and have fun! Here’s how:
- 3 Winners → Just for signing up 🙌
- 3 Winners → Watch all 3 videos + answer the question in each
- 3 Winners → Finish all 3 parts by September 19th at 10am PT and post into FB Group “Crocheting with Nicki”
- 3 Winners → Join the LIVE Crochet Party 🎉 (September 19th at 12pm PT)
Be sure to always use the hashtag #HolidayBagsCAL when you share your posts or talk about this LIVE CAL, etc, especially FB Group “Crocheting with Nicki”
💡 The LIVE BIG REVEAL Party is where we’ll celebrate, announce all winners… and I’ll reveal a fun little surprise 😉 We’ll keep the PRIZES a mystery until the LIVE Party, too! But they will be amazing and worth it!
👉 Sign up above and get ready for pattern, LIVE tutorials, and prizes!
What will you need for the LIVE Crochet Along?
Click the links below to see which materials I used exactly!
Whatever color is used for R12 (last round of the outside of the first circle) will require 1 entire skein (think about 100g) of that color, as it will be used for the main body of the bag as well.
- Premier Just Yarn, Worsted, 875yd/400g
- Premier Minikins, Sport Yarn, 158yd/50g
- Premier Everyday Worsted Yarn, 203yd/100g
- Crochet Brava Worsted Yarn, 218yd/100g
- Loops & Threads Impeccable Worsted Yarn, 285yd/127.5g
- 4mm hook
- scissors
- tapestry needle
- Polyfill
- Googly Eyes
- Pom Poms (I got a package from Hobby Lobby)
Can I use a different yarn?
Yes, you can switch to a different yarn brand, even a different fiber if you prefer.
I recommend any worsted yarn for this project. Pick from your yarn stash if you want, BUT I highly recommend the yarns mentioned above.
But it’s an ideal project as a yarn stash buster. Use leftover yarn if you have any. I would recommend sticking with either of my above recommendations.
What colors should I pick?
I recommend any of the mentioned solid colors.
Either stick with the colors I picked or pick your favorite colors for your favorite pieces.
Can I use a different hook size?
Yes, you can pick a different size. Just remember, the pattern will be a bit smaller or larger unless you focus on the gauge provided.
More Details about the Pattern
Gauge
4 sc sts x 4 sc rows = 1 square inch
Finished Size
folded: 6.5 inches diameter, about 2 inches thick open, flat, relaxed: 12 x 11 inches
Stitches and Abbreviations (US Terms)
Learn all the basic crochet stitches HERE
- st/sts = stitch/stitches
- ch = chain
- sk = skip
- sl st = slip stitch (or invisible sl st – see video)
- inc = increase
- dec = decrease
- 3rd loop behind the V (loop behind the back loop)
- sc = single crochet
- hdc = half double crochet
- tr = treble crochet
- dc = double crochet
- tr = treble crochet
- flo = front loop only
- fpdc = front post double crochet
- bpdc = back post double crochet
- ATC = Alternative Turning Chain
- blo = back loop only
When does the Crochet Along start?
The Crochet Along will be broken up into 3 Parts and start on September 14th, 2026.
You will simply need to decide whether to join the CAL for free or get VIP Access (Nicki’s Crochet Club Members get VIP Access in the Vault automatically).
Are you excited yet? Let’s grab or order your materials, and then we will get started on September 14th, 2026 with Part 1.
LIVE Crochet Along Pattern Parts
Remember, you can get the PDF of this pattern if you don’t like ads or want to work ahead:
Be sure to share your progress pictures in our Facebook group using the hashtag #HolidayBagsCAL so we can celebrate you.
Each LIVE Tutorials for Parts 1-3 + the PARTY will be hosted on Youtube
Part 1: Ghost, Spiderweb, Eye, Pumpkin, Turkey
Pattern Notes:
You will start with one pouch circle first, then. add the bag, before finishing the 2nd circle of the pouch. Finish by adding the faces or accessories.
All pouches and the bags (except for the peppermint) are made the same way, so they are written as the main foundation pattern.
Crochet in continuous rounds (use a stitch marker) unless otherwise mentioned
For the bag (without the faces) you have the below video tutorials available (from the fruit market bags):
Video Tutorials
The circle foundation pattern is shown here
Connecting the circles is here
Foundation bag Pattern
First circle of the pouch (for all the same, except the peppermint)
R1: Make a Magic Ring, add 6 sc
R2: 2 sc all around (12 sts)
R3: * 1 sc, 2 sc in the next st, repeat from * until the end (18 sts)
R4: * 1 sc in 2 sts, 2 sc in the next st, repeat from * until the end (24 sts)
R5: * 1 sc in 3 sts, 2 sc in the next st, repeat from * until the end (30 sts)
R6: * 1 sc in 4 sts, 2 sc in the next st, repeat from * until the end (36 sts)
R7: * 1 sc in 5 sts, 2 sc in the next st, repeat from * until the end (42 sts)
R8: * 1 sc in 6 sts, 2 sc in the next st, repeat from * until the end (48 sts)
R9: * 1 sc in 7 sts, 2 sc in the next st, repeat from * until the end (54 sts)
R10: * 1 sc in 8 sts, 2 sc in the next st, repeat from * until the end (60 sts)
R11: * 1 sc in 9 sts, 2 sc in the next st, repeat from * until the end (66 sts)
R12: * 1 sc in 10 sts, 2 sc in the next st, repeat from * until the end (72 sts)
You’ll now continue into the main bag
Main Bag (non-continuous rounds) for all
All first dc and tr stitches are made as an ATC (stacked sc stitch) having 2 sc stacked for the dc, and 3 sc stacked for the tr.
R1: (for every stitch go through the blo AND the 3rd loop at the same time – for stability – leaving flo left over) * 1 dc in 11 sts, 3 dc in the next st, repeat from * until the end, inv sl st (84 sts)
R2: * (1 dc, ch 1, sk 1) 6 times, [1 dc, ch 1, 1 dc, ch 1] in the same st, sk 1, repeat from * until the end, finish with sk 1, ch 1, inv sl st (96 sts)
R3: *1 tr, ch 2, sk 2 sts/chs, repeat from * until the end, finish with 2 sk st and ch 2 at the end, inv sl st (96 sts)
R4-12: *1 tr, ch 2, sk 2 chs, repeat from * until the end, inv sl st (96 sts)
R13: *1 dc, 2 dc in ch-2 sp, repeat from * until the end, inv sl st (96 sts)
R14: * 1 sc in 15 sts, ch 20, sk 18 st, 1 sc in 15 st, repeat from * one more time, inv sl st (100 sts)
R15: 1 sc per st/ch, inv sl st (100 sts)
R16-17: 1 sc per st, inv sl st (100 sts)
Fasten off
Second circle for the pouch (except for the peppermint)
Repeat R1-12 from the first pouch’s pattern
R13: 1 dc in 60 sts, turn
You’ll now connect the first with the second circle to make the pouch. Make sure the right side of the circles are facing each other, having the wrong side on the outside.
R14: *1 dc, inv sl st over to the flo of the first circle, now go back to the second circle, repeat from * 59 more times, fasten off, weave in ends.
Spiderweb
First Circle
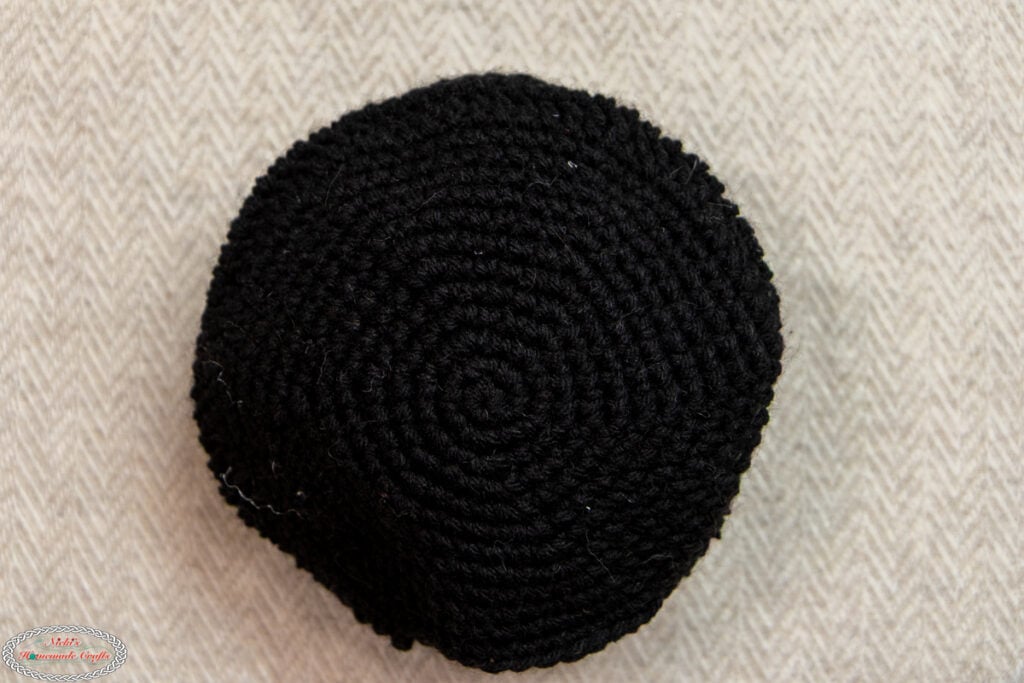
R1-12: black
Main bag body
black
Second Circle
R1-14: black
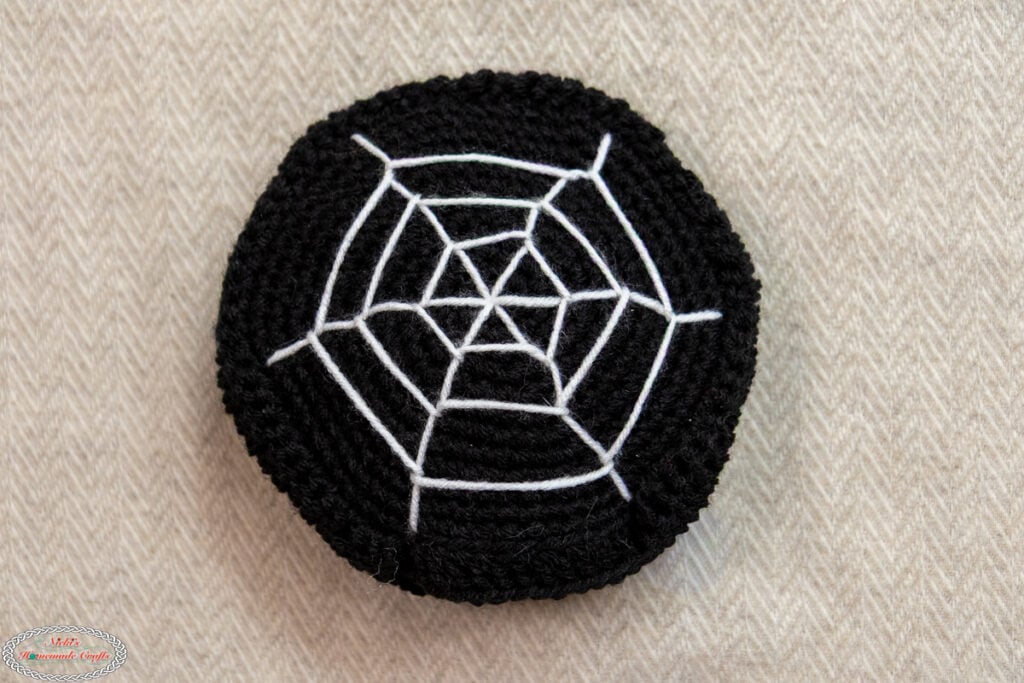
Using white yarn, first make the 6 outward lines from the magic ring outwards, then sew across the lines in a “circle” (use the back stitch) for 3 layers.
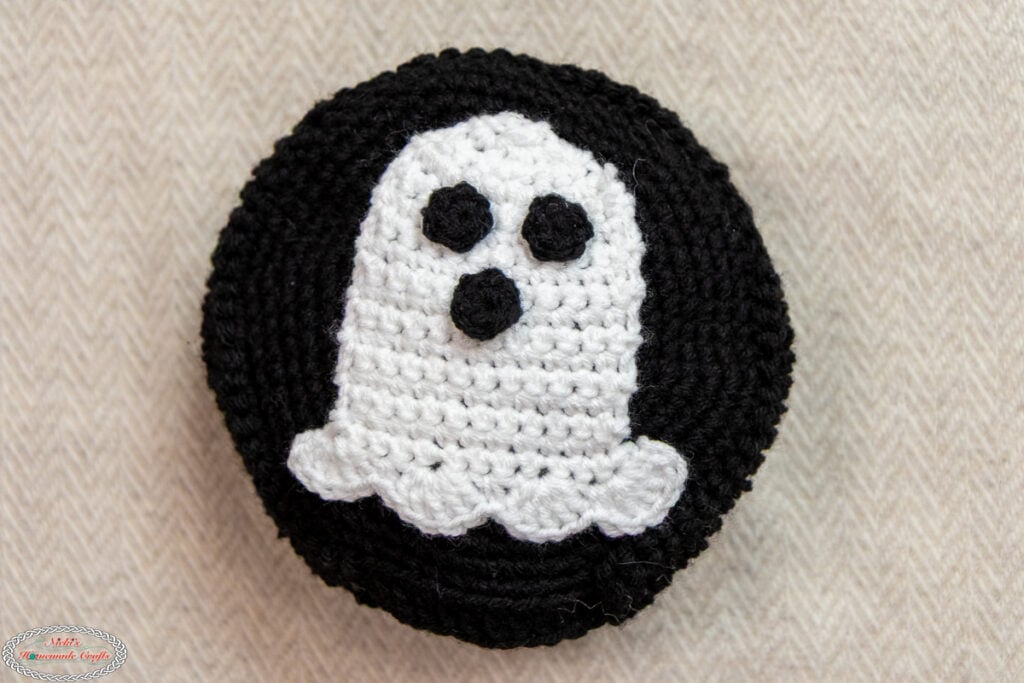
Ghost
First Circle
R1-12: black
Main bag body
black
Second Circle
R1-14: black
Ghost – white
R1: MR, ch 1, 3 sc, turn
R2: 2 sc per st, turn
R3: (1 sc, 2 sc) x 3, turn
R4: (1 sc in 2 sts, 2 sc) x 3, turn
R5 – 17: 1 sc per st, turn
First DC is made as an ATC or ch 3
R18: (5 dc in the same st, sk 1 st, 1 sc, sk 1 st) x 2, 5 dc in the same st, sk 1 st, 1 sc, 5 dc in the same st, fasten off
2 eyes and 1 mouth
R1: MR, ch 1, 6 sc, sl st
Sew on the eyes and mouth onto the ghost. Then sew the ghost into the bag.
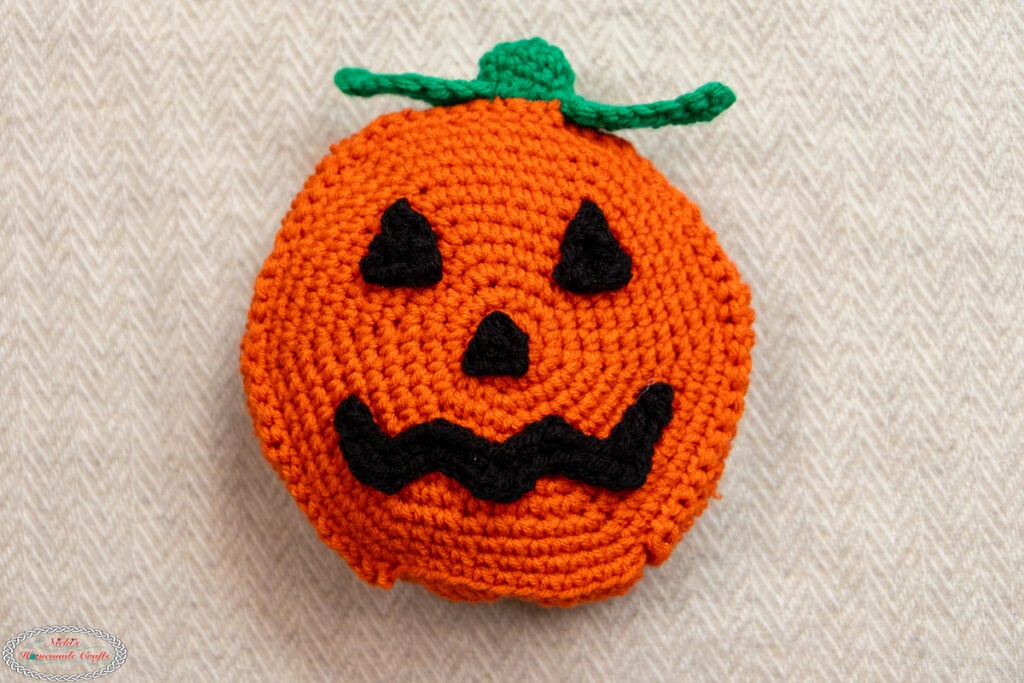
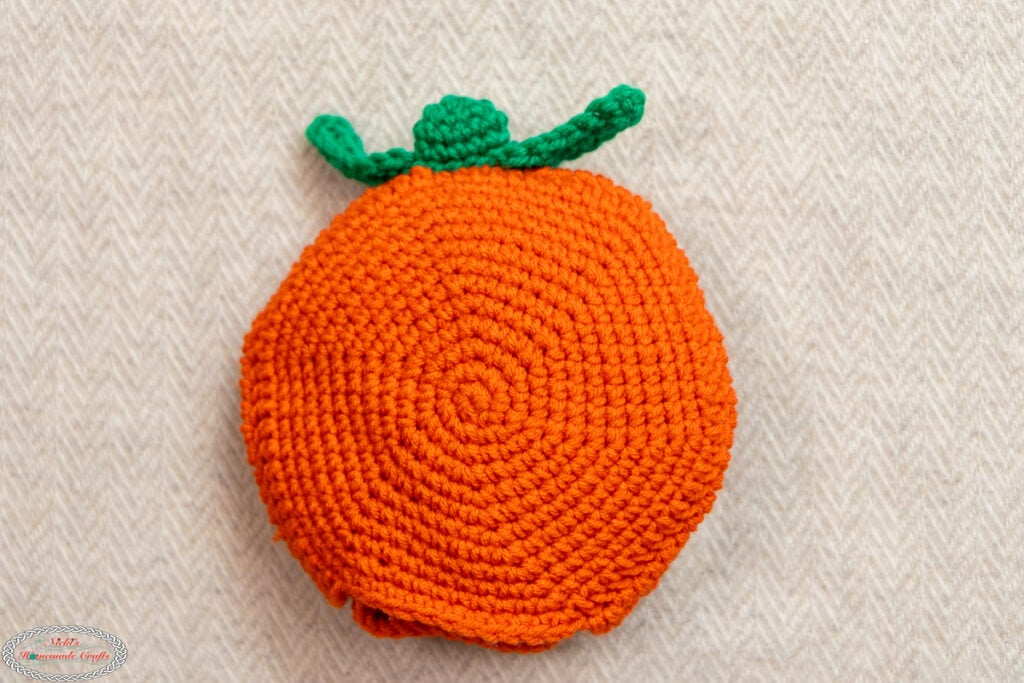
Jack-O-Lantern Pumpkin
First Circle
R1-12: orange
Main bag body
orange
Second Circle
R1-14: orange
2 Leaves – green
ch 8, 1 ATC (height of dc), 1 dc, 1 hdc, 1 hdc, 1 sc, 1 sc, 1 sc, ch 1, now turn 180 degrees and work on the opposite side of the chain, 1 sc, 1 sc, 1 sc, 1 hdc, 1 hdc, 1 dc, 1 dc, ch 2, sl st to the same st, fasten off
Stem – green
R1: MR, ch 1, 6 sc, close the ring, continuous rounds, stitch marker
R2: 2 sc per st
R3-5: 1 sc per st
2 Eyes – black
ch 4, start from 2nd ch from the hook
R1: 1 sc per st, turn
R2: 1 sc dec, 1 sc, turn
R3: 1 sc dec, fasten off
1 Nose – black
ch 3, start from 2nd ch from the hook
R1: 1 sc per st, turn
R2: 1 sc dec, fasten off
Mouth – black
Ch 19, start from the 2nd ch from the hook
R1: *1 sc in 2 sts, 3 sc, 1 sc in 2 sts, sk 1 st, repeat from * until the end
Sew on the stem with 2 leaves to the top, and then mouth, eyes, and nose to the front of the bag.
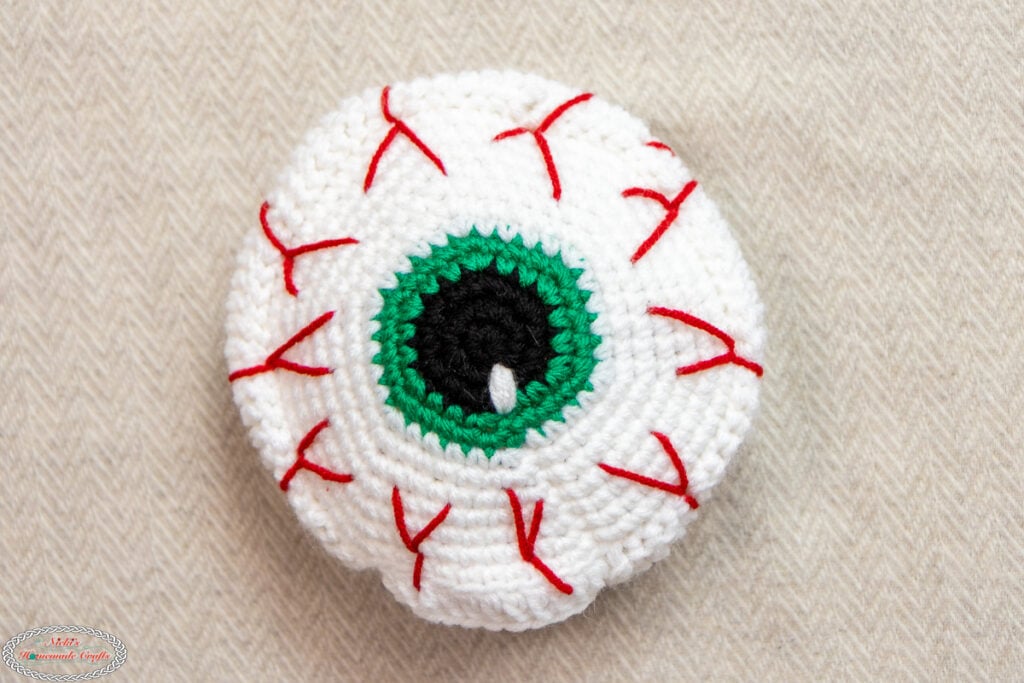
Eye
First Circle
R1-3: black
R4-5: green
R6-12: white
Main bag body
white
Second Circle
R1-14: white
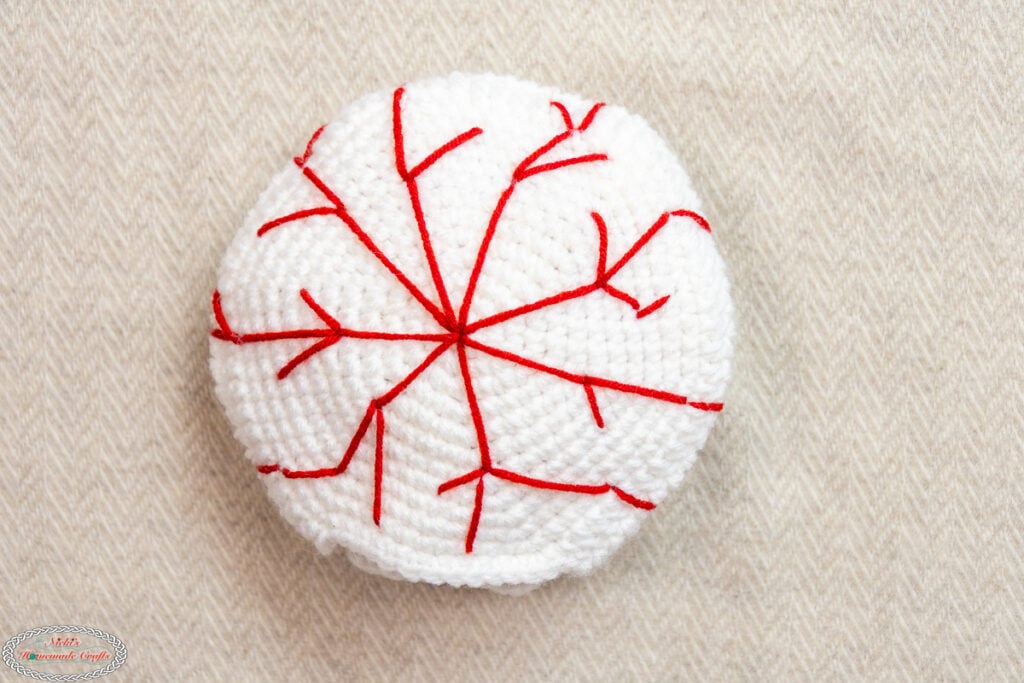
Sew white lines to the black section of the eye. Sew on “blood” lines across the eye. I started from the back (white side) – the magic ring- and went outward; add “branches” too. Then work your way forward towards the pupil, without touching it.
Turkey
First Circle
R1-12: cappuccino
Main bag body
cappuccino
Second Circle
R1-14: cappuccino
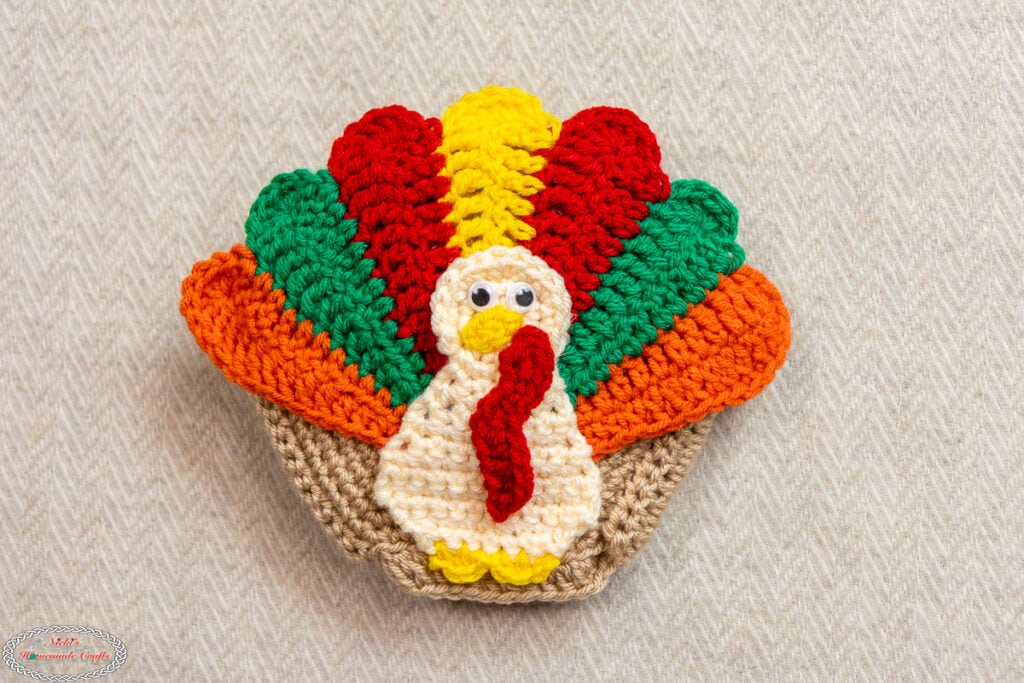
Feathers
in colors orange, green, red, yellow, red, green, orange – all joined as you go
R1: Ch 15, start from the 2nd ch from the hook, 1 sc in 3 sts, 1 hdc in 3 sts, 1 dc in 4 sts, 1 tr in 3 sts, 6 dc in the last ch, then turn and crochet on the other side of the chain, 1 tr in 3 sts, 1 dc in 4 sts, 1 hdc in 3 sts, 1 sc in 3 sts, cut and switch colors
R2: 1 sc in 3 sts, 1 hdc in 3 sts, 1 dc in 4 sts, 1 tr in 3 sts, ch 3, sl st to the same st as the last tr, 6 dc into the 1st ch you just made, 1 tr in 3 sts, 1 dc in 4 sts, 1 hdc in 3 sts, 1 sc in 3 sts, cut and switch colors
Repeat R2 until you have 7 colored feathers
Turkey body – cream
R1: MR, ch 1, 6 sc, close the ring, continuous rounds, stitch marker
R2: 2 sc per st
R3: (1 sc, 2 sc) x 6, inv sl st
R4: 1 sc in 5 sts, turn
R5-10: 2 sc, 1 sc per st, turn
R11-12: 1 sc per st, turn
R13-15: 1 sc dec, 1 sc per st until 2 sts left, 1 sc dec, turn, then fasten off
R16: (feet) yellow, 1 sc, 1 dc, 1 sc, 1 sl st in the same sts, 1 sl st to the next st, 1 sc in the same st, 1 dc, 1 sc, fasten off
Nose – yellow
ch 3, start from the 2nd ch from the hook, 1 hdc, 1 sc, fasten off, and sew onto the head; glue on googly eyes
Waddle – red
ch 11, start from the 2nd ch from the hook, 1 sc, 1 hdc in 4 sts, sk 1 ch, 1 hdc in 2 sts, 2 hdc, 2 sc, fasten off and sew to the body and face next to the nose.
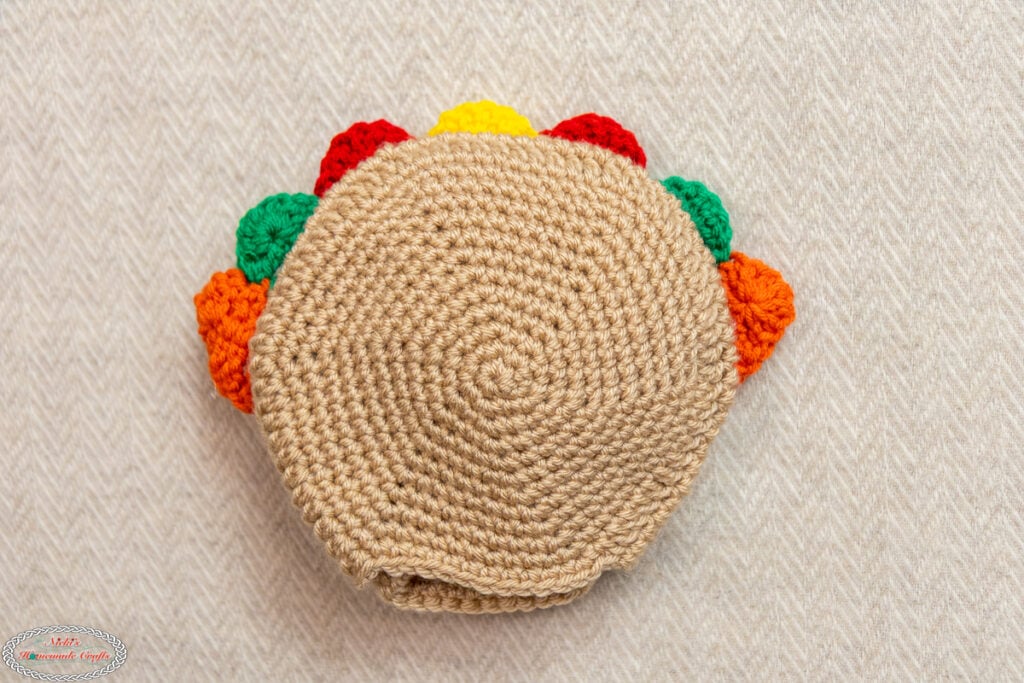
Sew the body to the feathers, then sew the feathers and body to the front side of the bag circle.
Be sure to always use the hashtag #HolidayBagsCAL when you share your posts or talk about this LIVE CAL, etc, especially FB Group “Crocheting with Nicki”
Part 2: Santa, Elf, Wreath, Ornament, Gingerbread Man
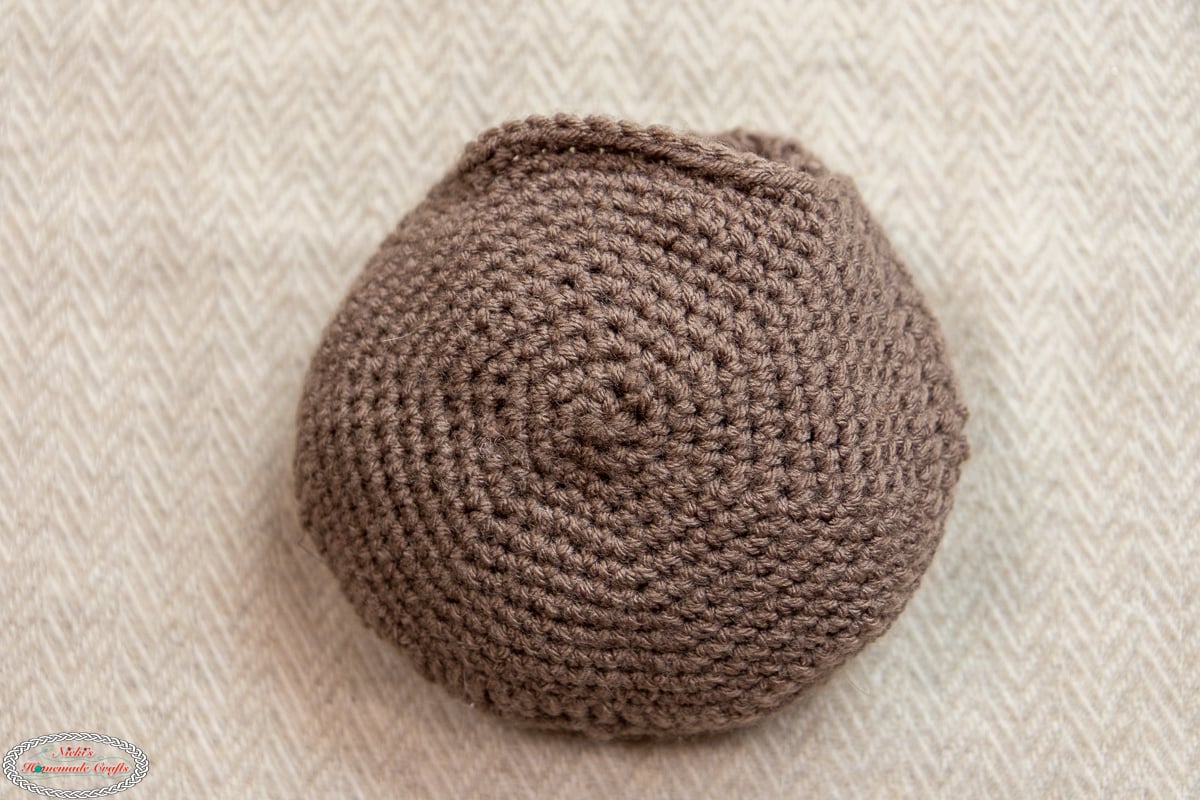
Gingerbread Man Face
First Circle
R1-10: taupe
R11: white
R12: taupe
Main bag body
taupe
Second Circle
R1-10: taupe
R11: white
R12-14: taupe
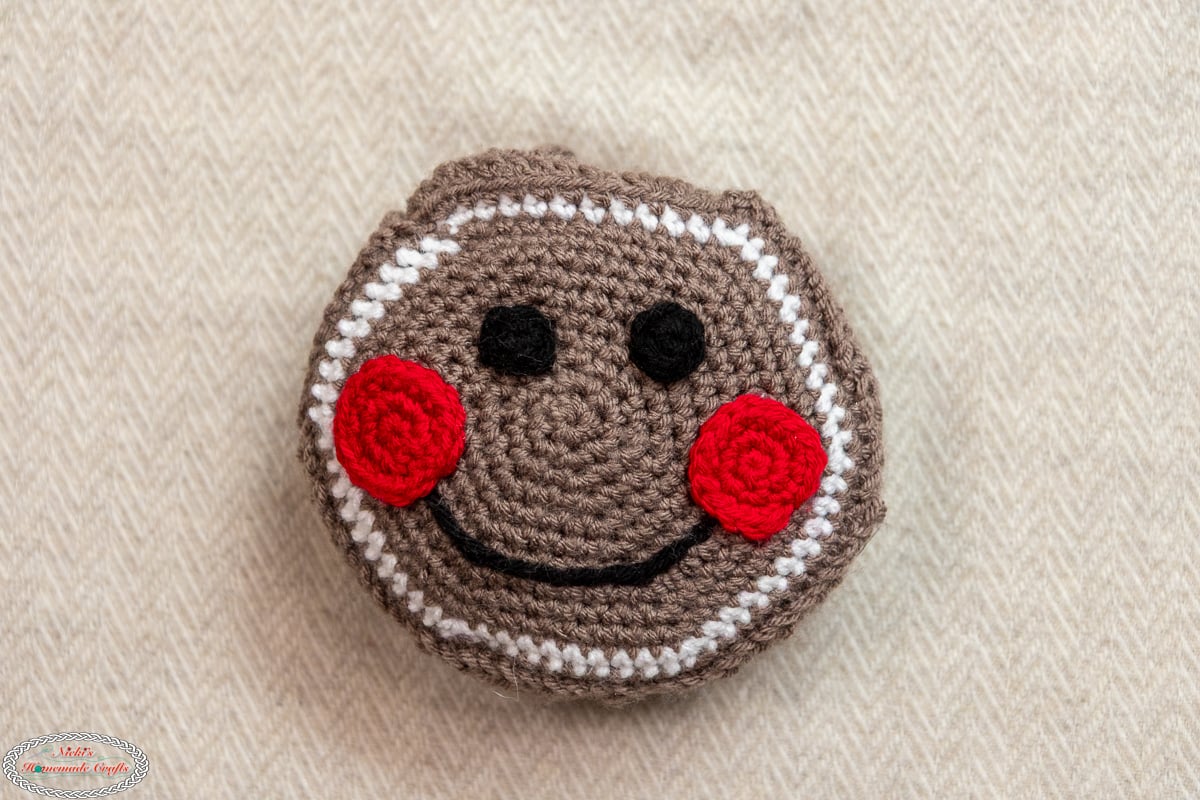
Eyes – in black
Make a magic ring, add 6 sc, sl st, fasten off and sew onto the front of the face.
Sew the mouth on (black) – I made one long loop, then sewed over to “pin down” the loop to turn it into a mouth.
Cheeks – in red
R1: Make a magic ring, add 6 sc, sl st
R2: 2 sc per st, sl st
Fasten off and sew to the front of the face (corners of the mouth).
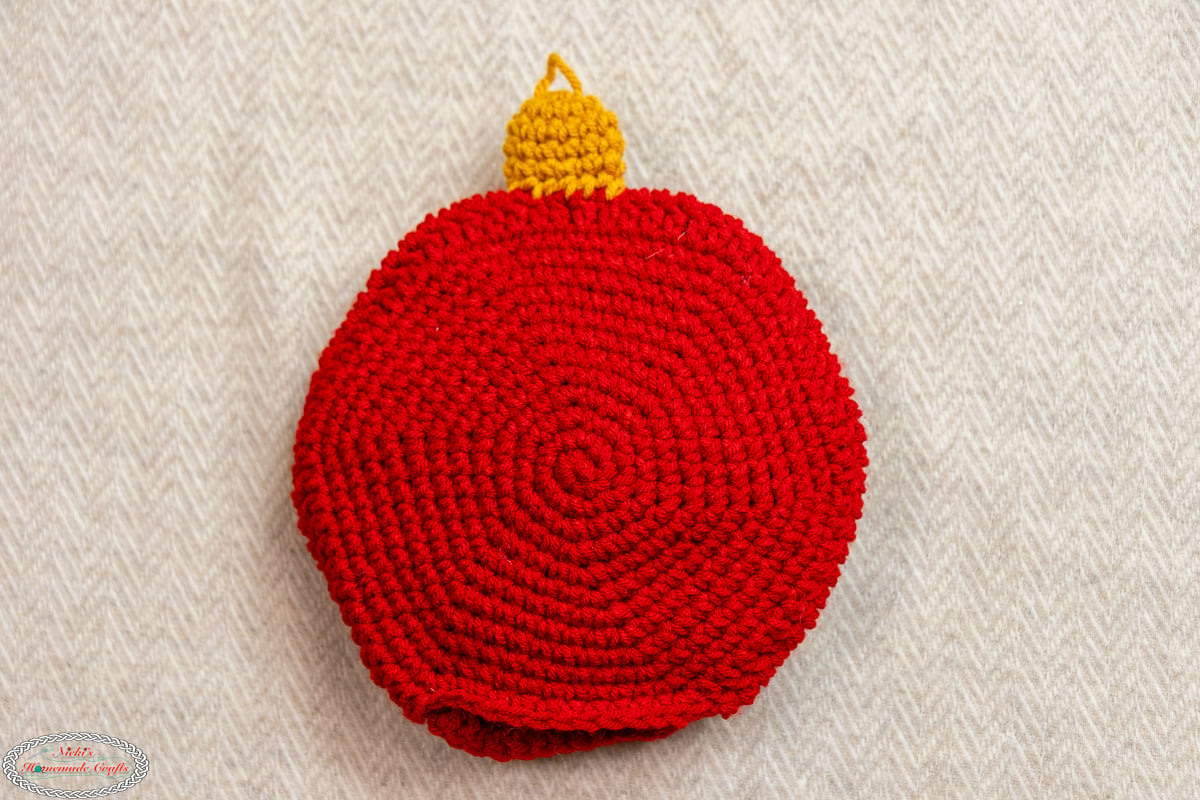
Ornament
First Circle
R1-12: red
Main bag body
red
Second Circle
R1-14: red
Hanger – goldenrod
R1: MR, ch 1, 6 sc, close the ring, continuous rounds, stitch marker
R2: 2 sc per st
R3-5: 1 sc per st
Sew the hanger onto the top (opposite the bag opening). Make sure to add a loop at the top as well.
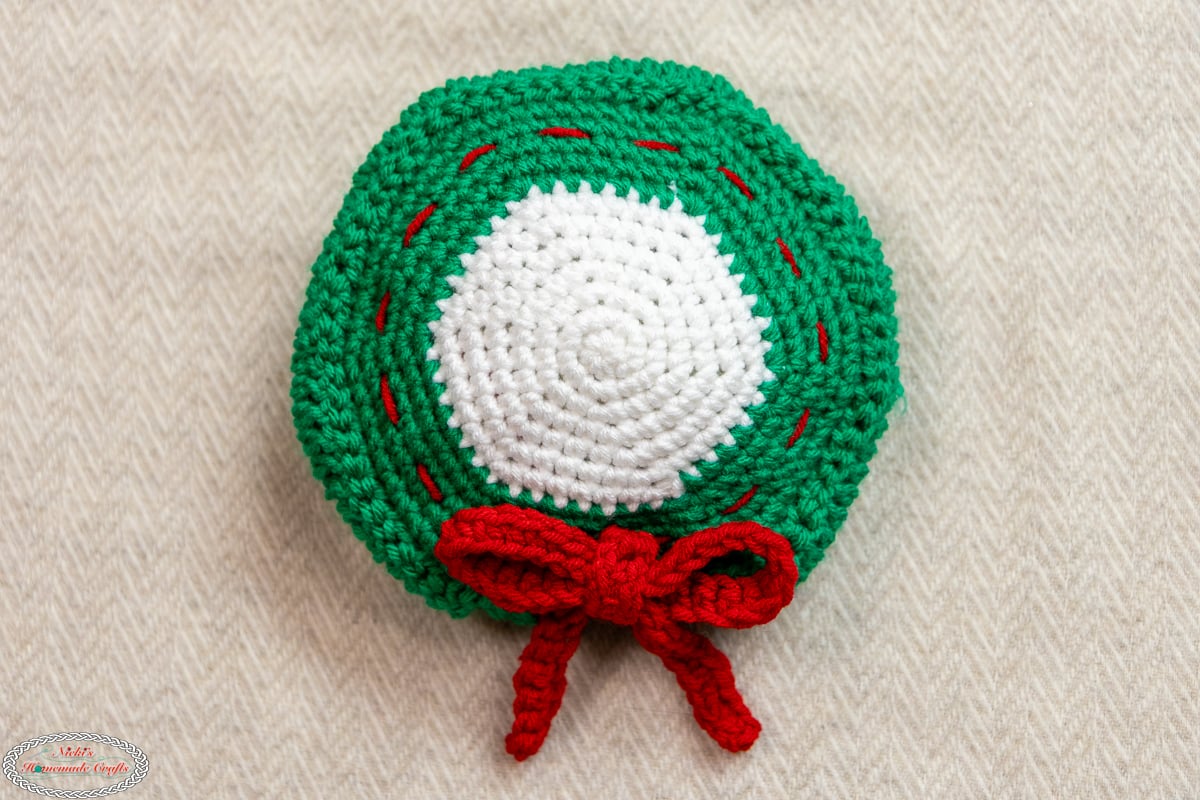
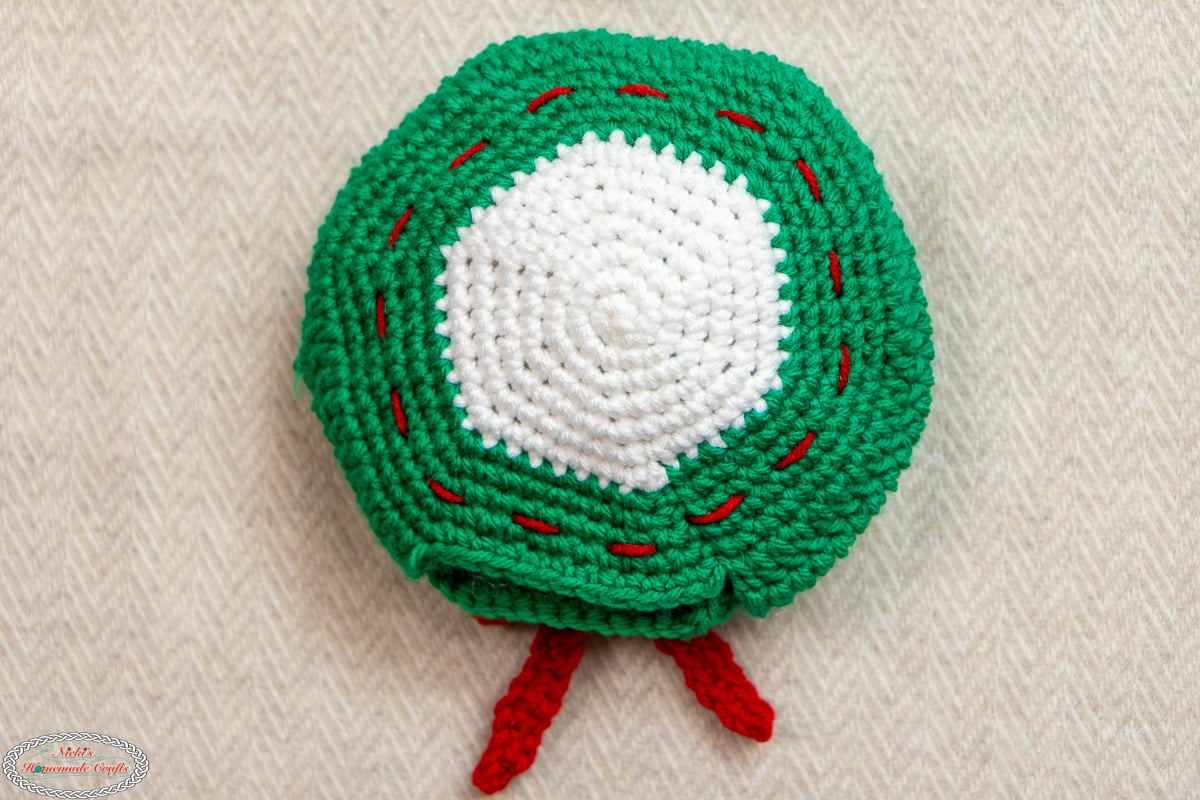
Wreath
First Circle
R1-7: white
R8-12: green
Main bag body
green
Second Circle
R1-7: white
R8-12: green
Bow – red
ch 30, start from the 2nd ch from the hook
R1: 1 sc per st, fasten off
Bow closure – red
ch 8, start from the 2nd ch from the hook
R1: 1 sc per st, fasten off
Weave a piece of red yarn around the wreath on both sides.
Fold the rectangle into a bow, add a closure, and sew it to the wreath.
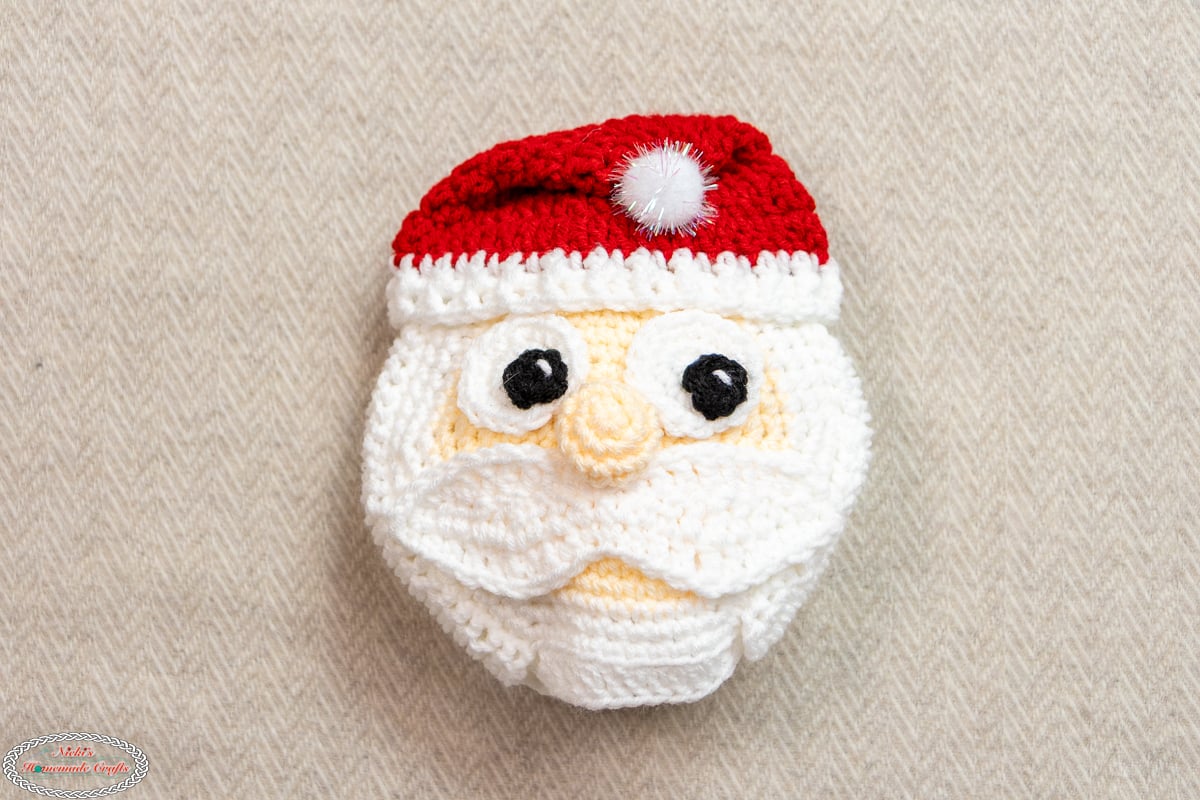
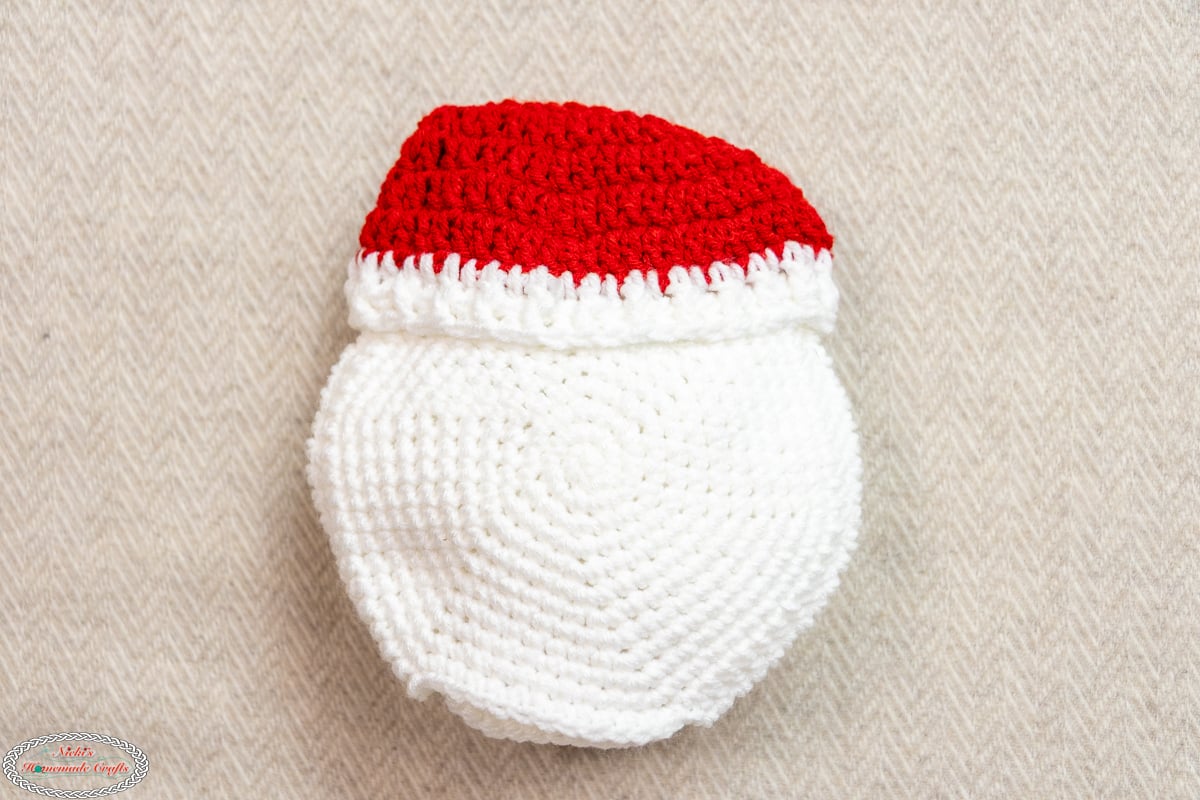
Santa
First Circle
R1-9: cream
R10-12: white
Main bag body
white
Second Circle
R1-14: white
2 Eyes – white
R1: MR, ch 1, 6 sc, sl st
R2: 2 sc per st, sl st
R3: (1 sc, 2 sc) 6 times, sl st, fasten off
2 Pupils – black
R1: MR, ch 1, 6 sc, sl st
Sew onto the white eye circles, then using white to add a small line (reflection)
Nose – cream
R1: MR, ch 1, 6 sc, continuous rounds, stitch marker
R2: 2 sc per st
R3: 1 sc per st
R4: 6 inv sc dec all around, weave through front loops, then close the hole
Mustache – white
ch 21, start from the 2nd ch from the hook
R1-3: (1 sc, 1 hdc in 2 sts, 1 dc in 2 sts, 1 tr, 1 dc in 2 sts, 1 hdc in 1 sts, 1 sc) x 2, turn
Hat – red (white for last 2 rounds)
All first dc sts (first per round) are made as ATC or ch 3
R1: MR, 12 dc, close the ring, continuous rounds, sl st
R2: (1 dc, 2 dc) x 6, sl st
R3: (1 dc in 2 sts, 2 dc) x 6, sl st
R4; (1 dc in 3 sts, 2 dc) x 6, sl st
R5: (1 dc in 4 sts, 2 dc) x 6, sl st
R6: (1 dc in 5 sts, 2 dc) x 6, sl st
Switch to white
R7: 1 dc per st, sl st
R8: ch 1, *1 fpdc, 1 bpdc, repeat from * until the end, sl st
Sew on (or glue) the pompom to the end of the hat.
Sew the hat, eyes, nose, and mustache to the front side of the bag circle.
Elf
First Circle
R1-12: cream
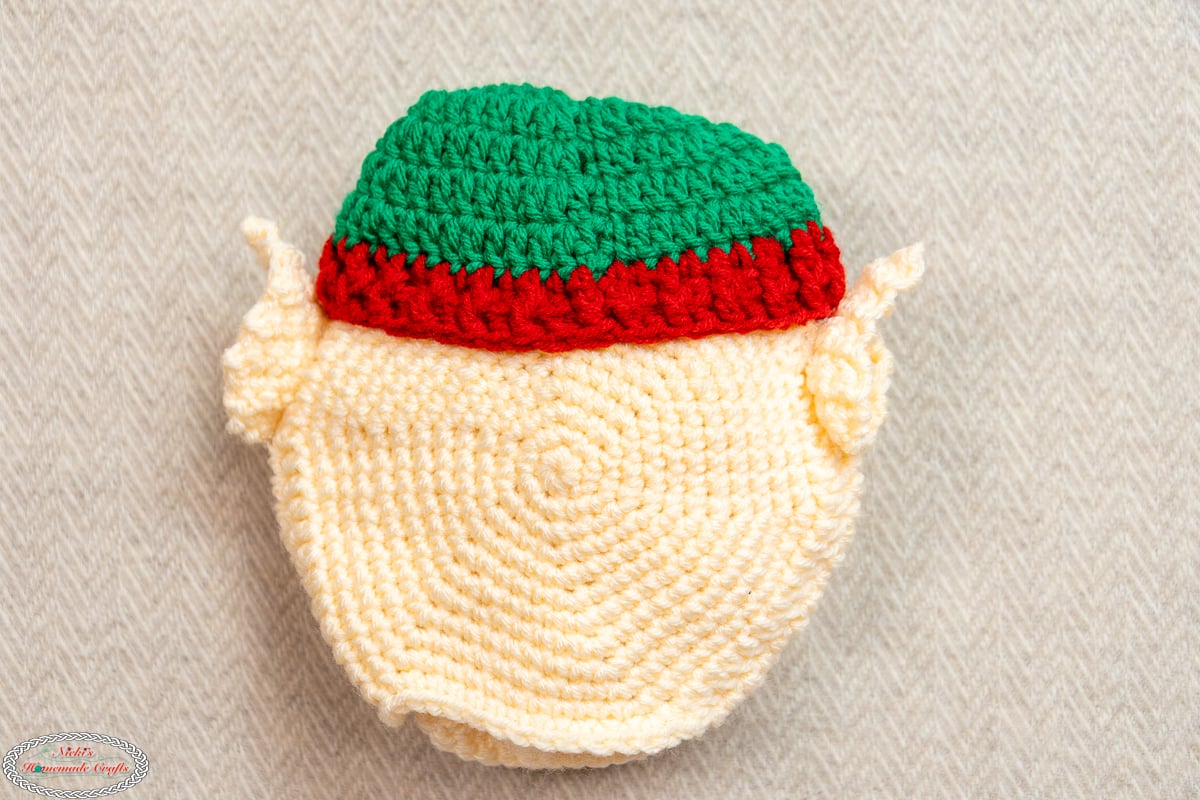
Main bag body
cream
Second Circle
R1-14: cream
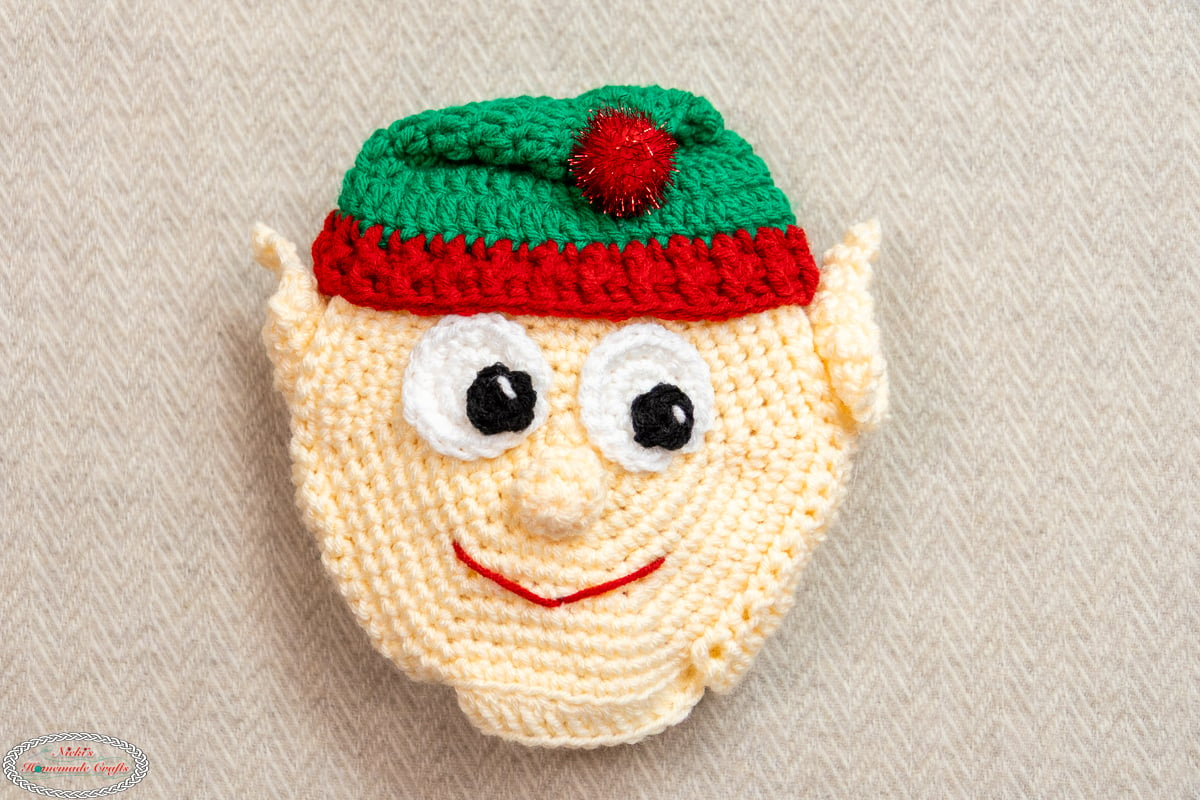
2 Eyes – white
R1: MR, ch 1, 6 sc, sl st
R2: 2 sc per st, sl st
R3: (1 sc, 2 sc) 6 times, sl st, fasten off
2 Pupils – black
R1: MR, ch 1, 6 sc, sl st
Sew onto the white eye circles, then using white to add a small line (reflection)
Nose – cream
R1: MR, ch 1, 9 sc, continuous rounds, stitch marker
R2: 1 sc per st
Weave through the front loops, then close the hole.
Ears – cream
R1: MR, 4 sc, close the ring, turn
R2: (1 sc, 2 sc) x 2, turn
R3: (1 sc in 2 sts, 2 sc) x 2, turn
R4: (1 sc in 3 sts, 2 sc) x 2, turn
R5: 1 sc dec, 1 sc per st, turn
Repeat R5 until you have 2 sts, 1 sc dec
Fasten off
Hat – green (red for last 2 rounds)
All first dc sts (first per round) are made as ATC or ch 3
R1: MR, 12 dc, close the ring, continuous rounds, sl st
R2: (1 dc, 2 dc) x 6, sl st
R3: (1 dc in 2 sts, 2 dc) x 6, sl st
R4; (1 dc in 3 sts, 2 dc) x 6, sl st
R5: (1 dc in 4 sts, 2 dc) x 6, sl st
R6: (1 dc in 5 sts, 2 dc) x 6, sl st
Switch to red
R7: 1 dc per st, sl st
R8: ch 1, *1 fpdc, 1 bpdc, repeat from * until the end, sl st
Sew on (or glue) the pompom to the end of the hat.
Sew the hat, eyes, and nose onto the front side of the bag circle. Then sew on the ears to the sides of the face.
Sew on the mouth.
Be sure to always use the hashtag #HolidayBagsCAL when you share your posts or talk about this LIVE CAL, etc, especially FB Group “Crocheting with Nicki”
Part 3: Reindeer, Candy, Peppermint, Snowglobe, Snowman
LIVE Tutorial will start at 12pm, PT (replay after) will be HERE on Youtube.
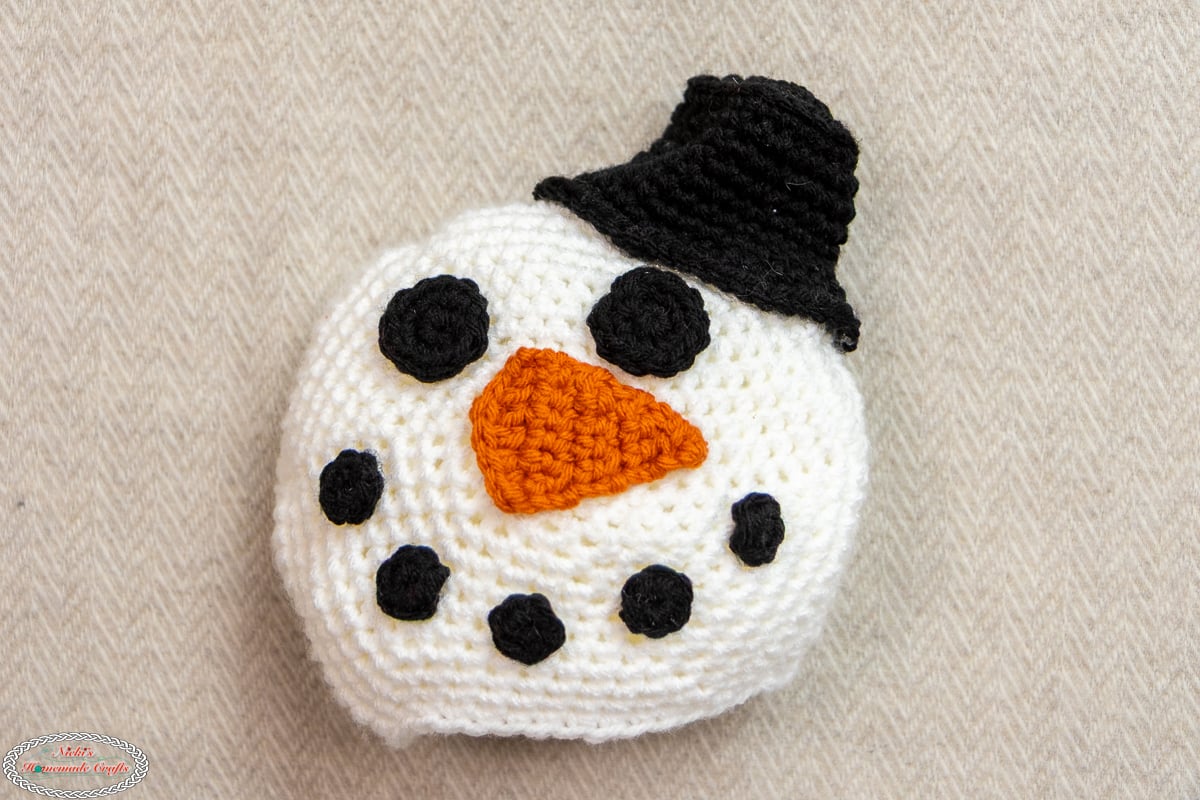
Snowman
First Circle
R1-12: white
Main bag body
white
Second Circle
R1-14: white
5 Mouth Circles “stones” – in black
Make a magic ring, add 6 sc, sl st, fasten off and sew onto the front of the face.
2 Eyes – in black
R1: Make a magic ring, add 6 sc, sl st
R2: 2 sc per st, sl st
Fasten off and sew to the front of the face.
Nose – goldenrod
Ch 8, start from 2nd ch from the hook
R1: 1 sc, 1 hdc, 1 dc, 1 tr, 1 dc, 1 hdc, 1 sc, turn
R2: 1 sc per st, turn
R3-7: 1 sc dec, 1 sc until the of the row, turn
Last row sc dec
Fasten off and sew to the front of the face
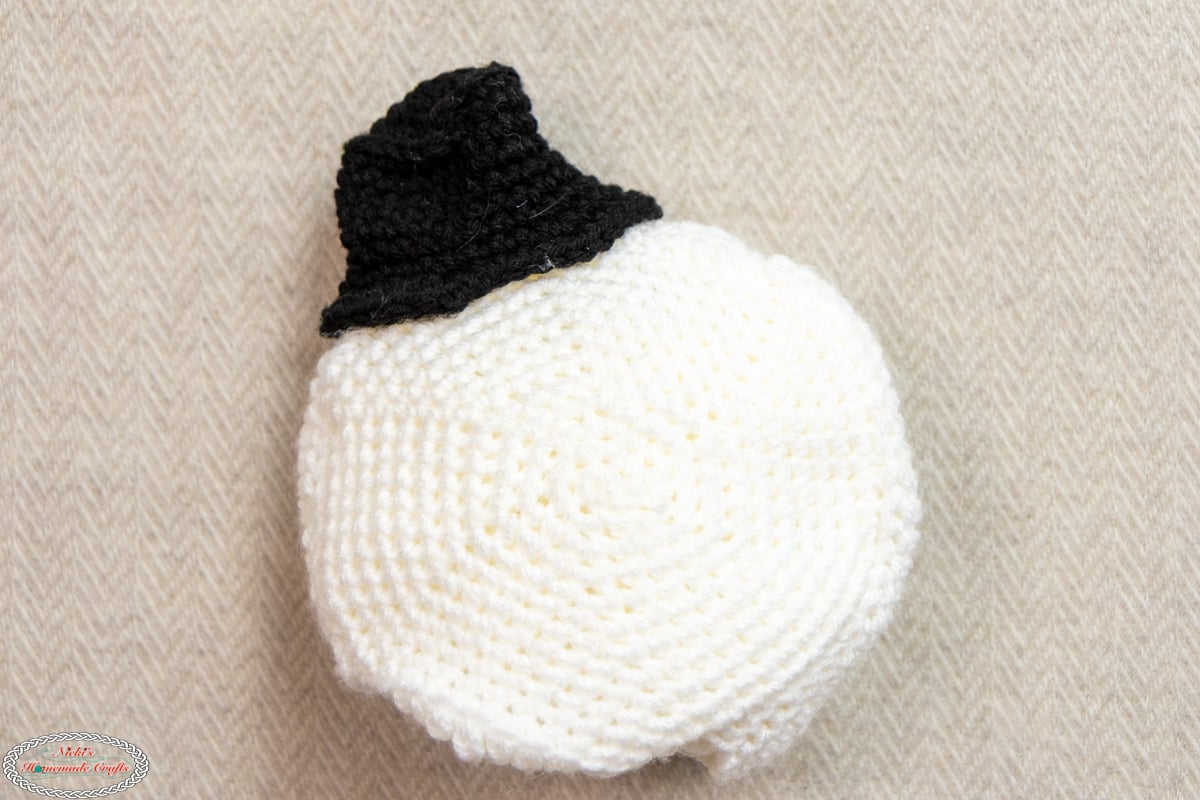
Hat – in black
Crochet in continuous rounds (use a stitch marker)
R1: magic ring, 6 sc, close ring
R2: 2 sc per st
R3: (1 sc, 2 sc) 6 times
R4: (1 sc in 2 sts, 2 sc) 6 times
R5: 1 sc in blo
R6 – 10: 1 sc per st
R11: (1 sc in 3 sts, 2 sc) 6 times
R12: (1 sc in 4 sts, 2 sc) 6 times
Fasten off and sew to the top side of the “head”/ pouch
Quick note: the opening of the pouch is on the bottom, below the mouth.
Candy
First Circle
R1-12: in BLO for all the stitches, white
Main bag body
white
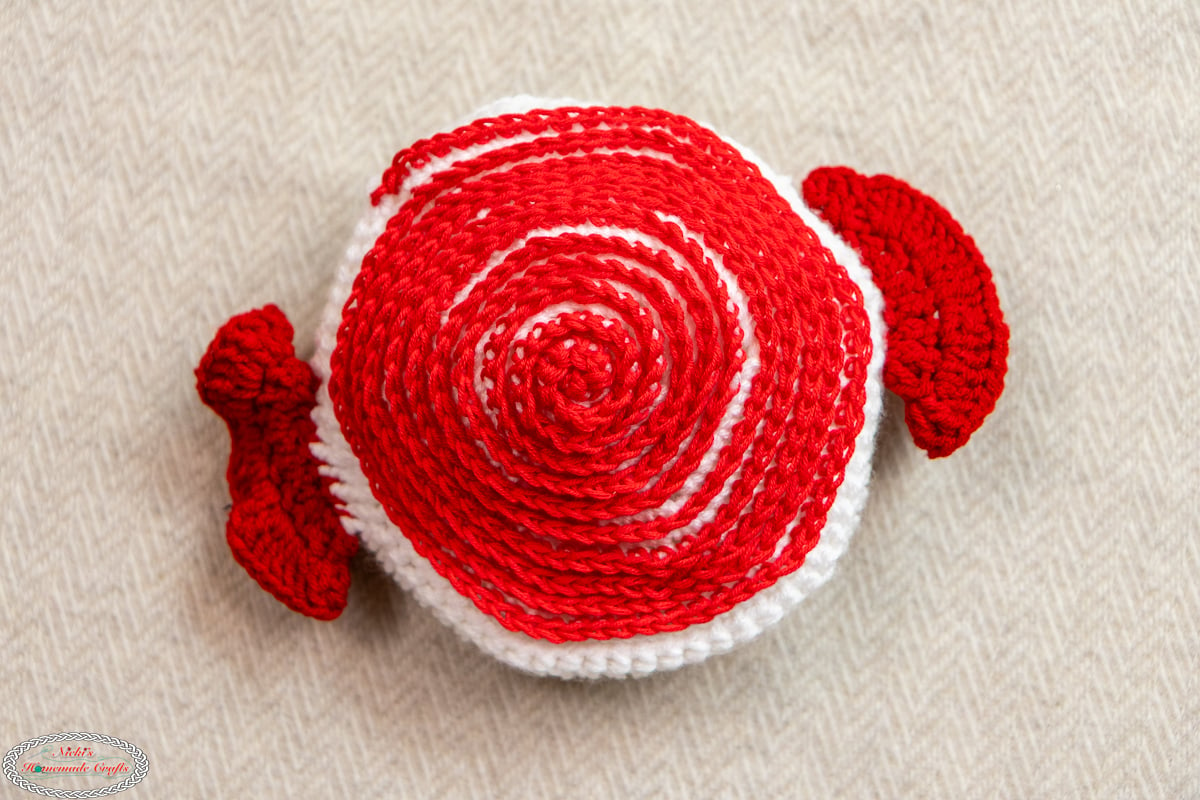
Red Spiral Lines
IF you want to add surface crochet for a more distinct spiral, add the surface crochet before connecting the 2 circles together. If you add sc sts into the flo (like I did – 1 sc per flo) using the candy apple yarn, then you can also do this after you’re done.
Second Circle
R1-14: in BLO for all the stitches, white
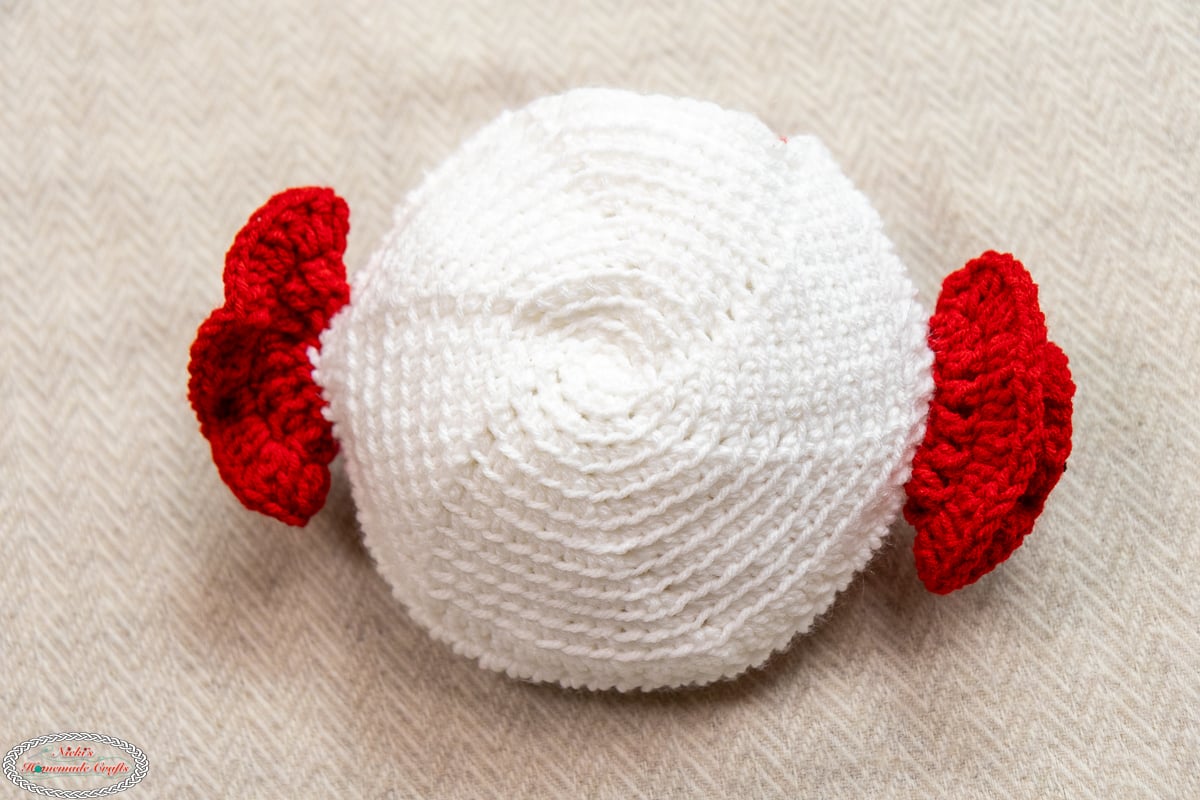
2 Candy Wrapper Opening – red
First DC is an ATC or ch 3
R1: ch 16, connect first with last ch (keeping 16 sts), 1 dc per st, sl st
R2: 3 dc per st, sl st
Sew on the candy wrapper openings across from each other on either side of the bag circles.
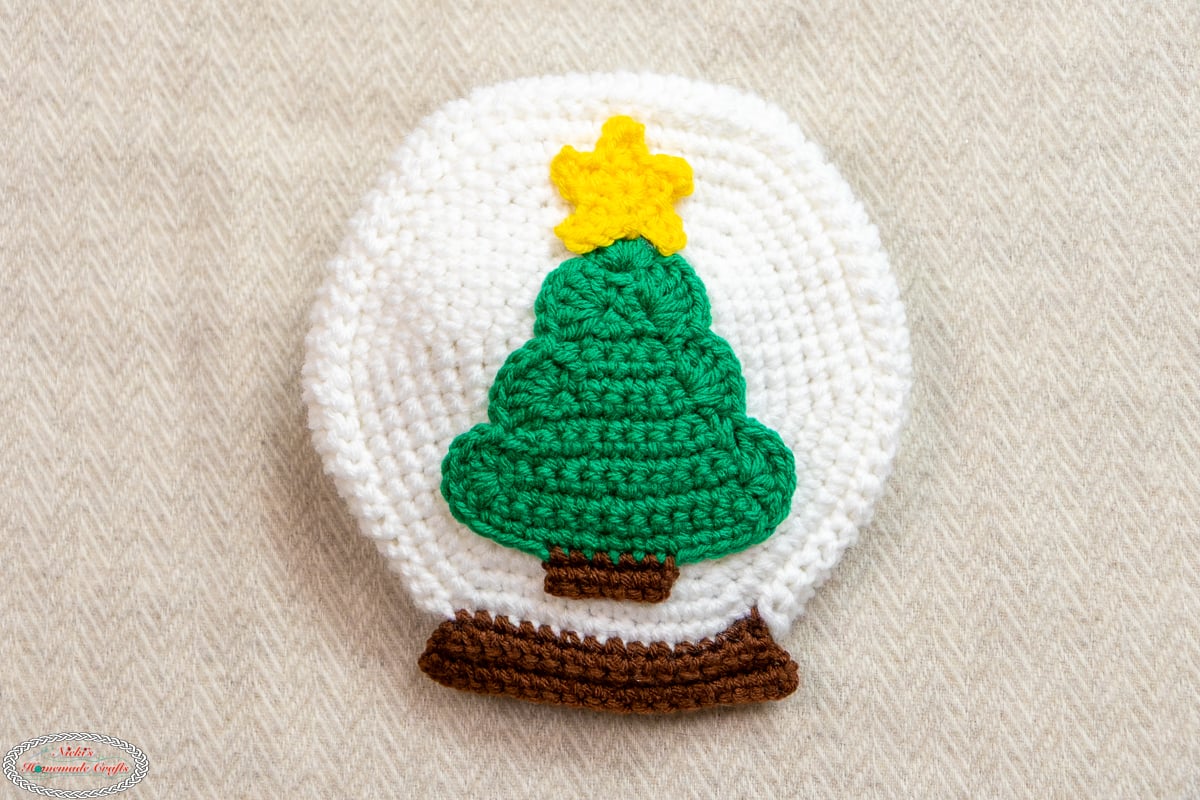
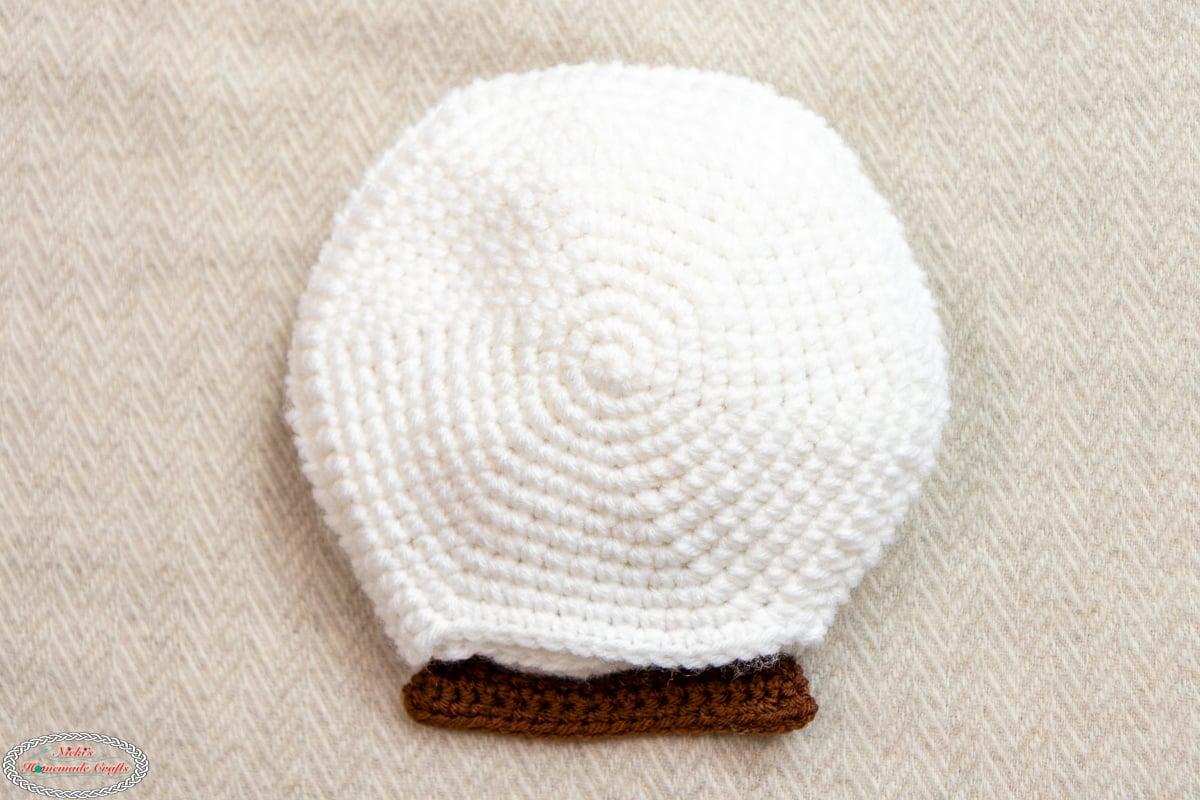
Snowglobe with Christmas Tree
First Circle
R1-12: white
Main bag body
white
Second Circle
R1-14: white
Christmas Tree – green
Ch 13. start from the 2nd ch from the hook
R1: 1 sc per st, turn
R2: 1 sc dec, 1 sc per st, turn
Repeat R2 until you have 2 sts left, 1 sc dec over both.
Now crochet around the entire triangle:
Have 3 shell sts (6 dc in the same st), separated by 1 sc, evenly across the 2 long sides of the triangle, 1 sc per st on the bottom (R1) edge, and 1 more shell st at the very top of the triangle.
Using bark, crochet 2 rows of 6 sts to the bottom of the tree as the stem.
Star – yellow
R1: MR, (2 sc, ch 1) x 5, sl st
R2: (ch 3, start from the 2nd ch from the hook, 1 hdc, 1 sc, sl st to the next ch-sp) x 5, sl st
Sew to the top of the tree.
Sew the tree to the front of the bag circle.
Snowglobe stand – bark
Crochet onto the leftover flo from the bag opening (from R12), 1 sc per st, turn
R2-4: 2 sc, 1 sc per st until 1 st left, 2 dc, turn
Fasten off
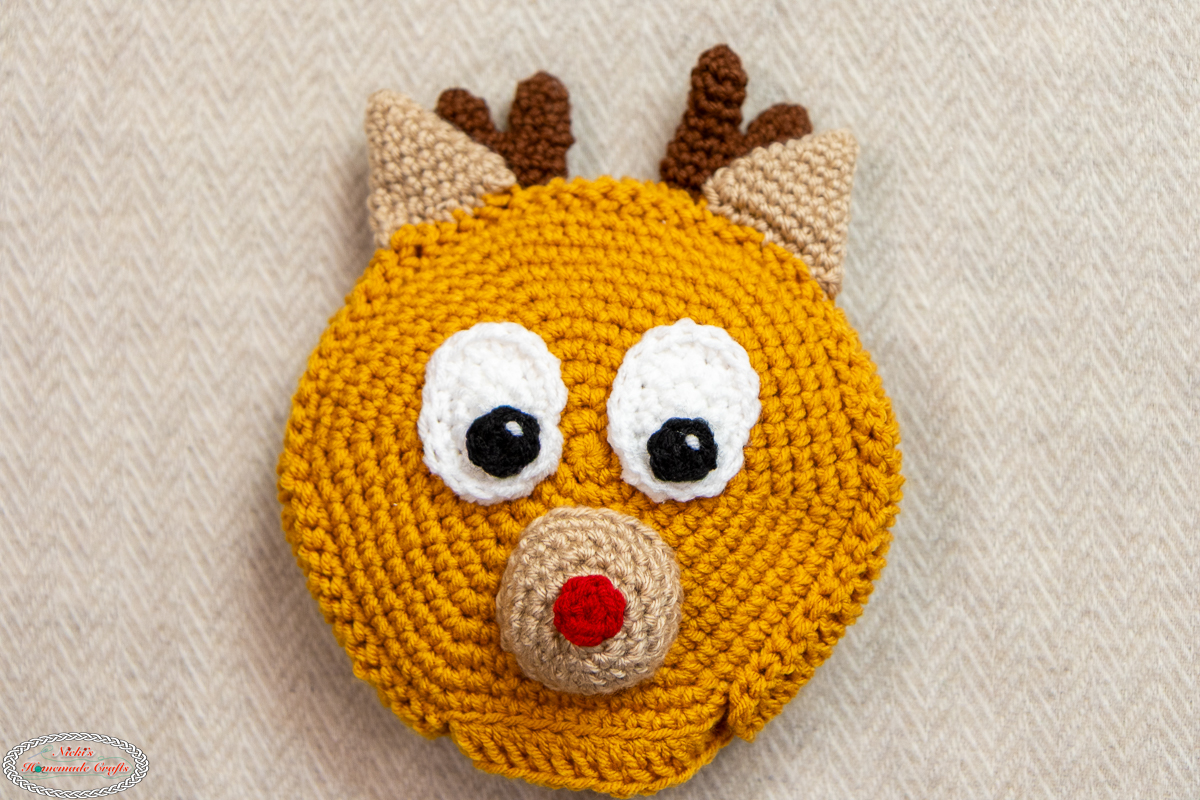
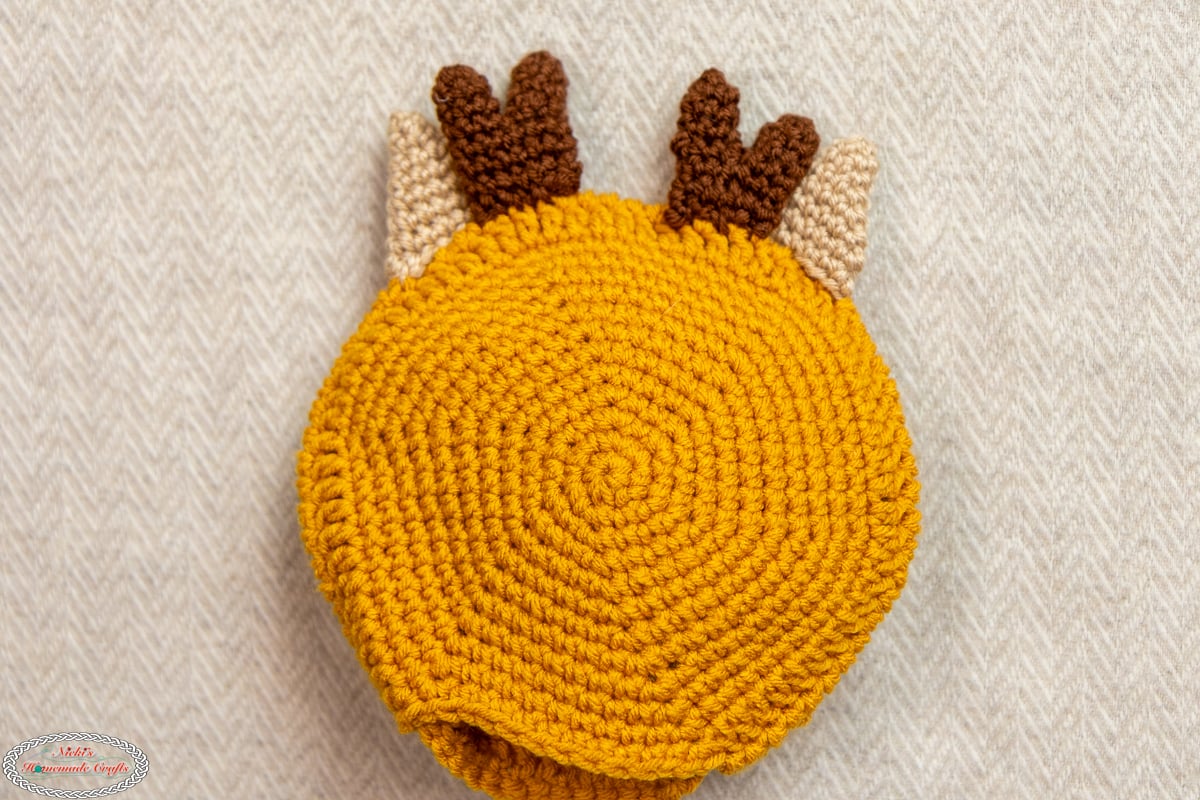
Reindeer
First Circle
R1-12: goldenrod
Main bag body
goldenrod
Second Circle
R1-14: goldenrod
2 Eyes – white
R1: MR, ch 1, (2 sc, 2 hdc) x 2, sl st
R2: (2 hdc, in 2 sts, 1 sc in 2 sts) x 2, sl st
R3: ((1 hdc, 2 hdc) x 2, 1 sc in 2 sts) x2, sl st, fasten off
2 Pupils – black
R1: MR, ch 1, 6 sc, sl st
Sew onto the white eye circles, then using white to add a small line (reflection)
Nose – cappuccino
R1: MR, ch 1, 6 sc, continuous rounds, stitch marker
R2: 2 sc per st
R3: (1 sc, 2 sc) x 6
R4: (1 sc in 2 sts, 2 sc) x 6
R5-6: 1 sc per st
Nose tip – red
R1: MR, ch 1, 6 sc, sl st
2 Ears – cappuccino
R1: MR, ch 1, 6 sc, continuous rounds, stitch marker
R2: (1 sc, 2 sc) x 3
R3: ( 1 sc in 2 sts, 2 sc) x 3
R4: ( 1 sc in 3 sts, 2 sc) x 3
R5: ( 1 sc in 4 sts, 2 sc) x 3
R6: ( 1 sc in 5 sts, 2 sc) x 3
R7: ( 1 sc in 6 sts, 2 sc) x 3
R8: ( 1 sc in 7 sts, 2 sc) x 3
2 Antlers – bark
R1: MR, ch 1, 6 sc, continuous rounds, stitch marker
R2-4: 1 sc per st
Fasten off, THEN redo R1-4, then connect the 2 pieces together (so you have 12 sts per round)
R5-7: 1 sc per st,
Fasten off
Sew on the ears and the antlers right behind it; sew on the eyes, then the nose (with extra polyfill).
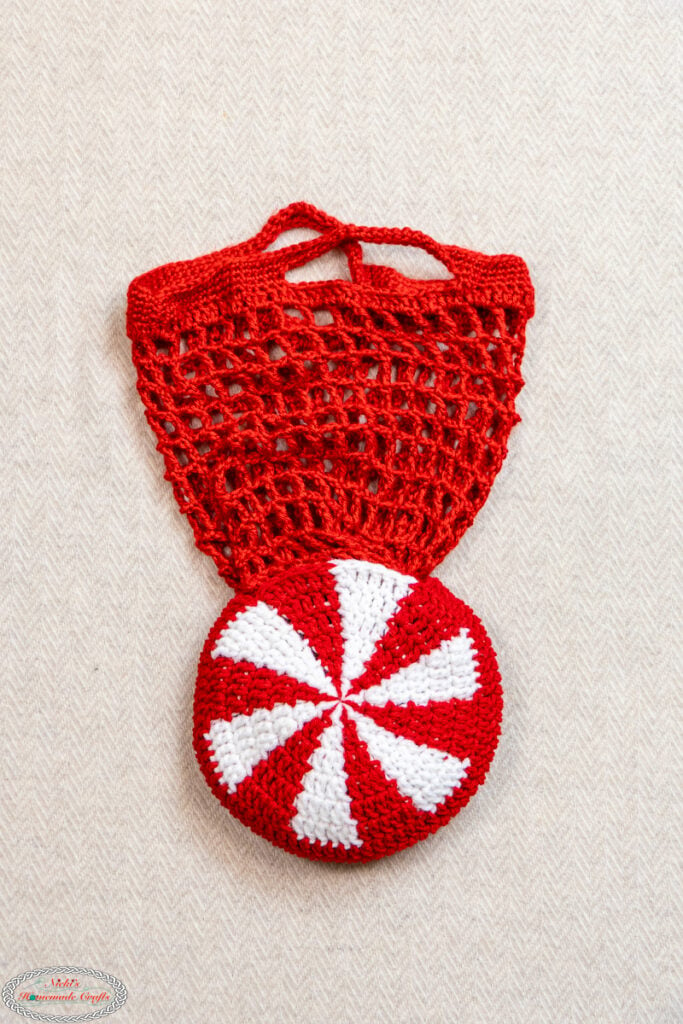
Peppermint
red and white
First Circle
Replace R1-12 of the foundation pattern with the following:
R1: MR, switch colors every st between red and white, 12 dc (first dc is an ATC), sl st
From now on, switch colors every repeat/ keep every color the same on top of each other (e.g. red is on top of red)
R2: 2 dc per st, sl st
R3: (1 dc, 2 dc) x 12, sl st
R4: (1 dc in 2 sts, 2 dc) x 12, sl st
R5: (1 dc in 3 sts, 2 dc) x 12, sl st
R6: (1 dc in 4 sts, 2 dc) x 12, sl st
Main bag body
red, continue with R13 as the normal foundation pattern
Second Circle
Replace R1-12 of the foundation pattern with the following:
R1: MR, switch colors every st between red and white, 12 dc (first dc is an ATC), sl st
From now on, switch colors every repeat/ keep every color the same on top of each other (e.g. red is on top of red)
R2: 2 dc per st, sl st
R3: (1 dc, 2 dc) x 12, sl st
R4: (1 dc in 2 sts, 2 dc) x 12, sl st
R5: (1 dc in 3 sts, 2 dc) x 12, sl st
R6: (1 dc in 4 sts, 2 dc) x 12, sl st
Now go to R13 of the foundation pattern
Be sure to always use the hashtag #HolidayBagsCAL when you share your posts or talk about this LIVE CAL, etc, especially FB Group “Crocheting with Nicki”
Party with PRIZES
LIVE PARTY starts 12pm, PT on September 19th, 2026. The LIVE Tutorial Replay (but Prizes can only be won LIVE) will be available after HERE on YouTube
We’ll have another CAL coming soon after this one ends! Be sure to stick around and be on my newsletter to not miss out!