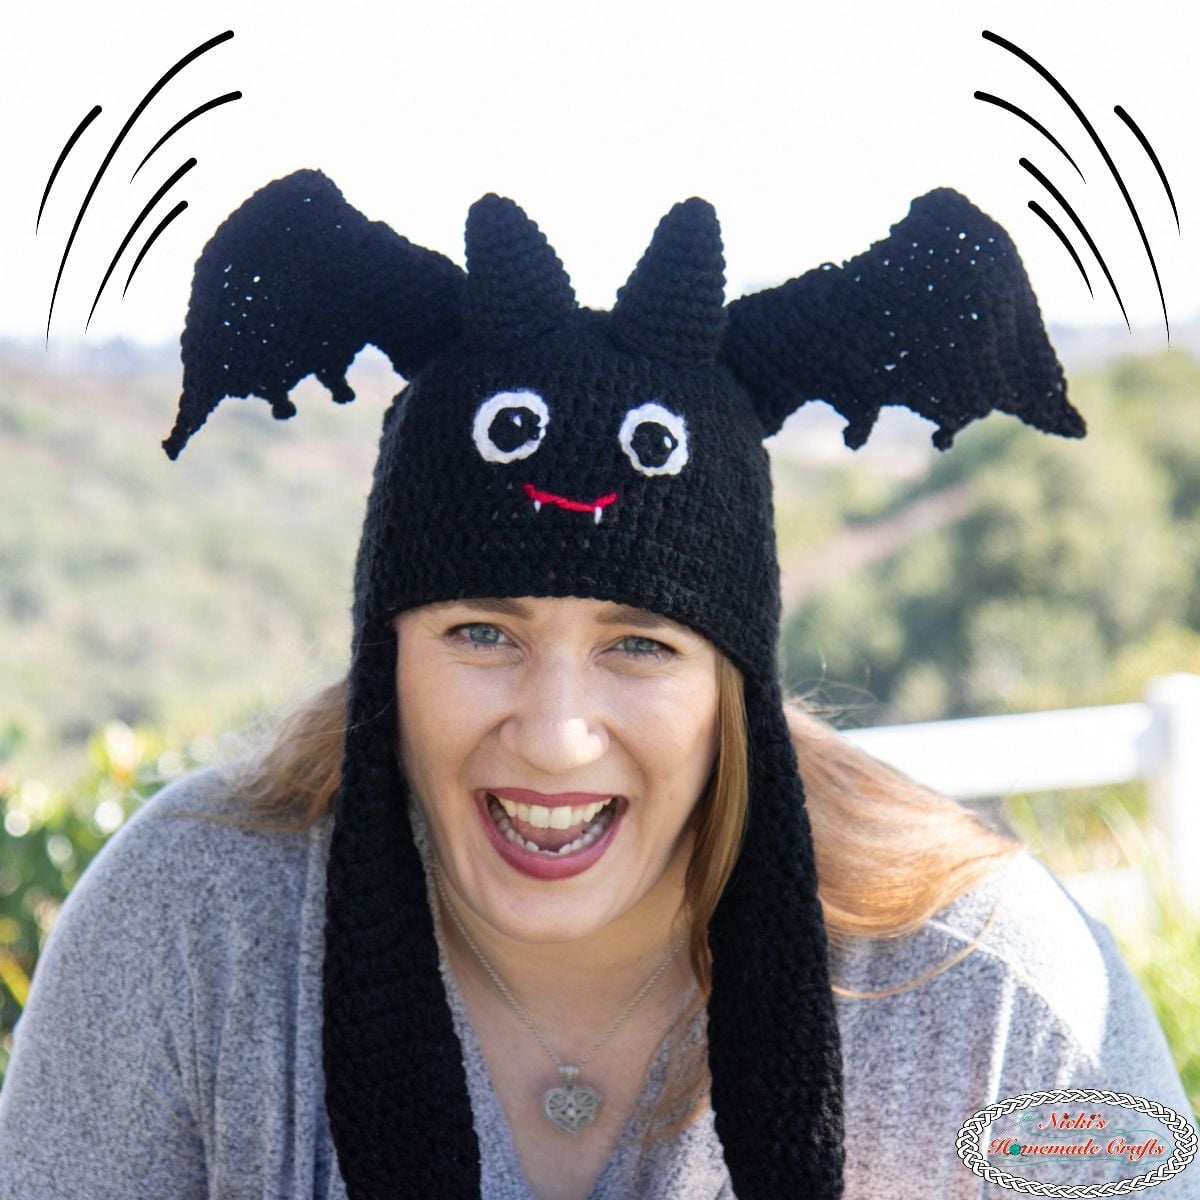
Free Crochet Bat Moving Hat Pattern
This post includes affiliate links.
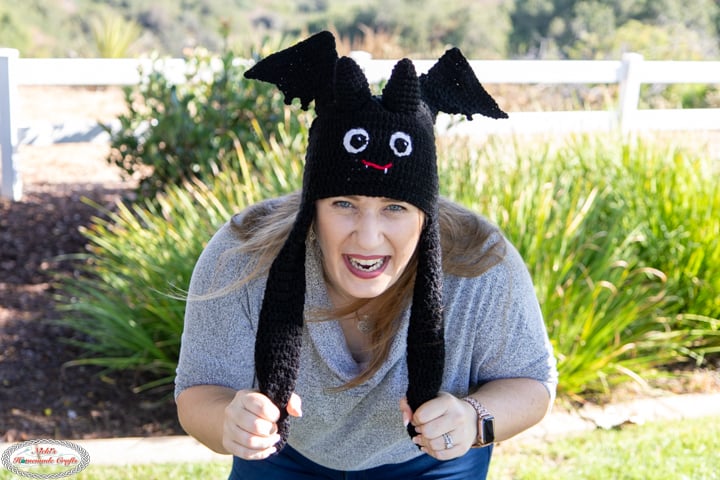
This crochet bat moving hat combines spooky Halloween charm with a fun, interactive design. With its playful bat design and moving feature, this project is perfect for crocheters who want to create a unique handmade Halloween accessory that adds a little extra spooky fun to Halloween parties, trick-or-treating, and festive fall celebrations.
This crochet bat moving hat is the perfect blend of spooky fun and playful Halloween charm. The adorable bat design features a fun moving element that brings this Halloween accessory to life, making it a unique handmade piece that’s sure to turn heads and bring smiles throughout the spooky season.
One of the best things about this design is its interactive feature. It’s a fun twist on a traditional crochet Halloween hat, making it perfect for trick-or-treating, Halloween parties, costume accessories, or simply adding a little spooky fun to your fall wardrobe. You can stick with classic Halloween colors or get creative with your own color combinations to make your bat hat truly unique.
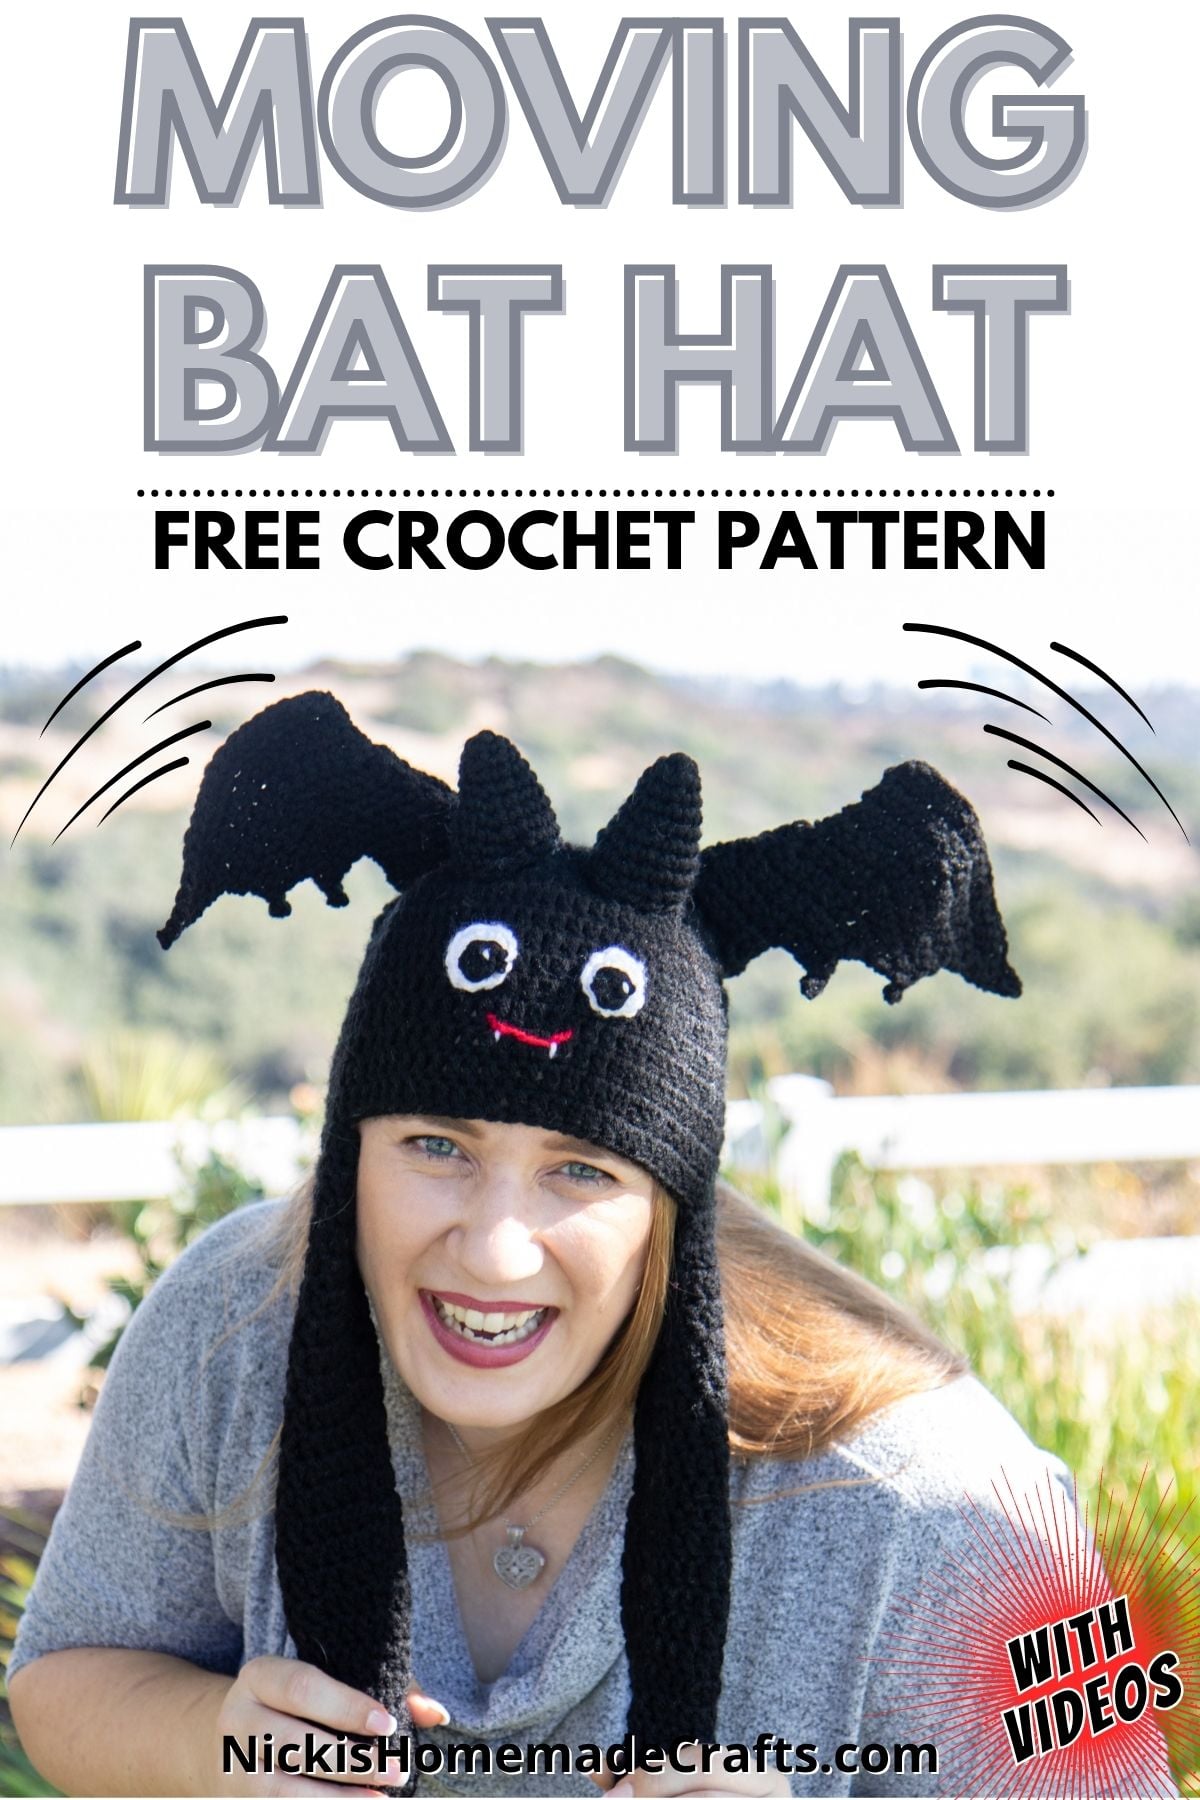
If you’re looking to crochet something a little different this Halloween, this moving bat hat is a fantastic choice. It makes a fun handmade Halloween gift, a playful costume accessory, and a spooky crochet project all in one!
This design is extra special because it’s part of the Moving Hats Mini Mystery CAL (Mini MCAL), which means you’re joining a whole community of crocheters stitching together, sharing progress, and enjoying a little creative surprise along the way. Welcome, and I can’t wait to share this fun collection of interactive crochet hats with you! Each moving hat has its own unique design and playful features, making this Mini MCAL a fun way to create handmade accessories for different holidays and occasions.
Moving Bat Hat Details
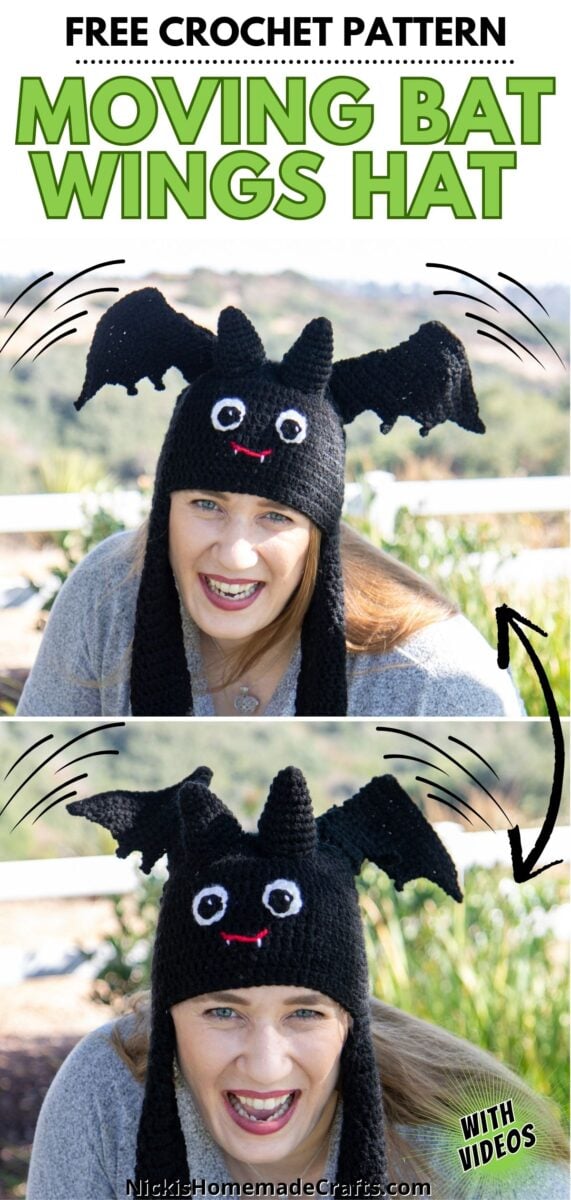
If you love Halloween and crochet, you will love this fun and interactive Halloween accessory that is sure to bring plenty of spooky joy. The adorable bat design features wings that actually move – bringing the bat to life. It is fun for Halloween parties, trick-or-treating, as a costume accessory or expressing your love for all things spooky.
This is really fun design if you’re looking for something a little different to crochet for Halloween. The moving bat wings make this hat one-of-a-kind. Not only is it cute, but it has plenty of Halloween charm. You can use any color you’d like to customize it to your style.
Ready to make your own crochet bat moving hat? Grab your favorite yarn, your crochet hook, and get ready to stitch up a spooky and playful accessory that’s just as fun to wear as it is to make!
Get More Crochet Moving Hat Patterns
Did you know…this Crochet Moving Bat Hat is not my first Moving Hat Crochet Pattern? I have a lot more!
Get the PDF of the Crochet Moving Bat Hat Pattern

This pattern is also available as an ad-free, printer-friendly pdf pattern that can be purchased at the links below on Ravelry and Etsy for only a small fee.



So, let me now give you the supplies you need in order to crochet this fun project.
Free Crochet Moving Bat Hat Pattern
Materials you will need
- Red Heart Super Saver Yarn (198g) – worsted (#4) yarn
- Black (1 skein)
- Red
- White
- 4.00 mm hook
- Scissors
- tapestry needle
- polyfill
- Air Pump Mechanism
Gauge
4 sts x 2 rounds = 1 square inch
Size
10 (width) x 7.5 inches (just that hat, one size (adult) – See reference table to adjust the size of the beanie for a different head size
Stitches used in the pattern
Learn all the basic crochet stitches HERE (US crochet terms and abbreviations)
- st/sts = stitch/stitches
- ch = chain
- sc = single crochet
- dc = double crochet
- sl st = slip stitch
- inc = increase
- dec = decrease
- Magic ring
- hdc = half double crochet
- tr = treble crochet
- ATC = Alternative Turning Chain
- blo = back loop only
- invisible join
- Chainless foundation DC stitch (video is here)
Crochet Moving Hat Video Tutorial
Before starting your moving, I recommend watching the videos (for the beanie and extension arms) shown as part of the Unicorn Moving Hat here or the Moving Witch Hat here.
Crochet Moving Bat Hat Pattern – Written Instructions
Quick note: First you’ll crochet the beanie, then the arm straps where the air pump gets inserted into, then the extra accessories. Then you assemble it all.
Use a stitch marker for rounds with no slip stitch.

Beanie
With black
ALL first dc stitches are made as a ch3 or ATC (both count as stitch, I used the ATC)
R1: MR, ch 1, add 12 dc, close the ring, sl st to the first st
R2: 2 dc per st all around, sl st to the first st
R3: *1 dc in the first st, then 2 dc in the next st, repeat from * all around, sl st to the first st
R4: *1 dc in 2 sts, then 2 dc in the next st, repeat from * all around, sl st to the first st
R5: *1 dc in 3 sts, then 2 dc in the next st, repeat from * all around, sl st to the first st
R6: *1 dc in 4 sts, then 2 dc in the next st, repeat from * all around, sl st to the first st
R7-15: 1 dc per st all around, sl st to the first st
Now you’ll crochet the long “arms” hanging down one at the time
**R1: 1 dc in the next 9 sts, now add 9 chainless foundation dc stitches, sl st to the first st
(Optionally, you can also crochet the arms separately and then sew them on later. In that case, make a chain of 18, sl st to the first st, and then crochet 1 dc per ch (18 sts) all around)
R2- 21: 1 dc per st, sl st to the 1st st
R22: *1 dc, 2dc in the following st, repeat from * all around, sl st to the 1st st
R23-25: 1 dc per st, sl st to the 1st st
R26: dc dec all around, sl st to the 1st st
Fasten off (close the hole)and weave in your ends.
Reattach your yarn, 28 stitches from the 9th dc you made in R1 (opposite side of the beanie). And repeat from ** for the 2nd arm.
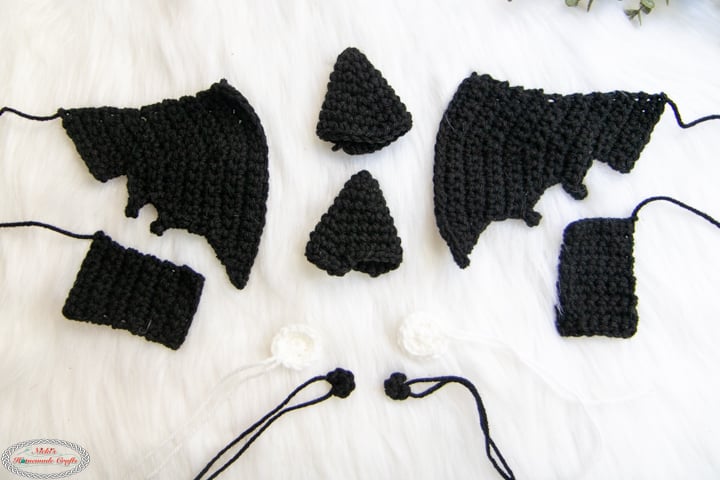
2 Wings – black
Turn after each row
R1: ch21, start from the 2nd ch from the hook, 1 sc per st (20 sts)
R2: 1 sc dec, 1 sc in 15 sts, 1 sc dec, sk last st (17 sts)
R3: 1 sc dec, 1 sc in 14 sts, 2 sc in the last st (17 sts)
R4: 1 sc dec, 1 sc in 13 sts, 1 sc dec (15 sts)
R5: 1 sc dec, 1 sc in 5 sts, 1 sc dec, 1 sc in 5 sts, 2 sc in the last st (14 sts)
R6: 1 sc in 5 sts, 1 sc dec, 1 sc in 7 sts (13 sts)
R7: 1 sc in 12 sts, 2 sc in the last st (14 sts)
R8: 1 sc per st (14 sts)
R9: ch 4, 1 sc in 4th ch from the hook, 1 sc dec, 1 sc in 4 sts, 1 sc dec 2 times, 1 sc in 4 sts (12 sts)
R10: 2 sc, 1 sc in 3 sts, 1 sc dec, 1 sc in 3 sts, 1 sc dec, sk last st (10 sts)
R11: 1 sc dec, 1 sc in 7 sts, 2 sc in last st (10 sts)
R12: 1 sc in 4 sts, 1 sc dec, 1 sc in 2 sts, 1 sc dec (8 sts)
R13: 1 sc in 7 sts, 2 sc (9 sts)
R14: 2 sc, 1 sc in 7 sts, 2 sc in last st (11 sts)
R15: ch 4, 1 sc in 4th ch from the hook, 1 sc in 2 sts, 1 sc dec 2 times, 1 sc in 5 sts (10 sts)
R16: 2 sc, 1 sc in 5 sts (7 sts)
R17-18: 1 sc per st (7 sts)
R19: 2 sc, 1 sc in 5 sts, 2 sc in last st (9 sts)
2 Backs for air pumps behind wings – black
R1: ch 8, start from the 2nd ch from the hook, 1 sc per st, turn
R2-10: 1 sc per st, turn
R11: 2 sc, 1 sc until 1 sts left, 2 sc, fasten off
2 Ears – black
R1: MR, 6 sc, close ring
R2: (1 sc in 2 sts, 2 sc in next st) 2 times
R3: (1 sc in 3 sts, 2 sc in next st) 2 times
R4: (1 sc in 4 sts, 2 sc in next st) 2 times
R5: (1 sc in 5 sts, 2 sc in next st) 2 times
R6: (1 sc in 6 sts, 2 sc in next st) 2 times
R7: (1 sc in 7 sts, 2 sc in next st) 2 times
R8: (1 sc in 8 sts, 2 sc in next st) 2 times
Fasten off
2 Eyes – black
R1: MR, ch1, add 6 sc, sl st to the first st
2 Eyes – white
R1: MR, ch1, add 6 sc, sl st to the first st
R2: 2 sc per st, sl st to the first st
Sew black circle to the outer edge of the white circle and add a small line for a more realistic look on each eye.
Assembly
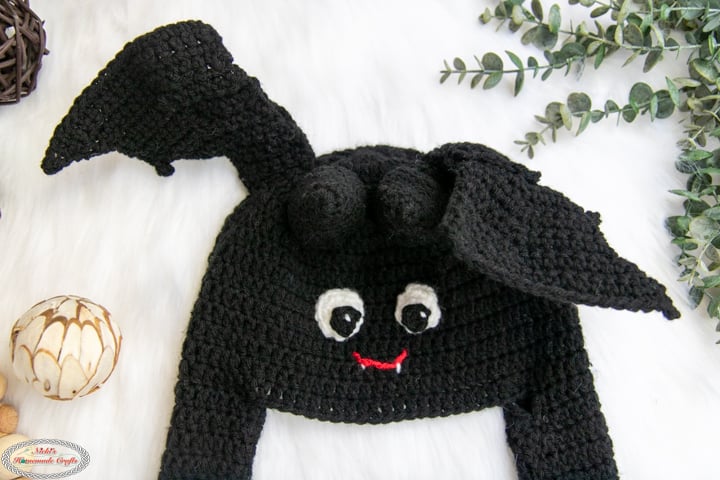
Now add the air pump mechanism, by adding the bulb through the long arms and squeeze half of the bent air flap (opposite side of the air pump) between 2 stitches on round 4 from the top of the beanie) – right and left side of the face. Add the half air flaps into the wings, then sew the wings to the beanie. Optionally block or starch the wings, I kept mine as is.
Sew the eyes to the front of the face. Sew on a smile as the mouth (cut a small piece of red and pin it down, then sew over it with red to make it permanent). Add 2 small lines on each side of the mouth for 2 small teeth.
Sew stuffed ears to the top of the beanie (between rounds 3 and 5 from the top of the beanie).
Sew back piece to the last rows of each wing (last rows touch), but keep and opening where the last rounds are for the air pump piece.
How did your shawl turn out? We’d love to see the result of all your hard work in the Facebook Group: Crocheting with Nicki.
I’m always here to support you through this linked crochet wrap around sweater scarf pattern and any other pattern or tutorial. Simply ask in my group and me and other amazing and kind crocheters will help you along.
Here are some other great moving hat crochet projects that you might like to try:


Find the free crochet patterns here:
- Moving Crochet Witch Hat
- Crochet Skeleton Hat with Moving Ears
- Crochet Reindeer Hat with Moving Ears
- Crochet Elf Hat with Moving Ears
Be sure to share the link with your crafty friends on social media using the buttons above or below this bat moving hat crochet pattern.
That way you will find it easily again when you need it and you also provide the world and your friends with the ability to gain extra crochet knowledge as well. And to top it off, you help me as it allows me to create more content that you love already and want to see more of – free crochet patterns and tutorials. So, thank you for sharing.
If you love my crochet patterns and the way I teach, I would suggest subscribing to my newsletter below as I share new patterns, tutorials, and special announcements often.
NICKI’S CROCHET CLUB – CROCHET PATTERN, TIPS & TUTORIAL VAULT
You can have the most amazing pattern and yarn in the world, but if you don’t have the knowledge on how to crochet in a way that makes you proud, then all your work is for nothing.
Maybe you have a dream of having perfect straight seams or have less yarn to weave in?
Let me introduce you to NICKI’S CROCHET CLUB – AN ALL-ACCESS MEMBERSHIP! It is exactly what it says on the tin. If you sign up for the membership I will teach you different techniques and tips on how to improve your crochet projects!
You will get access to all my patterns in adfree printable formats with check off boxes and full support from myself to guide you through the tricky bits. I will also teach you what YOU want to learn! Join me in NICKI’S CROCHET CLUB – AN ALL-ACCESS MEMBERSHIP!
Does getting 8 Crochet Secret Tips delivered straight into your inbox sound like something you would find useful? If so, sign up for my crochet newsletter below. I send out a weekly newsletter packed full of crochet patterns and tutorials.