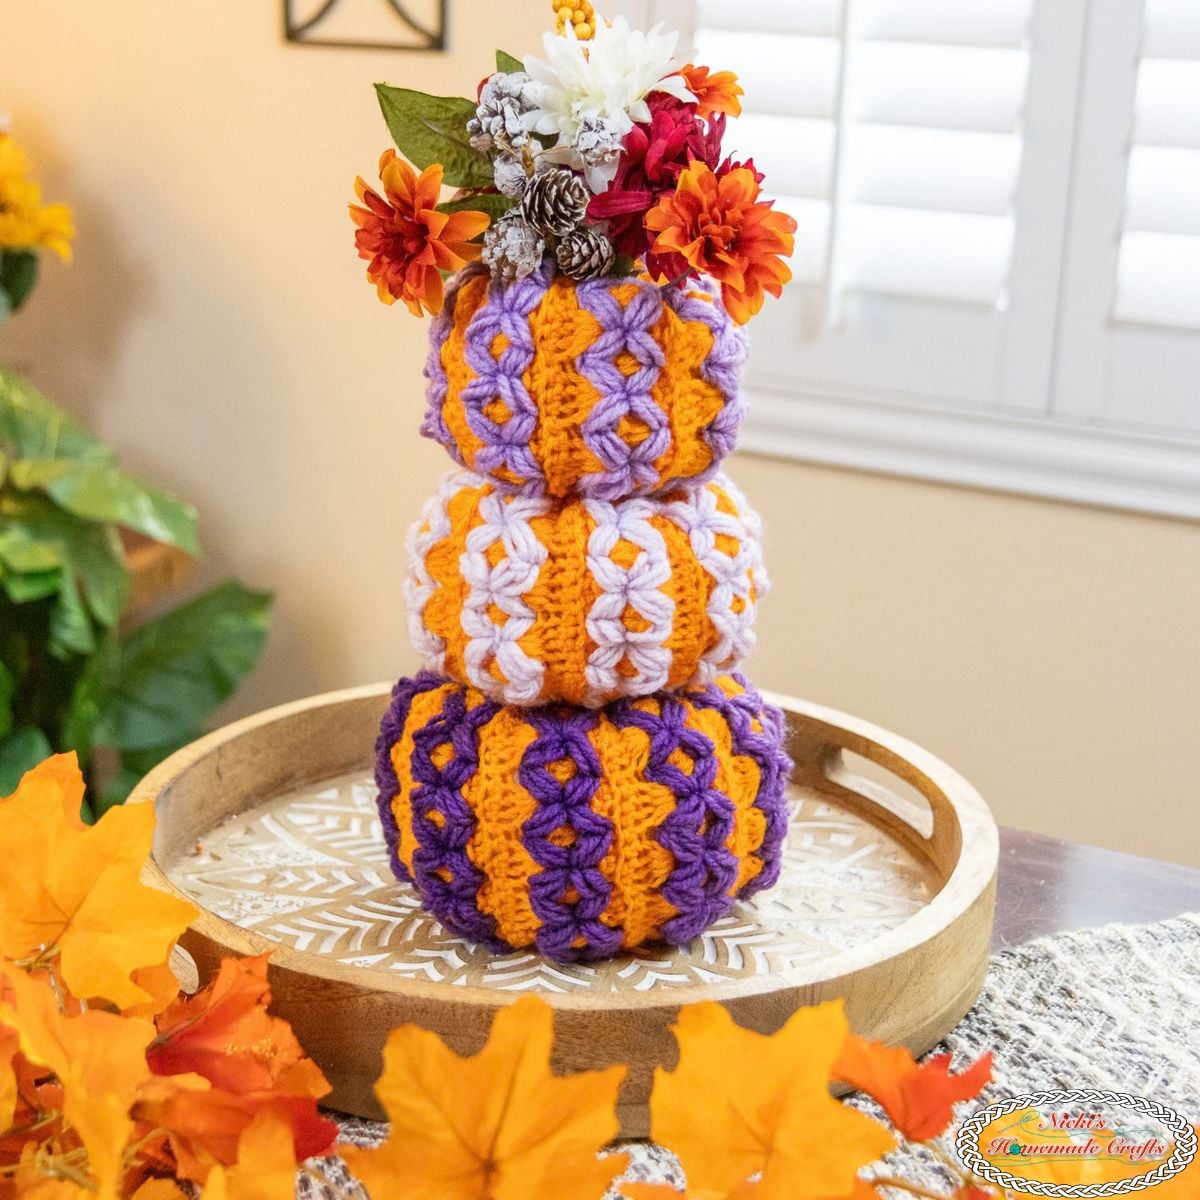
Free Crochet Pumpkin Trio Pattern using the Diamond Puff Stitch
This post includes affiliate links.
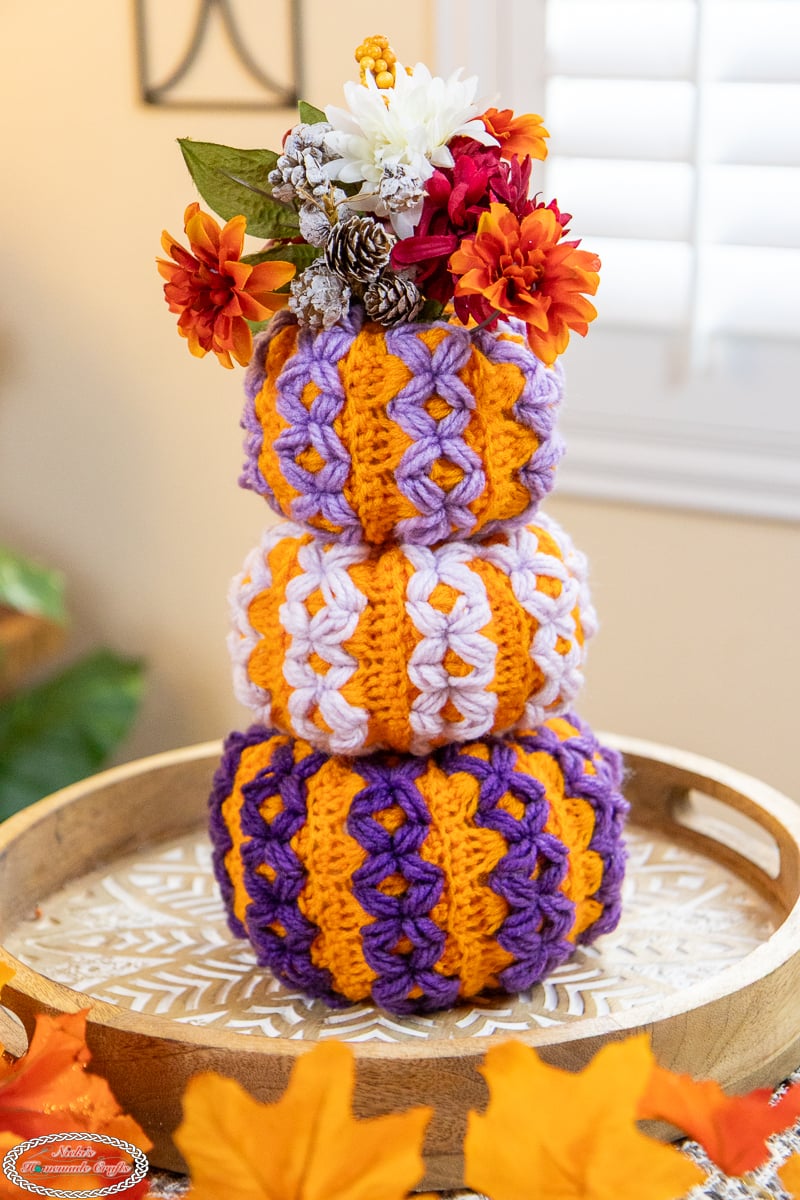
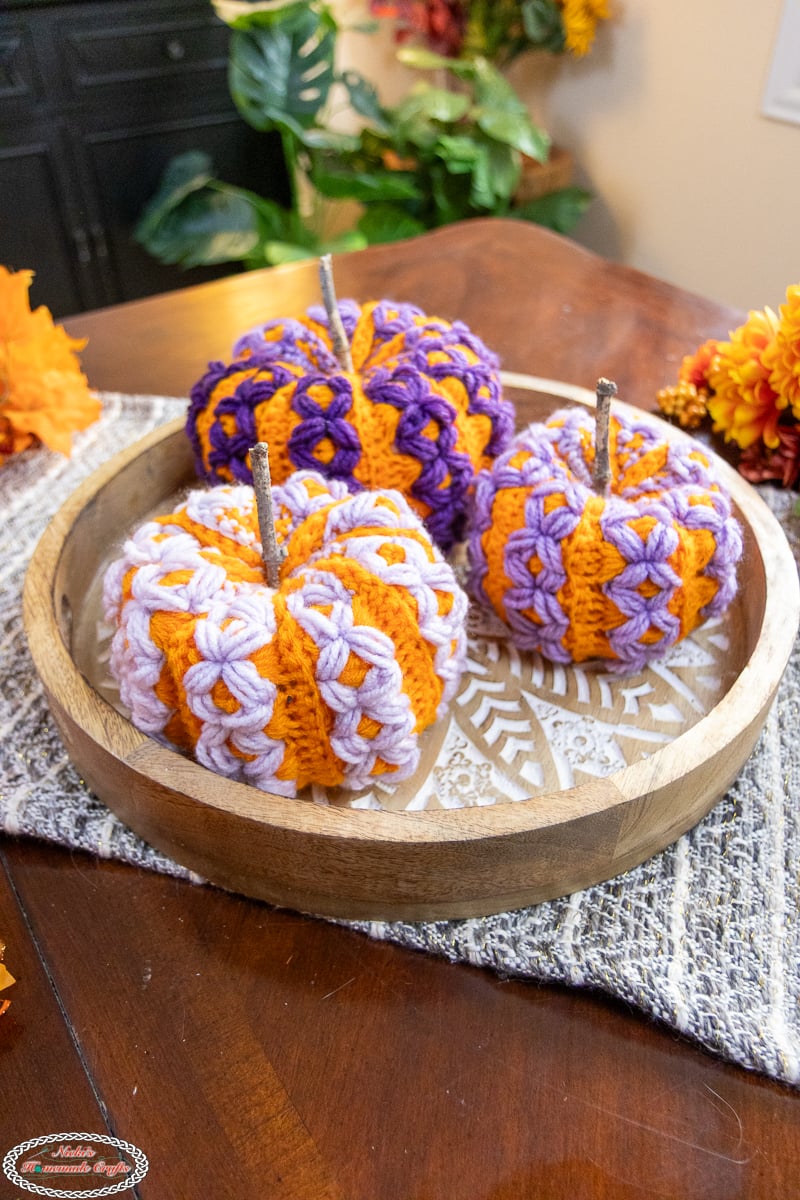
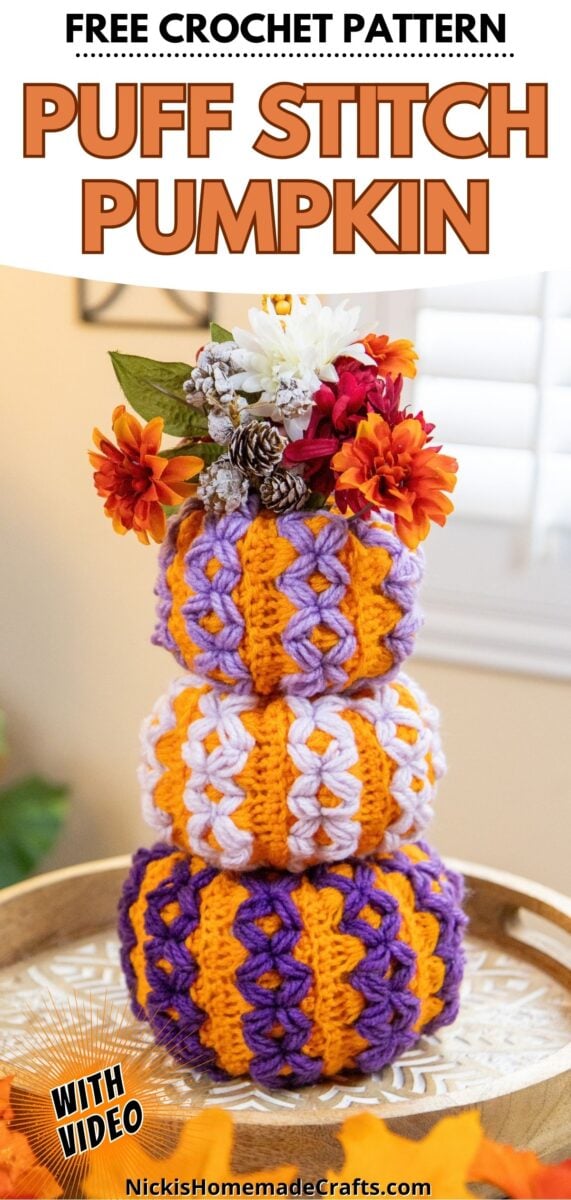
This Diamond Puff Stitch Pumpkin Trio crochet pattern features 3 festive pumpkins in different sizes; each made with a beautiful textured puff stitch design. Create the full trio for a cozy handmade fall decoration for your home.
Get ready to crochet some cozy fall texture with this crochet pumpkin pattern. It features a gorgeous diamond puff stitch and three different sized pumpkins. This pattern is perfect for anyone that loves to decorate their home with handmade pumpkins or someone who just loves a good fall crochet project.
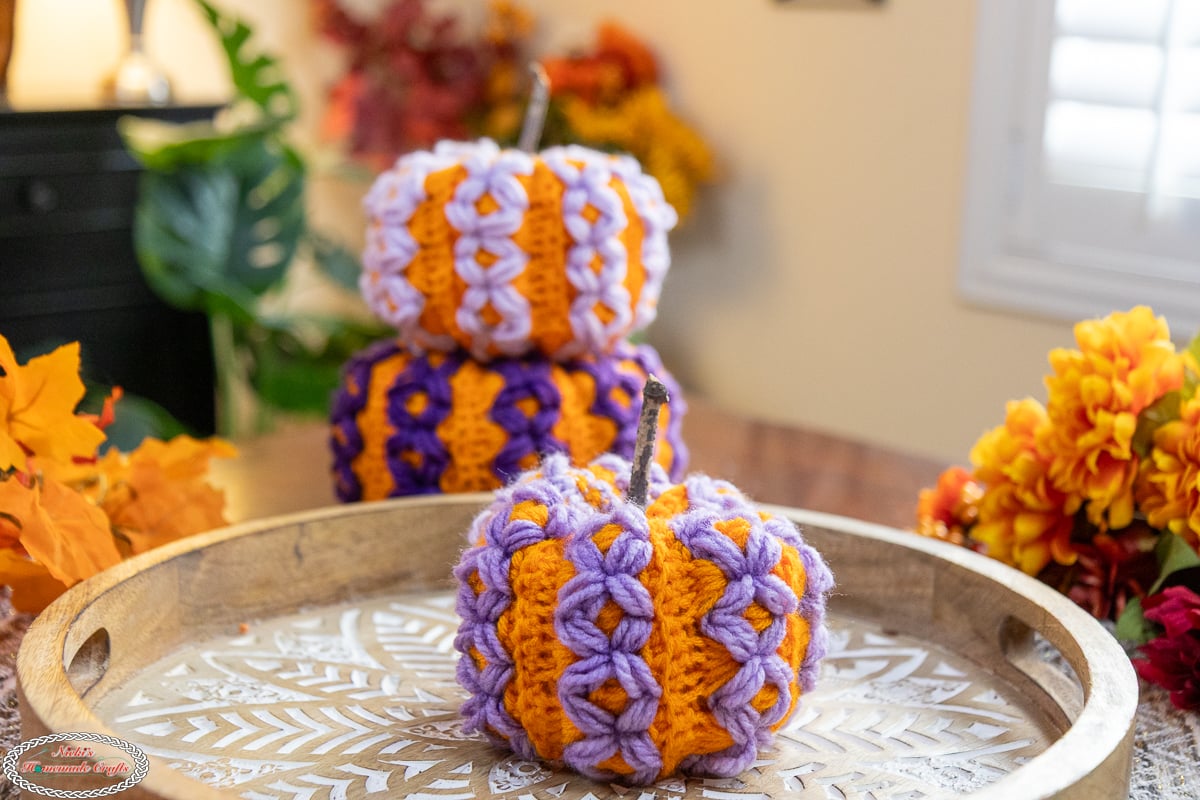
Each pumpkin features my original diamond puff stitch that make the finished pumpkins eye-catching and charming. You can crochet all three sizes in correlating colors to display them on your mantel or entryway. You can make them with your favorite fall colors or maybe make them to match the color theme of your home for more subtle, but still festive decor.
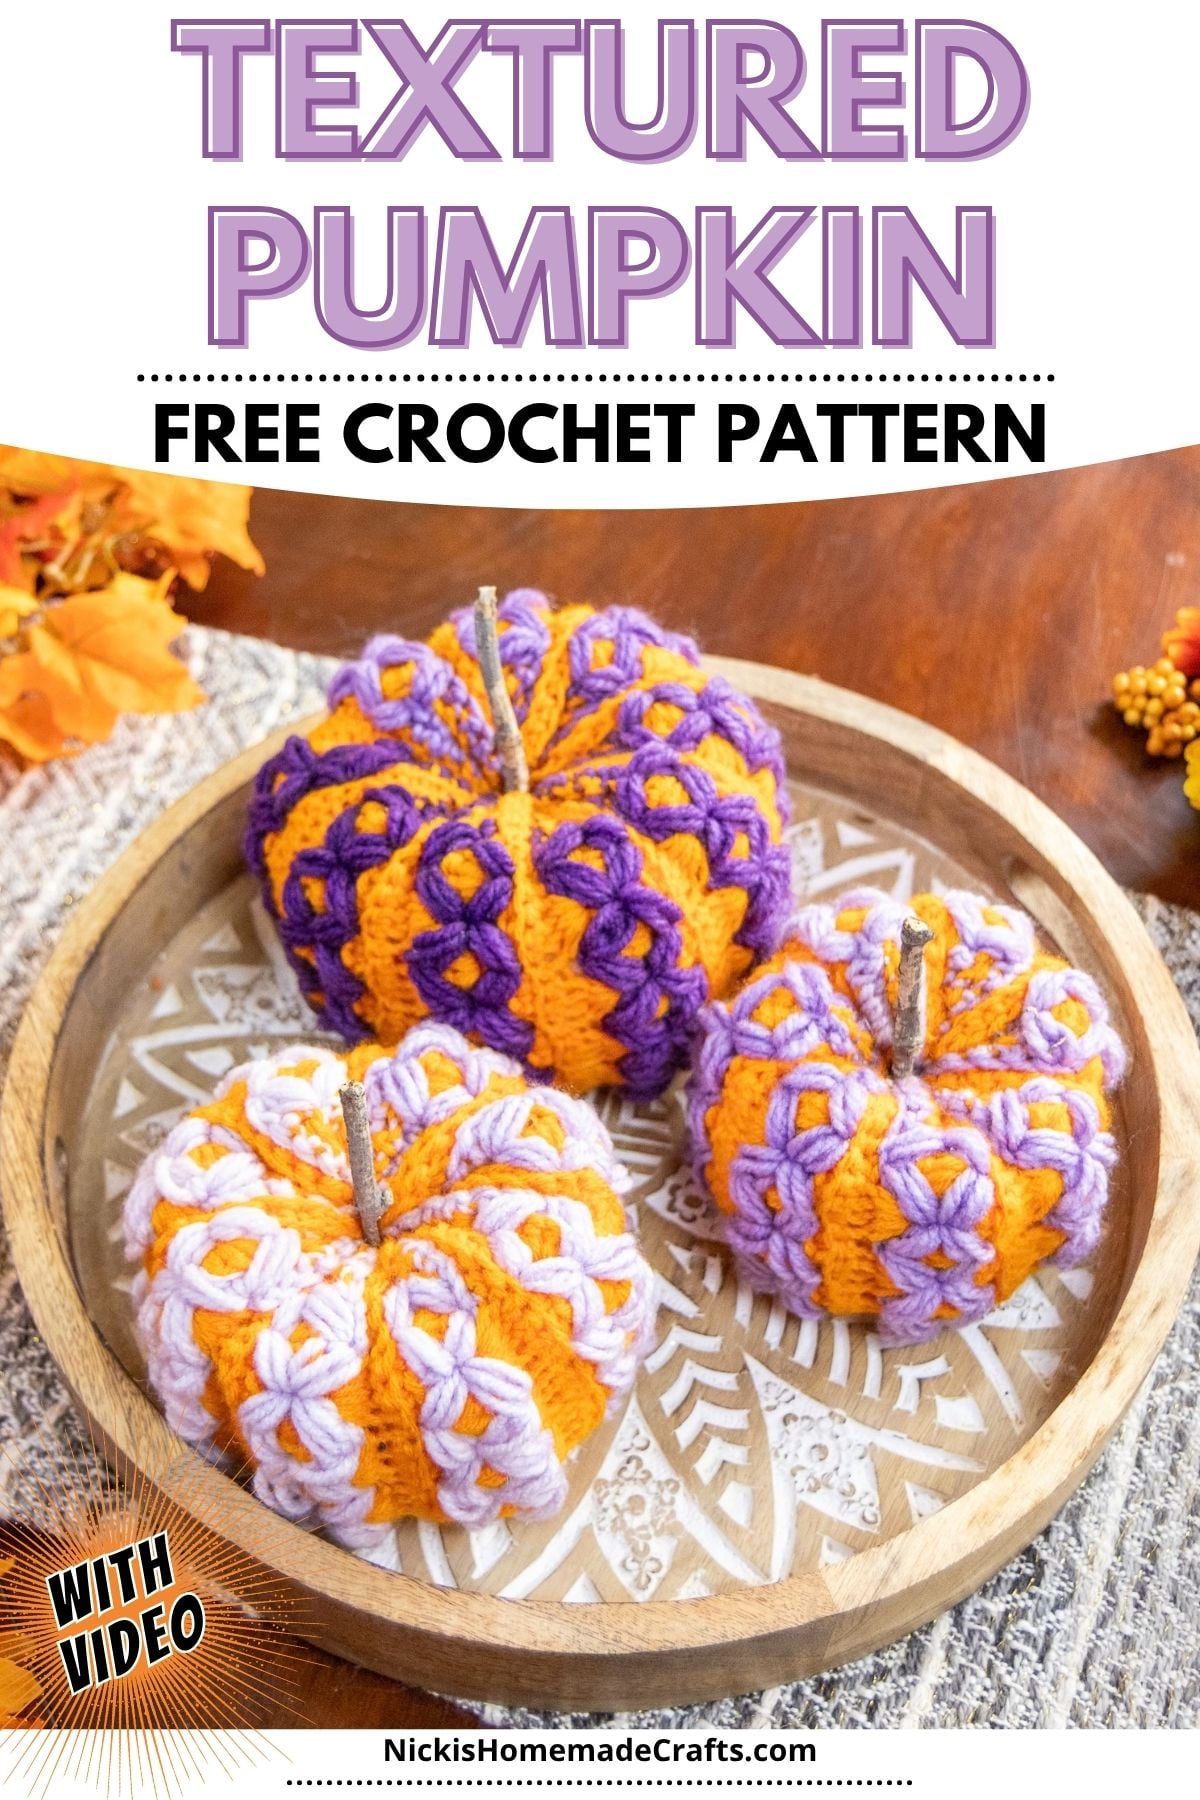
You could make the complete trio of crochet pumpkins for your home, to give as a gift or even add to your inventory at your fall craft market. How fun would it be to create them in traditional fall colors, soft neutrals or a bold, colorful collection? With three sizes and gorgeous textured details, this crochet pumpkin trio will be your go-to fall crochet project.
If you’re looking for a fun and festive crochet pattern for fall, this Diamond Puff Stitch Pumpkin Trio is just right for you! Make a set for your own autumn décor, give them as handmade gifts to loved ones, or add them to your fall market inventory. These pumpkins are a fun way to use your favorite fall-colored yarn and create cozy seasonal décor you can enjoy year after year!
Diamond Puff Stitch Pumpkin Trio Pattern
You get plenty of cozy fall texture with this Diamond Puff Stitch Pumpkin Trio, not to mention three different pumpkin sizes to crochet. Each pumpkin features the same beautiful diamond puff stitch design, creating a coordinating set that looks great displayed together. Use them as fall décor around your home, add them to a seasonal centerpiece, or give them as festive handmade gifts.
This fun crochet project is perfect if you love making seasonal home decor or just want to add some texture to your fall decor. Whether you make the full trio to display in your home, make them as individual gifts for loved ones or add them to your next market, you will not be able to stop making these pumpkins!
Ready to make your own Diamond Puff Stitch Pumpkin Trio? Grab your favorite hook and yarn and get ready to stitch up one pumpkin or all three! Mix and match colors, make several sets, and have fun watching the gorgeous diamond puff stitch texture come to life. Once finished, arrange your pumpkin trio on a mantel, shelf, table, or anywhere that could use a little extra handmade fall charm!
Get the PDF of the Diamond Puff Stitch Pumpkin Trio Pattern

This pattern is also available as an ad-free, printer-friendly pdf pattern that can be purchased at the links below on Ravelry and Etsy for only a small fee.



So, let me now give you the supplies you need in order to crochet this fun project.
Free Diamond Puff Stitch Pumpkin Trio Pattern
Materials you will need
- Red Heart Super Saver in color Orange (less than 1 skein for 3 pumpkins)
- Lion Brand Mandala Gradient Yarn in color Purple (less than 1 skein for 3 pumpkins)
- 4mm hook
- stuffing
- optional decor
Gauge
4 sc sts x 4 sc rows = 1 square inch
Size
Large: 7.5 x 4.5 inches
Medium: 5.5 x 4 inches
Small: 5 x 3.5 inches
Stitches used in the pattern
Learn all the basic crochet stitches HERE (US crochet terms and abbreviations)
- st = stitch
- ch = chain
- sc = single crochet
- blo = back loop only
- 1 Diagonal Puff forward = 7 loop puff made 1 row down, 2 stitches over
- 1 Diagonal Puff backward = 7 loop puff made 1 row down, into the same space as the last puff stitch
- 2 Diagonal Puff = 7 loop puff (unfinished) made 1 row down, into the same space as the last puff stitch, sk 3 sts, 6 loop puff made the next st, 1 row down, 13 loops made, yarn over and pull through all
Crochet Diamond Puff Stitch Pumpkin Trio Video Tutorial
Before starting your crochet pumpkin pattern, I recommend watching the tutorial video below.
Diamond Puff Stitch Pumpkin Trio Written Instructions
Pattern notes:
Multiple of 4 of 1 for the stitch, but the pumpkin as an edge section of 5 stitches each, so it’s multiple of 4+10+1
It’s best to aim to have a rectangle that has 2x the length of the width, regardless of the size of pumpkin you make
Diamond Puff Stitch is made with a 5 row repeat, you can change colors and/or do it all in one color(turning may look different, but otherwise the pattern is the same)
Small Pumpkin
Start with orange, ch 27
R1: in orange, 1 sc per ch, turn
Drop the orange, pick up the purple
R2: 1 sc in blo in 5 sts, 1 diagonal puff forward, *ch 3, skip 3 sts, 2 diagonal puff in the next st 1 row down, repeat from * until 7 sts left, ch 3, 1 diagonal puff backward, sk 2 st, 1 sc in blo in last 5 sts, drop purple
R3: pick up the orange where you left it start on top of stitch 1 of R2, ch 1, 1 sc in blo in 5 sts, then find the sc sts between the puffs that form a V, 4 sc into that st, repeat for ALL V-puff sections, 1 sc in blo in last 5 sts, drop orange
R4: pick up the purple where you left it, start on top of the last st of R3, ch 1, 1 sc in blo in 5 sts, *2 diagonal puff (insert into top area of the puffs below), ch 3, repeat from * until 5 sts left, ch 2, 1 sc in blo for 5 sts, drop the purple
R5: 1 sc in blo 5 sts and 2 chs (7 in total), *4 sc in the sc st between the V of the puff, repeat from * for all V’s, finish with 1 sc in 2 chs, 1 sc in blo in 5 sts, turn
R6: continue in orange, 1 sc in blo, drop the orange
R7-35: Repeat R2-6 for the pattern (side note, you’ll need to chain 2-3 for R2 when you start with the purple on top of stitch 1 of R6)
See Assembly instructions at the end.
Medium Pumpkin
Start with orange, ch 31
R1: in orange, 1 sc per ch, turn
Drop the orange, pick up the purple
R2: 1 sc in blo in 5 sts, 1 diagonal puff forward, *ch 3, skip 3 sts, 2 diagonal puff in the next st 1 row down, repeat from * until 7 sts left, ch 3, 1 diagonal puff backward, sk 2 st, 1 sc in blo in last 5 sts, drop purple
R3: pick up the orange where you left it start on top of stitch 1 of R2, ch 1, 1 sc in blo in 5 sts, then find the sc sts between the puffs that form a V, 4 sc into that st, repeat for ALL V-puff sections, 1 sc in blo in last 5 sts, drop orange
R4: pick up the purple where you left it, start on top of the last st of R3, ch 1, 1 sc in blo in 5 sts, *2 diagonal puff (insert into top area of the puffs below), ch 3, repeat from * until 5 sts left, ch 2, 1 sc in blo for 5 sts, drop the purple
R5: 1 sc in blo 5 sts and 2 chs (7 in total), *4 sc in the sc st between the V of the puff, repeat from * for all V’s, finish with 1 sc in 2 chs, 1 sc in blo in 5 sts, turn
R6: continue in orange, 1 sc in blo, drop the orange
R7-40: Repeat R2-6 for the pattern (side note, you’ll need to chain 2-3 for R2 when you start with the purple on top of stitch 1 of R6)
See Assembly instructions at the end.
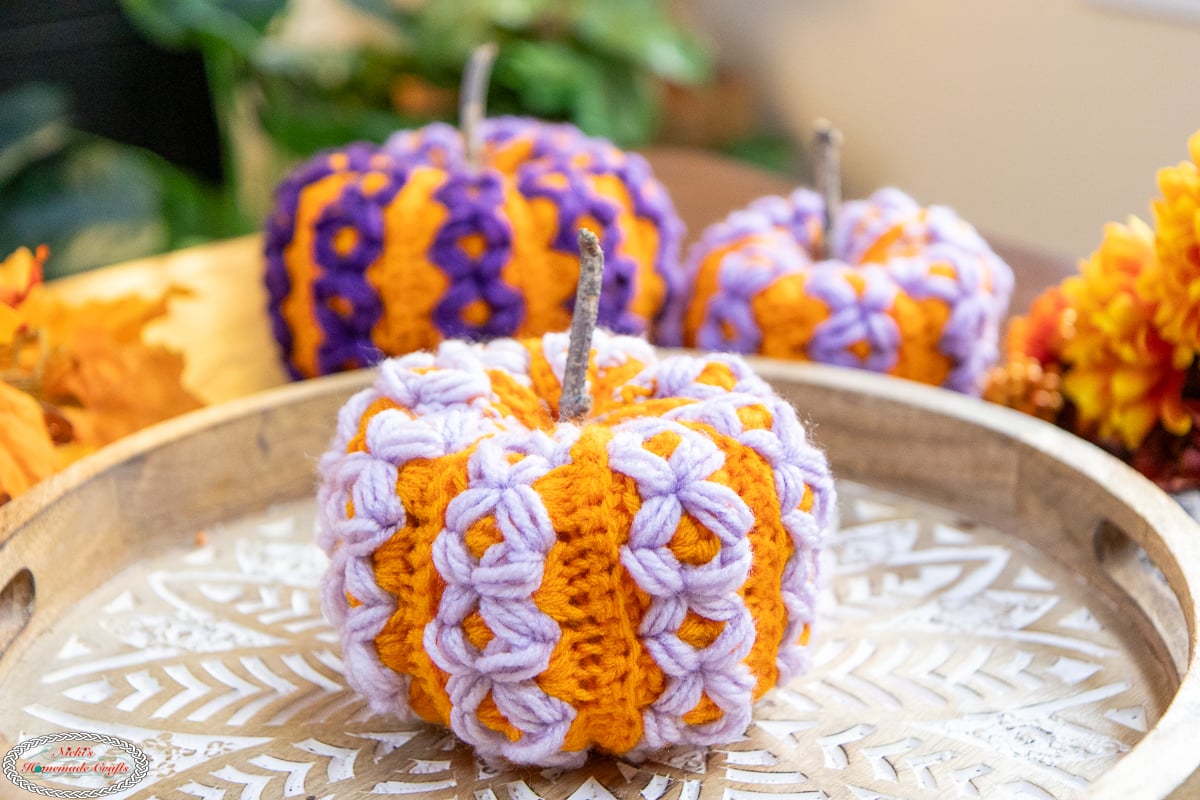
Large Pumpkin
Start with orange, ch 35
R1: in orange, 1 sc per ch, turn
Drop the orange, pick up the purple
R2: 1 sc in blo in 5 sts, 1 diagonal puff forward, *ch 3, skip 3 sts, 2 diagonal puff in the next st 1 row down, repeat from * until 7 sts left, ch 3, 1 diagonal puff backward, sk 2 st, 1 sc in blo in last 5 sts, drop purple
R3: pick up the orange where you left it start on top of stitch 1 of R2, ch 1, 1 sc in blo in 5 sts, then find the sc sts between the puffs that form a V, 4 sc into that st, repeat for ALL V-puff sections, 1 sc in blo in last 5 sts, drop orange
R4: pick up the purple where you left it, start on top of the last st of R3, ch 1, 1 sc in blo in 5 sts, *2 diagonal puff (insert into top area of the puffs below), ch 3, repeat from * until 5 sts left, ch 2, 1 sc in blo for 5 sts, drop the purple
R5: 1 sc in blo 5 sts and 2 chs (7 in total), *4 sc in the sc st between the V of the puff, repeat from * for all V’s, finish with 1 sc in 2 chs, 1 sc in blo in 5 sts, turn
R6: continue in orange, 1 sc in blo, drop the orange
R7-45: Repeat R2-6 for the pattern (side note, you’ll need to chain 2-3 for R2 when you start with the purple on top of stitch 1 of R6)
See Assembly instructions below.
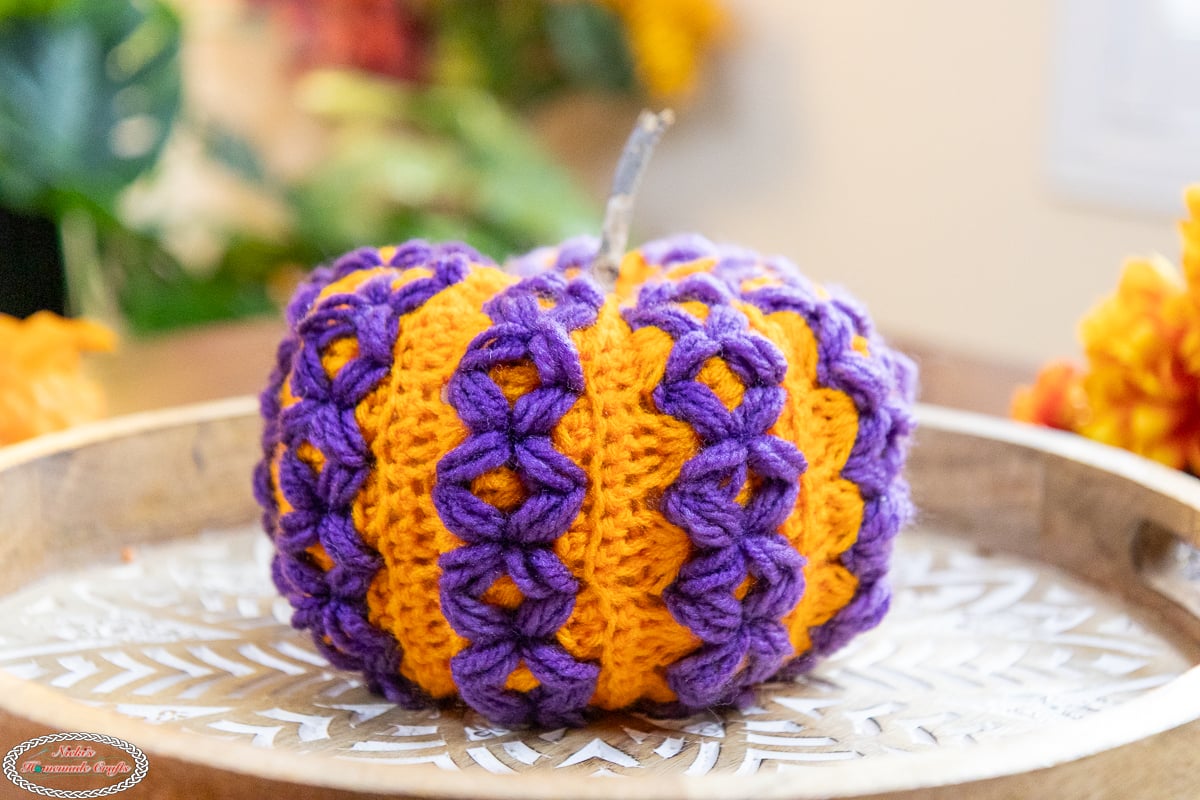
Assembly
Pick the “prettier” side to be the outside, fold in half, then seam the short sides together, next seam the top tube opening together (weave in and out every 2-3 rows), singe, fasten off,
Reattach the yarn on the opening side, stuff the pumpkin, then repeat, weave in and out the yarn every 2-3 rows, singe, (keep small opening for stick – finger width), then knot, then weave to the yarn and needle back and forth between the bottom singed area and the top singed area to pull the center inward a bit to make it pumpkin shaped. Fasten off and weave in ends
How did your pumpkins turn out? We’d love to see the result of all your hard work in the Facebook Group: Crocheting with Nicki.
I’m always here to support you through this linked crochet wrap around sweater scarf pattern and any other pattern or tutorial. Simply ask in my group and me and other amazing and kind crocheters will help you along.
Here are some other fun Halloween crochet patterns that you might like to try:
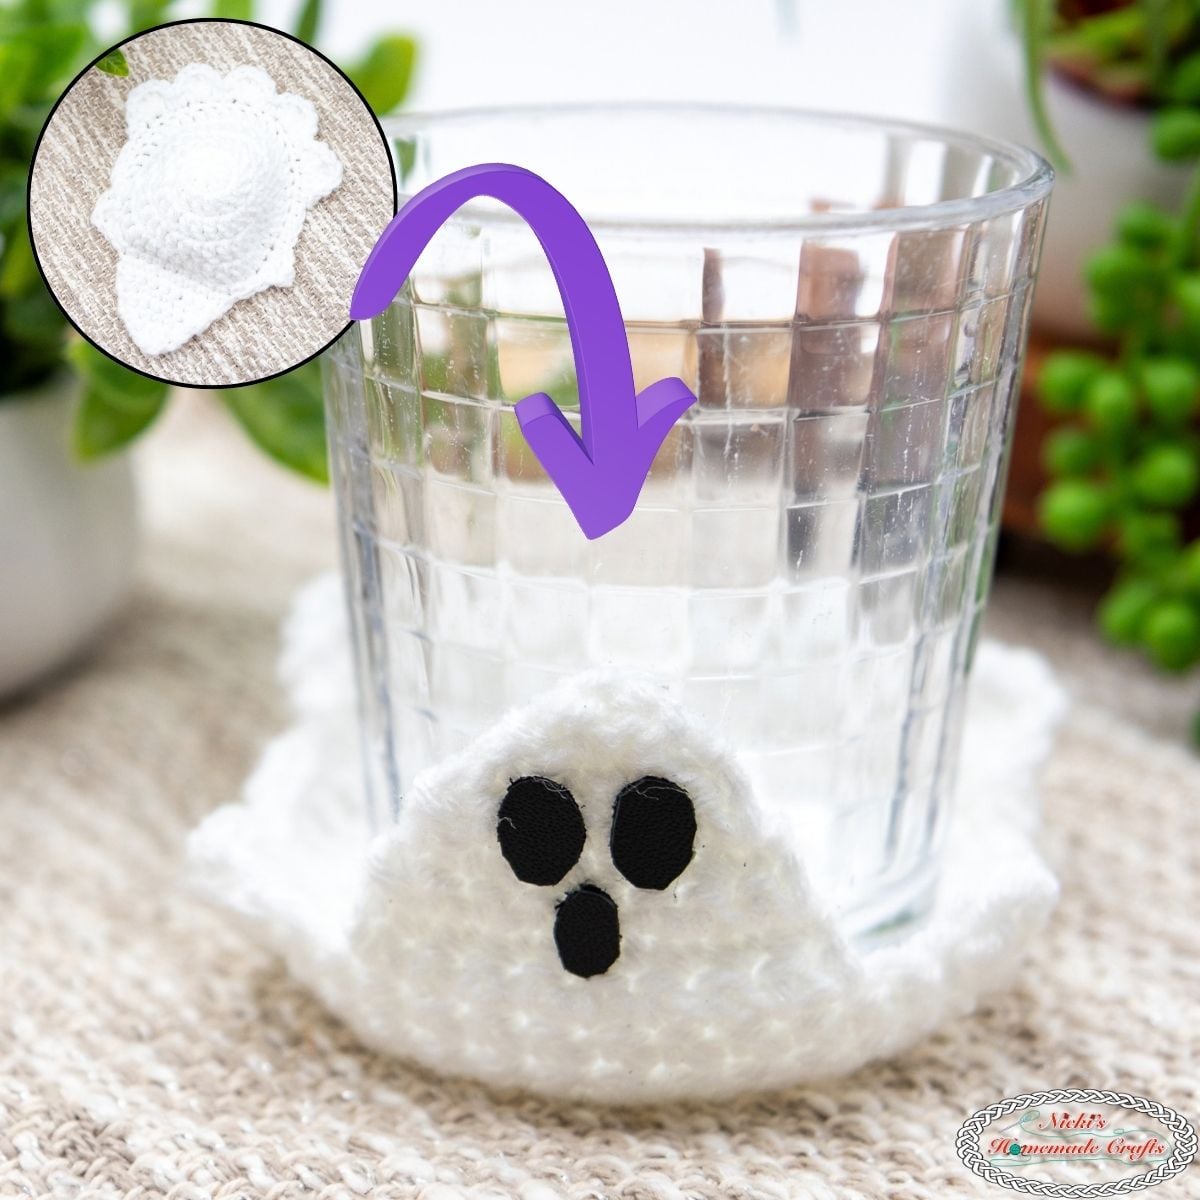
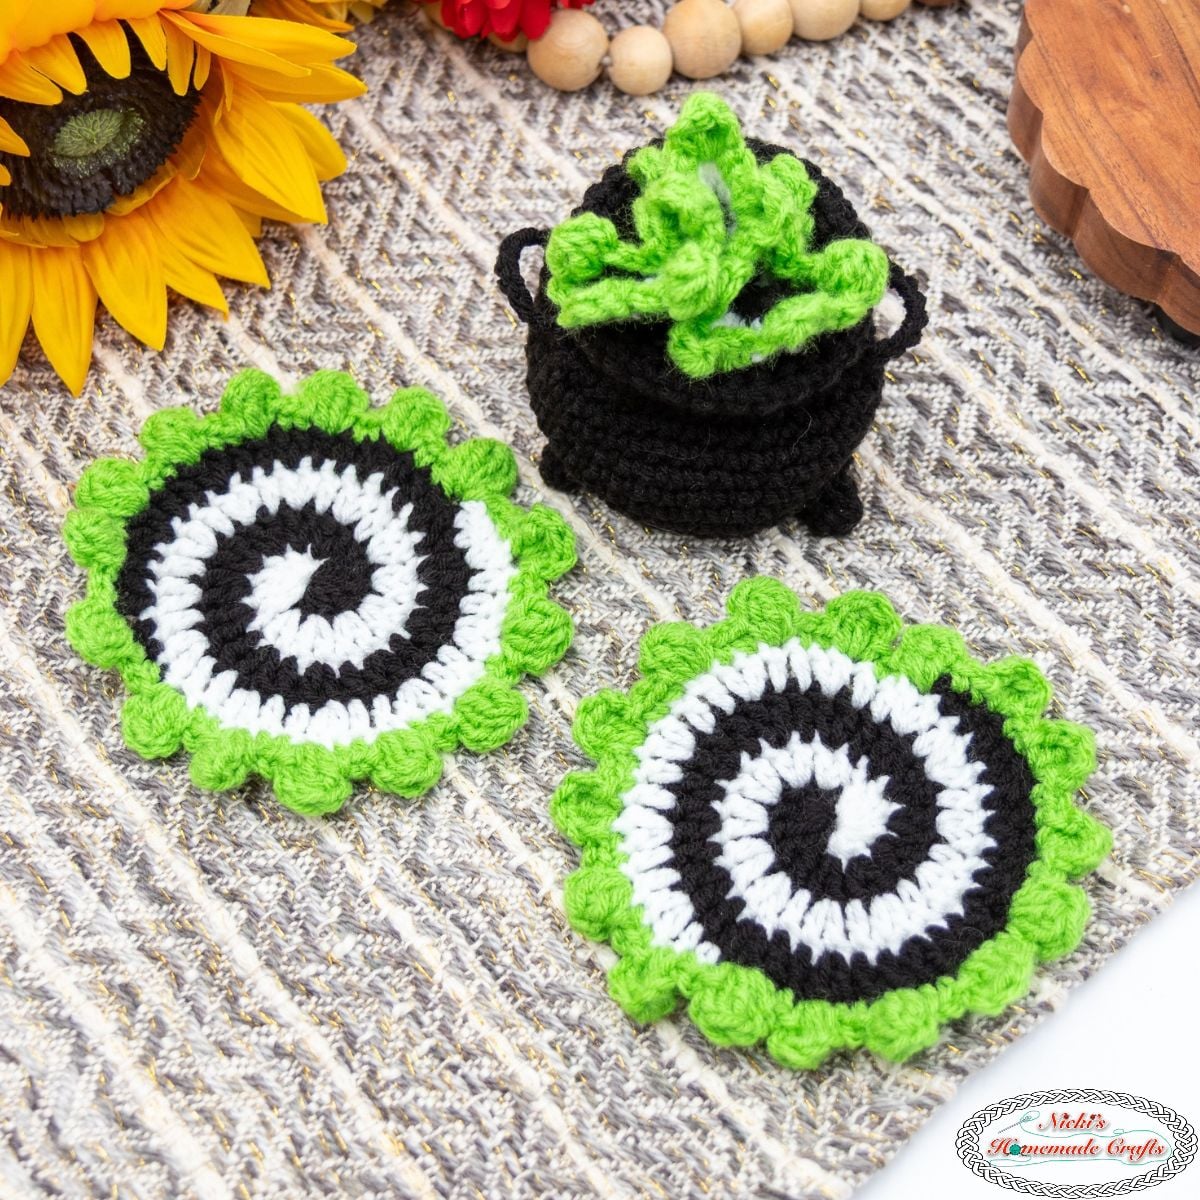
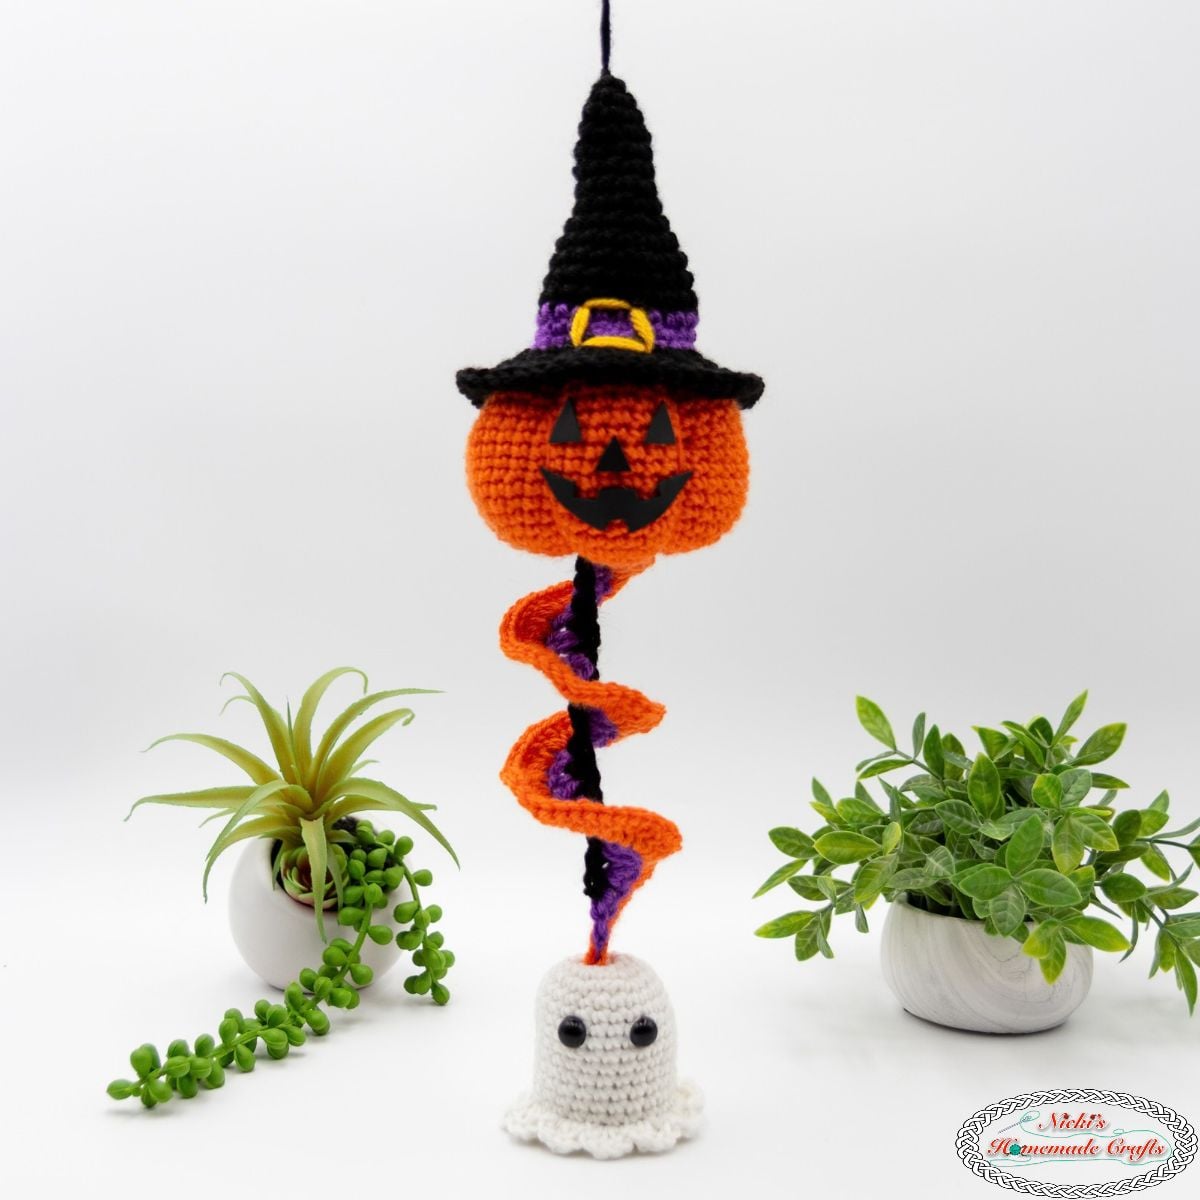
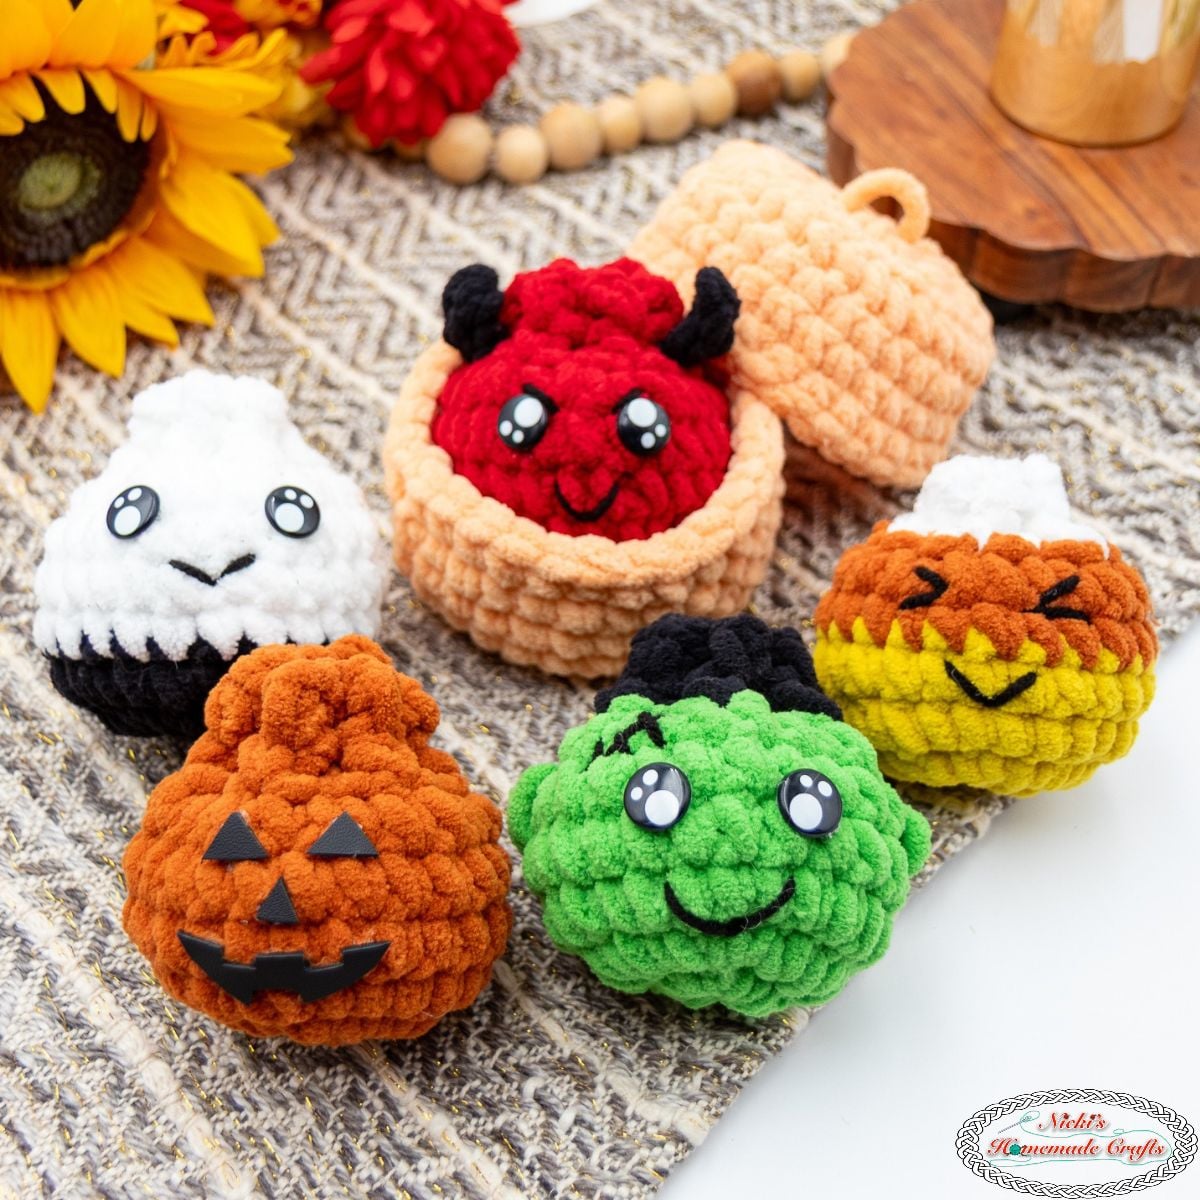
Find the free crochet patterns here:
Be sure to share the link with your crafty friends on social media using the buttons above or below this free crochet pattern.
That way you will find it easily again when you need it and you also provide the world and your friends with the ability to gain extra crochet knowledge as well. And to top it off, you help me as it allows me to create more content that you love already and want to see more of – free crochet patterns and tutorials. So, thank you for sharing.
If you love my crochet patterns and the way I teach, I would suggest subscribing to my newsletter below as I share new patterns, tutorials, and special announcements often.
NICKI’S CROCHET CLUB – CROCHET PATTERN, TIPS & TUTORIAL VAULT
You can have the most amazing pattern and yarn in the world, but if you don’t have the knowledge on how to crochet in a way that makes you proud, then all your work is for nothing.
Maybe you have a dream of having perfect straight seams or have less yarn to weave in?
Let me introduce you to NICKI’S CROCHET CLUB – AN ALL-ACCESS MEMBERSHIP! It is exactly what it says on the tin. If you sign up for the membership I will teach you different techniques and tips on how to improve your crochet projects!
You will get access to all my patterns in adfree printable formats with check off boxes and full support from myself to guide you through the tricky bits. I will also teach you what YOU want to learn! Join me in NICKI’S CROCHET CLUB – AN ALL-ACCESS MEMBERSHIP!
Does getting 8 Crochet Secret Tips delivered straight into your inbox sound like something you would find useful? If so, sign up for my crochet newsletter below. I send out a weekly newsletter packed full of crochet patterns and tutorials.