FREE Bee Filet Crochet Market Bag Pattern
This post includes affiliate links.
Learn filet crochet with this free pattern for a market tote bag. The Bee Filet Crochet Market Bag Pattern is a fun and easy project for advanced beginners.
Are you looking for your next oh-so-chic market bag or beach bag? The Bee Filet Crochet Market Bag pattern is a quick and easy way to learn the filet crochet technique. Using simple stitches, this easy crochet pattern is great for makers of any skill level. It’s just big enough to hold everything you need to take to the market. Not only is it a great way to hold your items for a day out, but it is bright and stylish and can be used for any outing including the park, the beach, or a trip to the fair.
This cute filet crochet bag offers a cute mesh stitch that looks like a bumblebee and makes a great gift too! Everyone loves a stylish, handmade gift that is functional. Gift it for Mother’s Day, Christmas, or a special birthday. Crochet bags are a fun way to replace the standard reusable shopping bag and make the perfect accessory for a trip to the farmer’s market. It’s the perfect bag for a quick trip to the grocery store and a great way to reduce your use of plastic bags!
So, if you are looking for your next farmers market bag, this free crochet pattern provides detailed instructions and a graph for you to follow. Once you learn this simple filet crochet pattern, you can quickly and easily make many bee filet crochet tote bags. Customize any way you want and get creative! Use a variety of colors and yarn types, including worsted weight and cotton yarn.
This market bag crochet pattern is worked from the bottom of the bag, starting with a solid base with the handles added at the top of the bag. And if you are a visual learner, I also added a few video tutorials to learn the basic stitches needed to help you along with the written pattern as well.

Filet Crochet
If this is your first time doing filet crochet, don’t worry. Believe it or not, this is actually a beginner-friendly technique and not scary at all. I promise 🙂 To summarize, you will use the color graph (provided below) to make the bumblebee design of this crochet bag.
Well, this filet crochet bag pattern is not my first filet crochet pattern. I have made 29 other filet crochet patterns, 30 extra graphs, and 26 filet crochet video tutorials.
As a matter of fact, my new ebook includes all these filet crochet patterns, stitches, and tips. Additionally, they organized per category and from beginner to more advanced patterns. Even better, the ebook also comes with lots of videos.
Get the PDF of the Bee Filet Crochet Market Bag Pattern

This pattern is also available as an ad-free, printer-friendly pdf pattern that can be purchased at the links below for only a small fee.


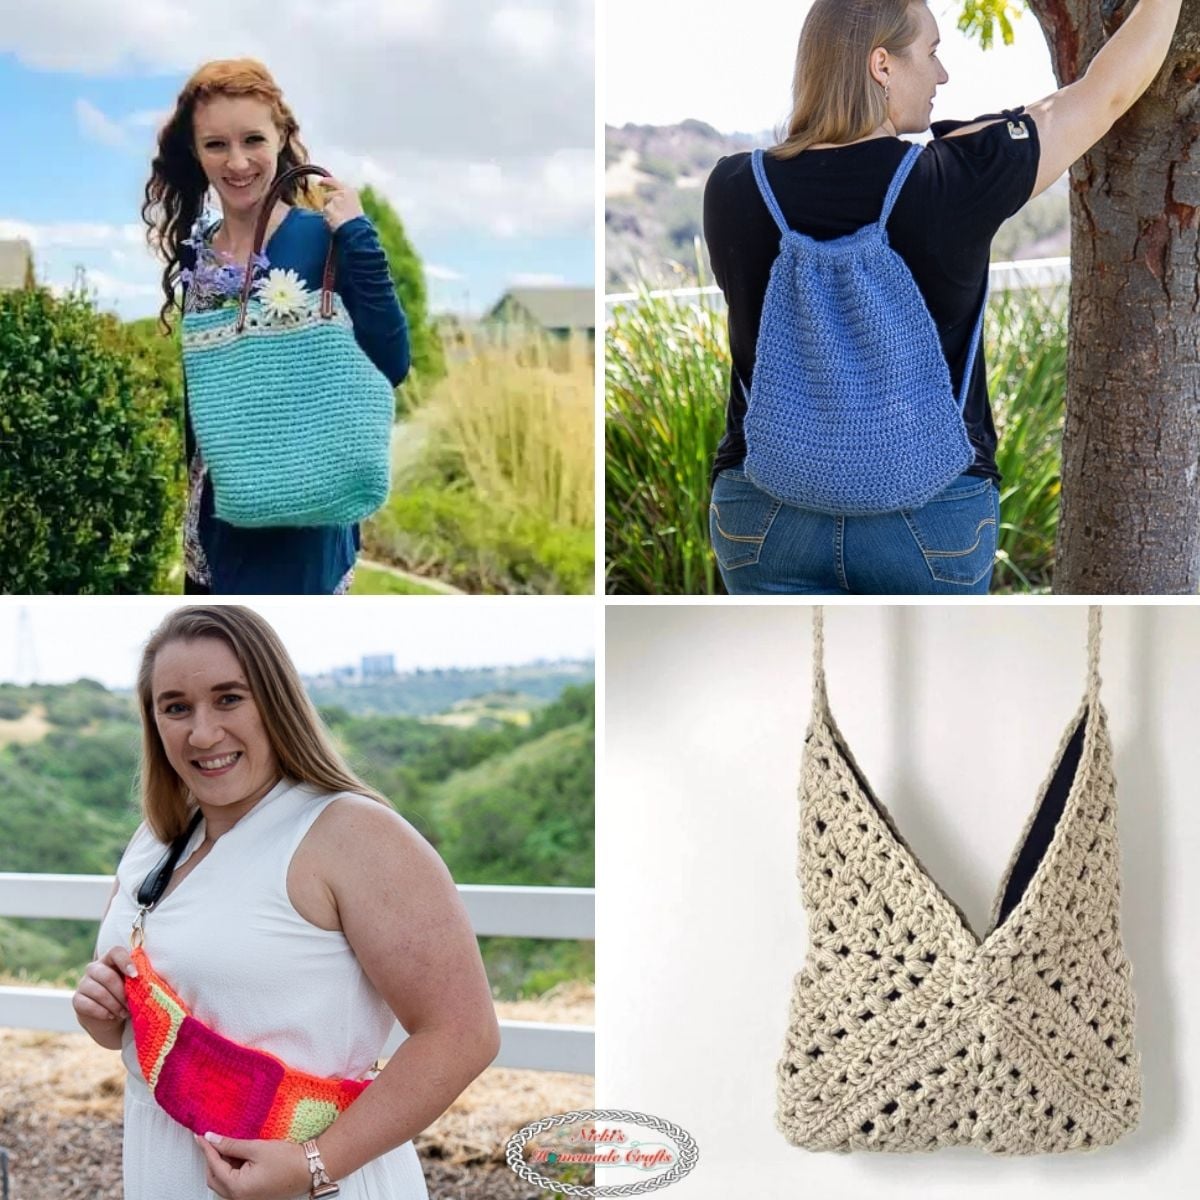
If you like filet crochet patterns, you might like these also:


So, let me now give you the supplies you need in order to make this easy crochet market bag pattern.
How to Crochet the Bee Filet Crochet Market Bag Pattern
Materials you will need
- Premier Yarns Momenti (worsted acrylic)
- Meadow (1 skein)
- 5mm Crochet Hook -> I used Furls Crochet Hook
- use NICKI15 for 15% off
- scissors
- tapestry needle
Gauge
6 sts x 7 rows = 2 square inches
Size
12 x 18.5 inches (without measuring the straps)
Stitches used in the pattern
Learn all the basic crochet stitches HERE
- st/sts = stitch/stitches
- ch = chain
- sk = skip
- sl st = slip stitch
- dc = double crochet
- ldc = linked double crochet
- ATC = Alternative Turning Chain
Helpful Video Tutorial for Filet Crochet
If you never tried Filet Crochet before, then this beginner video which was created for a previous Mystery Crochet Along, will truly help you learn this amazing technique.
Free Written Crochet Pattern for the Bee Filet Crochet Market Bag
IF you would like the pattern ad-free you can join “The Crochet Club” membership as a full member and get access to the pattern ad-free and more than 400 patterns, even with interactive checkboxes to save your progress row by row.
You can join the “The Crochet Club” Membership here if you want to have the entire pattern ad-free.
Already a member? Login HERE to see the ad-free version
Pattern Notes
First, you’ll crochet the base of the bag as a circle and then add the filet crochet section as the main body before crocheting the top bag edge and straps top bag edge and straps.
Bee Filet Crochet Market Bag Graph

Filet Crochet Written Pattern
ATC = Alternative Turning Chain (watch the video above to learn it!)
Bag Bottom
Make a Magic Ring and add 1 atc and 11 dc stitches, close ring
R1: [1 atc, 1 dc] in the same stitch, then 2 dc in each stitch, sl st to the first stitch
R2: 1 atc, 2 dc in the same stitch, *1 dc in the next st, 2 dc in the same st, repeat from * until the end, sl st to the first stitch
R3: 1 atc, 1 dc in the next st, 2 dc in the same stitch, *1 dc in the next 2 sts, 2 dc in the same st, repeat from * until the end, sl st to the first stitch
R4: 1 atc, 1 dc in the next 2 sts, 2 dc in the same stitch, *1 dc in the next 3 sts, 2 dc in the same st, repeat from * until the end, sl st to the first stitch
R5: 1 atc, 1 dc in the next 3 sts, 2 dc in the same stitch, *1 dc in the next 4 sts, 2 dc in the same st, repeat from * until the end, sl st to the first stitch
R6: 1 atc, 1 dc in the next 4 sts, 2 dc in the same stitch, *1 dc in the next 5 sts, 2 dc in the same st, repeat from * until the end, sl st to the first stitch
R7: 1 atc, 1 dc in the next 5 sts, 2 dc in the same stitch, *1 dc in the next 6 sts, 2 dc in the same st, repeat from * until the end, sl st to the first stitch
R8: 1 atc, 1 dc in the next 6 sts, 2 dc in the same stitch, *1 dc in the next 7 sts, 2 dc in the same st, repeat from * until the end, sl st to the first stitch (108 sts)
Continue with the Market Bag Pattern
Now use 3DC Filet Crochet
1 open mesh is (O): 1 dc, ch1, sk 1
1 closed mesh is (X): 1 dc in 2 sts
Follow the flat graph (but in ROUNDS), sl st at the end. Each first dc is an ATC.
R1: (O) x 54
R2: (O) x 8, (X) x 7, (O) x 39
R3: (O) x 6, (X) x 2, (O) x 7, (X) x 1, (O) x 38
R4: (O) x 5, (X) x 1, (O) x 3, (X) x 3, (O) x 1, (X) x 2, (O) x 1, (X) x 1, (O) x 37
R5: (O) x 4, (X) x 1, (O) x 1, (X) x 2, (O) x 1, (X) x 3, (O) x 2, (X) x 2, (O) x 1, (X) x 1, (O) x 36
R6: (O) x 3, (X) x 1, (O) x 1, (X) x 3, (O) x 2, (X) x 3, (O) x 1, (X) x 2, (O) x 2, (X) x 5, (O) x 31
R7: (O) x 2, (X) x 1, (O) x 1, (X) x 5, (O) x 1, (X) x 3, (O) x 2, (X) x 2, (O) x 5, (X) x 1, (O) x 31
R8: (O) x 2, (X) x 1, (O) x 1, (X) x 5, (O) x 2, (X) x 3, (O) x 1, (X) x 2, (O) x 1, (X) x 5, (O) x 31
R9: (O) x 2, (X) x 1, (O) x 1, (X) x 6, (O) x 1, (X) x 3, (O) x 1, (X) x 2, (O) x 1, (X) x 1, (O) x 35
R10: (O) x 2, (X) x 1, (O) x 1, (X) x 1, (O) x 1, (X) x 1, (O) x 1, (X) x 2, (O) x 1, (X) x 3, (O) x 1, (X) x 2, (O) x 1, (X) x 1, (O) x 35
R11: (O) x 2, (X) x 1, (O) x 1, (X) x 6, (O) x 1, (X) x 2, (O) x 2, (X) x 1, (O) x 1, (X) x 1, (O) x 36
R12: (O) x 2, (X) x 2, (O) x 1, (X) x 4, (O) x 2, (X) x 2, (O) x 1, (X) x 2, (O) x 1, (X) x 1, (O) x 36
R13: (O) x 3, (X) x 2, (O) x 1, (X) x 3, (O) x 1, (X) x 3, (O) x 1, (X) x 1, (O) x 1, (X) x 2, (O) x 36
R14: (O) x 4, (X) x 2, (O) x 9, (X) x 1, (O) x 2, (X) x 1, (O) x 35
R15: (O) x 5, (X) x 5, (O) x 1, (X) x 1, (O) x 1, (X) x 2, (O) x 1, (X) x 2, (O) x 1, (X) x 1, (O) x 34
R16: (O) x 8, (X) x 1, (O) x 1, (X) x 3, (O) x 2, (X) x 4, (O) x 1, (X) x 1, (O) x 33
R17: (O) x 8, (X) x 1, (O) x 1, (X) x 5, (O) x 1, (X) x 4, (O) x 1, (X) x 1, (O) x 32
R18: (O) x 8, (X) x 1, (O) x 1, (X) x 5, (O) x 1, (X) x 4, (O) x 1, (X) x 1, (O) x 32
R19: (O) x 8, (X) x 1, (O) x 1, (X) x 5, (O) x 1, (X) x 4, (O) x 1, (X) x 1, (O) x 32
R20: (O) x 8, (X) x 1, (O) x 1, (X) x 5, (O) x 1, (X) x 4, (O) x 1, (X) x 1, (O) x 32
R21: (O) x 8, (X) x 1, (O) x 1, (X) x 5, (O) x 2, (X) x 2, (O) x 1, (X) x 1, (O) x 33
R22: (O) x 9, (X) x 1, (O) x 1, (X) x 4, (O) x 1, (X) x 1, (O) x 2, (X) x 1, (O) x 34
R23: (O) x 10, (X) x 1, (O) x 4, (X) x 1, (O) x 1, (X) x 2, (O) x 35
R24: (O) x 11, (X) x 4, (O) x 39
R25: (O) x 54
R26 – 28: 1 atc, then 1 ldc in each st until the end of the round, sl st to the first st
Using stitch markers (I used leftover yarn pieces) mark where your handles start and end on each side of the laid flat bag. Of 108 stitches, I added stitch markers where the ^ is:
15 sts, ^ 24 sts ^, 30 sts, ^ 24 sts ^, 15 sts (make sure the bee is on the front)
Then crochet this:
1 Round: 1 atc, 1 ldc in the next 14 sts, then crochet 50 (or more or less) chainless foundation ldc sts (see video tutorial on how to do this), 1 ldc in the next 30 sts, then crochet 50 (or same as first handle just made) chainless foundation ldc sts, 1 ldc in the next 15 sts, sl st to the first st
Last Round: 1 atc, then 1 ldc in each st until the end of the round, sl st to the first st
Fasten off and weave in your ends.

Now you have completed you Bee Filet Crochet Market Bag! Take it anywhere and keep your belongings safe in a fun and functional tote bag!


Be sure to join my Crochet Facebook Group and show off your crochet creation. I would love to admire them and cheer you on as you’re working on creating it and after you finished it.
I’m also always here to support you through this and any other pattern and tutorial. Simply ask in my group and me and other amazing and kind crocheters will help you along.
If you love this pattern, please use the social media share buttons above or below and share this pattern link with the world and your friends.

That way you will find it easily again when you need it and you also provide the world and your friends with the ability to gain extra crochet knowledge as well. And to top it off, you help me as it allows me to create more content that you love already and want to see more of – free crochet patterns and tutorials. So, thank you for sharing.
If you love my crochet patterns and the way I teach, I would suggest subscribing to my newsletter below as I share new patterns, tutorials, and special announcements often.