Crochet Join as You Go Method – Easy Video Tutorial to Connect Granny Squares to Blanket
This post includes affiliate links.
Learn how to crochet the “Join as you go” Method when connecting granny squares to make a blanket with this detailed tutorial which includes a video as well.
“I don’t like sewing by hand”, says pretty much every crocheter. We don’t really like to sew in our ends or connect pieces using a sewing needle. Makes sense. Cause crocheting with a hook is faster and much easier than dealing with a tiny needle. So in order to finish a blanket using granny squares there is luckily more than just one method to connect all the pieces permanently. And without depending on having to sew them. YAY!
This method is called “Join As You Go” and is sometimes abbreviated as “JAYGO”. It’s widely popular in the crochet community to connect pieces together to make usually blankets. But this technique can be used for any patterns that need pieces to be connected, e.g. bags, shawls, and even hats.

Without any further ado let’s get right into the nitty and gritty of this beautiful and detailed stitch.
The Ultimate Guide to Crocheting the “Join As You Go” Method
With this technique, you can connect crochet squares or geometrically shaped pieces by crocheting them together without adding additional rounds to each piece.
You simply crochet an unfinished piece, such as a granny square, to a finished square using slip stitches at certain points of the pattern. Those points are different, depending on the pieces that need to be connected. But most often, the connecting points are where you see chain spaces.
How do Crochet the “Join As You Go” Method
– Video Tutorial
Subscribe to my Youtube Channel here:
[youtube-subscriber channelID=UCSI4OeQQnxVQEAwMGeTCn1Q layout=full subscribers=default]
Crochet “Join As You Go” Method – Written Tutorial
Grab your favorite yarn (I used Dishie Yarn from WeCrochet) and hook (I used a Furls Crochet Hook size 4.0mm) and let’s crochet together, shall we? Above you have the video tutorial which is more detailed. But let me show you a written and photo tutorial for this.
Although you can use the “Join As You Go” Method for almost any geometrically shaped piece, I would like to use a traditional granny square to explain this technique. In fact, I used this traditional granny square to crochet a cute baby blanket in about 2 hours.
Step 1 of the “Join As You Go” Method
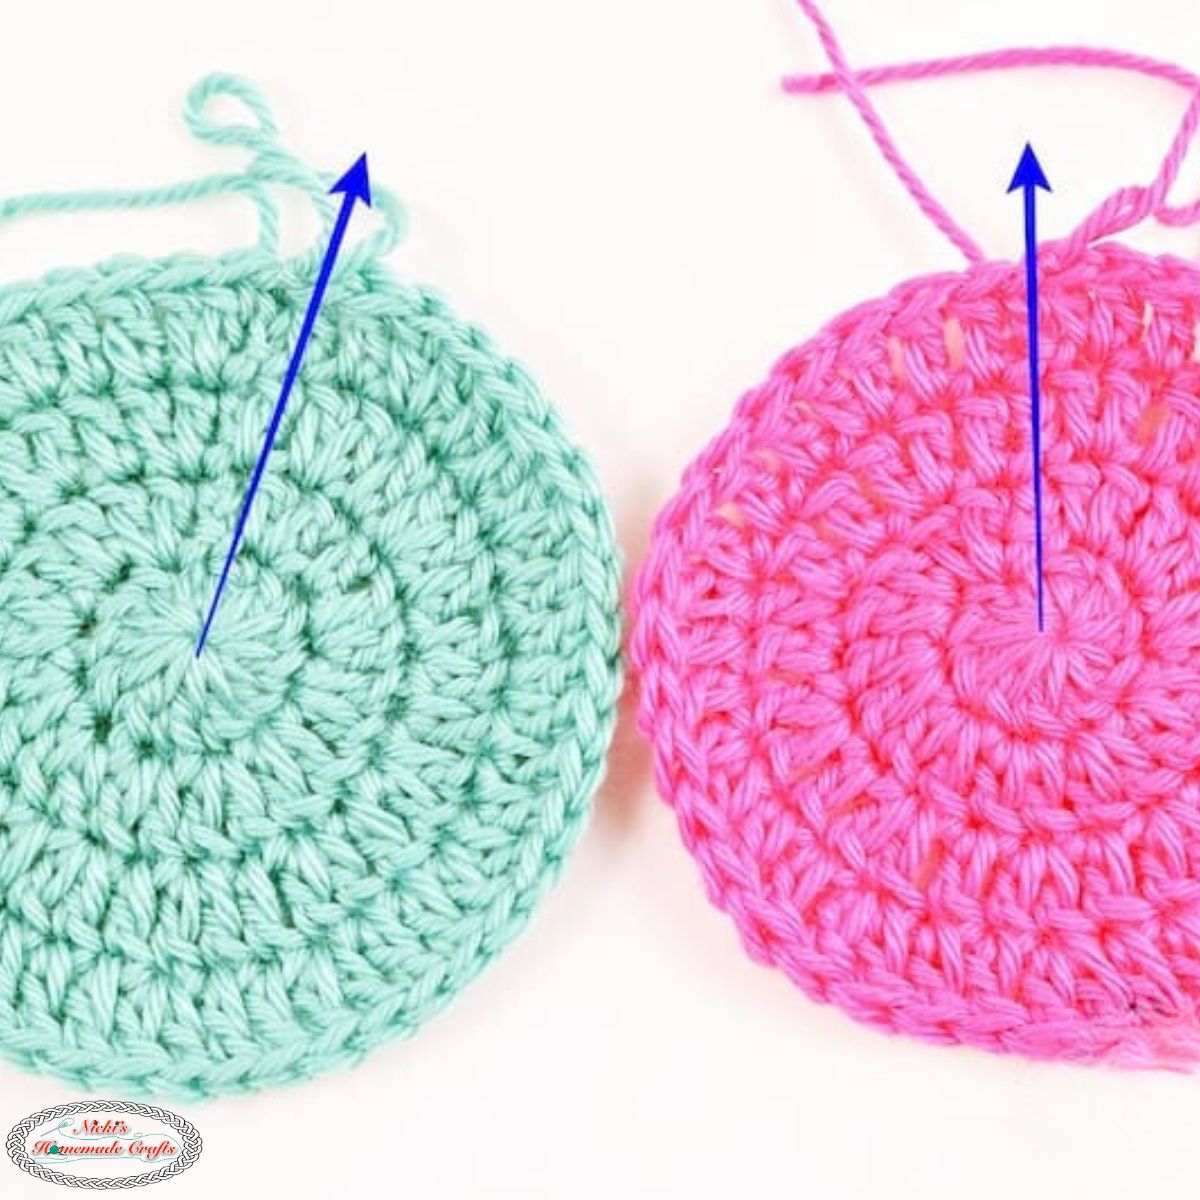
First, have one granny square finished 100% completely. Even weave in your ends already, even if you don’t like to. Then finish a second granny square almost till the end, having exactly one side not done – including half two corners, as you can see on the picture below.


Step 2: Connecting the Granny squares with a slip stitch
In this traditional granny square, you would typically crochet a chain of 1 or 2 in the corner. But when you use the JAYGO method, you will skip that chain and make a slip stitch to the chain space in the corner of the finished granny square.
Then you will finish the corner of the unfinished granny square. In this example, it’s 3 double crochet stitches.

Step 3: Continue replacing chains with slip stitches and finish the unfinished granny square
Now, slip stitch to the next chain space of the finished granny square, instead of making a chain on the unfinished square. Then crochet the next part of the unfinished granny square. In this example it would be 3 dc stitches in the next chain space.
Continue this pattern along the unfinished granny square, until you hit the corner.

Step 4: Connect the next Granny Square
Once you reach the corner, you will connect the next unfinished granny square using the same technique. Always skip crocheting the chain and replacing it with slip stitches to the already finished granny square.
Ideally, when making a granny square blanket with many squares, you have one finished granny square and the rest of the granny squares are unfinished before starting the “Join As You Go” Method. That way it’s much faster to finish the blanket and you will have less yarn to weave in in the end.

Would you like more crochet tips?
I have over 300 crochet tips and tricks for you. It’s all in one amazing crochet video ebook with over 48 video tutorials. You can find the 300+ Crochet Tips and Tricks Mini-Course here.

If you love this crochet tutorial as much as I do, please use the social media share buttons above or below and share this pattern link with the world and your friends. They and I will thank you! I promise.

That way you will find it easily again when you need it and you also provide the world and your friends with the ability to gain extra crochet knowledge as well. And to top it off, you help me as it allows me to create more content that you love already and want to see more of – free crochet patterns and tutorials. So, thank you for sharing.
If you love my crochet patterns and the way I teach, I would suggest subscribing to my newsletter below as I share new patterns, tutorials and special announcements often.
Be sure to subscribe to my newsletter below. I even provide you with an amazing freebie.