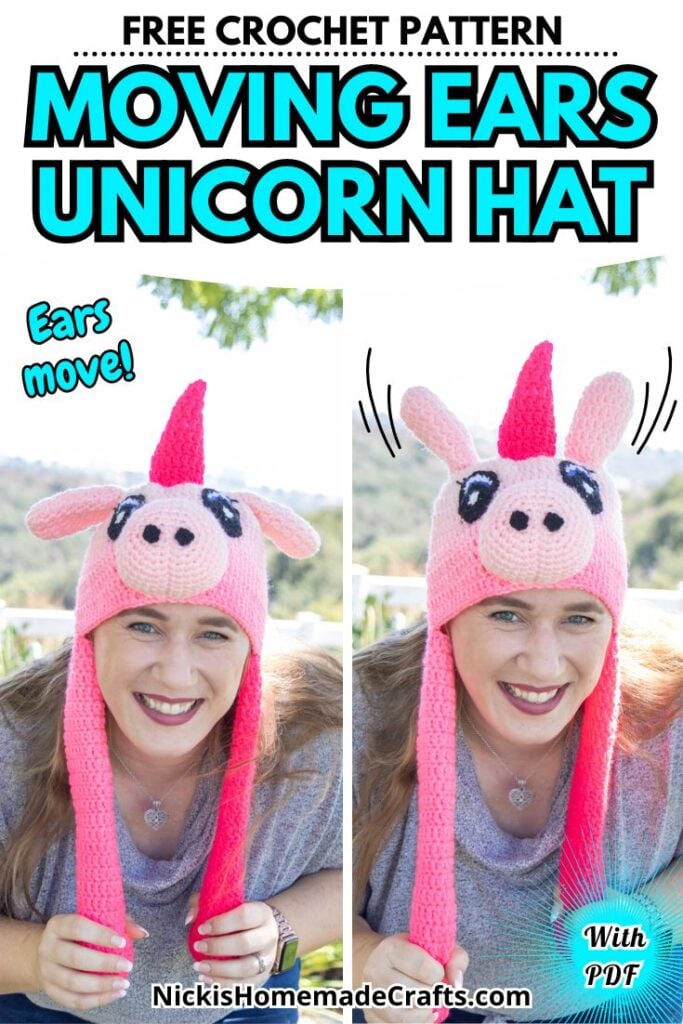
Free Crochet Unicorn Hat with Moving Ears Pattern
This post includes affiliate links.
This Unicorn Hat with Moving Ears free crochet pattern features easy-to-follow basic crochet stitches, such that even a beginner can crochet it. This free crochet pattern is made with acrylic worsted-weight yarn and includes 3 detailed video tutorials.
A few years ago, you may have seen the viral moving bunny ears hats on TikTok. Many teenagers, young children, and even adults loved them. They keep you warm and yet, you can have their ears move with a simple air pump system. Well, now you can also crochet these super unique and viral hats to make your own, just like this popular Unicorn Hat with Moving Ears.

Unicorn Moving Ears Hat
This Unicorn Hat with Moving Ears features an easy to make snout, ears, horn and eyes to attach to a gradient yarn hat with 2 arms on the side which include the air pumps to make the ears move.
Although this pattern is made for an adult, it can easily also be made smaller or bigger if needed, as the pattern guides you through how to adjust the pattern to make it work for you.
And no worries, the air pumps are very affordable. I linked them in the material section so you can get your own set to make this cute and unique Unicorn Hat with Moving Ears yourself.
This pattern used to be a mystery crochet along and is broken up like that accordingly.
It’s time to get creative, so let’s get started!
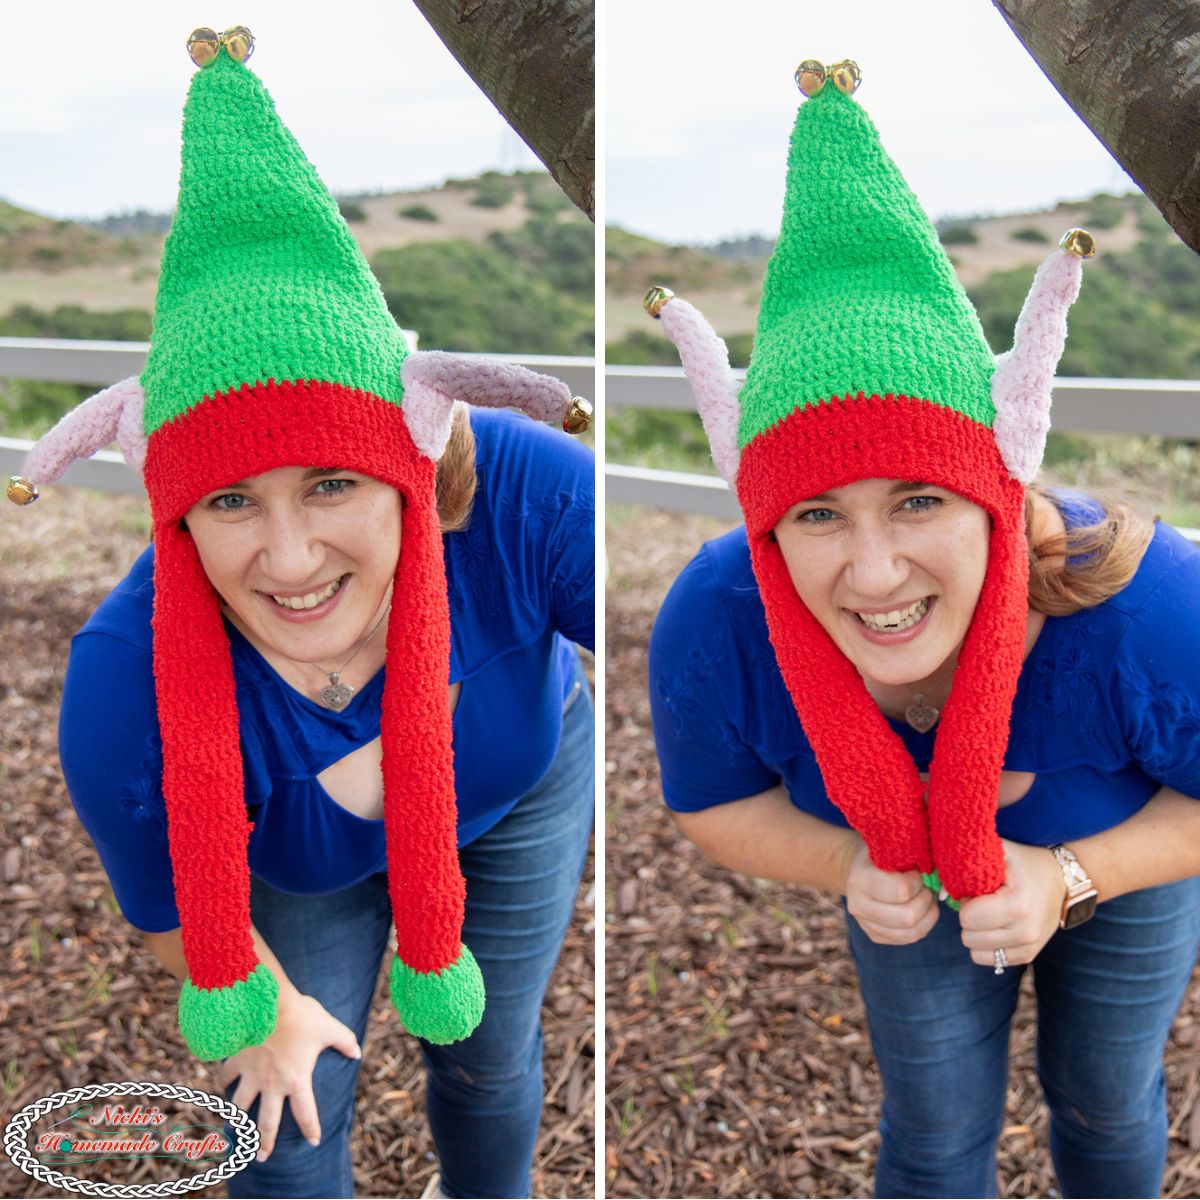
Moving Animal Hats Crochet Patterns
Did you know…this Moving Unicorn Hat Pattern is not my first Moving Animal Hat Crochet Pattern? It’s actually my 25th! Wanna get all 25 Moving Hat Patterns?
Great news! You can get the 15 Animal Moving Hat Crochet Patterns in 1 ebook with the option to get 10 additional moving hat patterns to get 25 patterns in total.
The Crochet Club
This pattern is also part of the popular “The Crochet Club” which hosts over 400 ad-free patterns with check-off boxes as well as a vault of videos, plus weekly new tutorials and patterns as well as twice-a-month virtual meetups.
Get the PDF of the Crochet Unicorn Hat with Moving Ears Pattern

This pattern is also available as an ad-free, printer-friendly pdf pattern that can be purchased at the links below for only a small fee on Ravelry or Etsy.


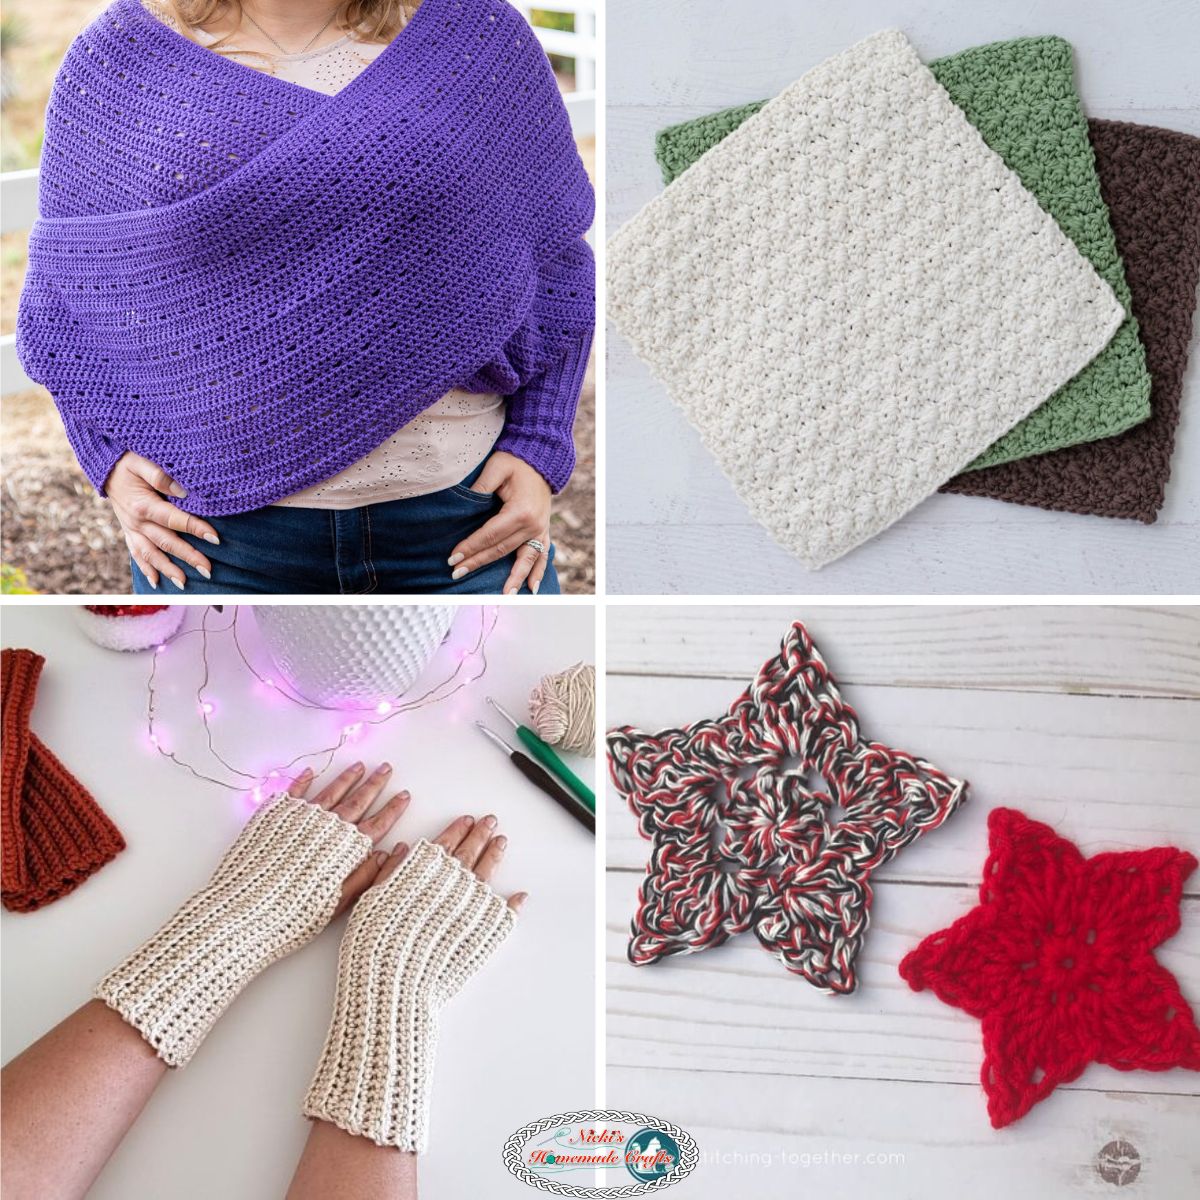
More Free Moving Ears Crochet Patterns
If you like more free patterns, you might also like to try one of these:


So, let me now give you the supplies you need in order to crochet this unique hat pattern.
How to Crochet a Moving Ears Unicorn Hat – Free Pattern
Materials you will need
- Lion Brand Mandala Gradient Yarn (90% acrylic, 10% nylon, worsted, 195 yds/150g)
- 2 skeins of Hot Pink (we will use in total about 200g)
- Also a little bit of BLACK, WHITE, and BLUE Worsted Yarn of any brand
- 4.0mm hook – I used the WeCrochet Dots Hook
- scissors
- tapestry needle
- polyfill
- –> Get the Air Pumps (US only) HERE
- –> For Canada Get the Air Pumps HERE
- –> For the UK Get the Air Pumps HERE
Gauge
3 dc sts x 2 dc rows = 1 square inch
Size
11 (width) x 8 inches
Fits an adult head, see the video tutorials and reference table at the end of the pdf to make the hat smaller
Stitches used in the pattern (US Terms)
Learn all the basic crochet stitches HERE
- st/sts = stitch/stitches
- ch = chain
- sk = skip
- sl st = slip stitch
- sc = single crochet
- hdc = half double crochet
- dc = double crochet
- Mattress Stitch
- ATC = Alternative Turning Chain/Stacked SC
Free Written Unicorn Hat with Moving Ears Pattern with Videos
IF you would like the pattern ad-free you can join “The Crochet Club” membership as a trial or as a full member and get access to this pattern ad-free and more than 400 patterns, even with interactive checkboxes to save your progress row by row.
You can join the “The Crochet Club” Membership here if you want to have the entire pattern ad-free.
Already a member? Login HERE to see the ad-free version
Written Pattern Notes
Keep in mind, that this pattern used to be a Mystery CAL, and therefore the pattern is broken up as such.
Pattern Notes:
Quick note: First you’ll crochet the beanie, then the arm straps where the air pump gets inserted into, then the ears, and face. Then you assemble it all.
ALL first dc stitches are made as a ch3 or ATC (both count as stitch, I used the ATC)
Unicorn Hat
Click this link or the image below for the Video Tutorial for Part 1!

Subscribe to my Youtube Channel here:
[youtube-subscriber channelID=”UCSI4OeQQnxVQEAwMGeTCn1Q” layout=”full” subscribers=”default”]
I recommend sticking with an adult size for now. But you could adjust the pattern to make it smaller or bigger. I discuss that in more detail in the video tutorial (Click here to watch it). Please watch it till the end!
Written Pattern
ALL first dc stitches are made as a ch3 or ATC (both count as a stitch, I used the ATC)
R1: MR, ch 1, add 12 dc, close the ring, sl st to the first st
R2: 2 dc per st all around, sl st to the first st (24 sts)
R3: *1 dc in the first st, then 2 dc in the next st, repeat from * all around, sl st to the first st (36 sts)
R4: *1 dc in 2 sts, then 2 dc in the next st, repeat from * all around, sl st to the first st (48 sts)
R5: *1 dc in 3 sts, then 2 dc in the next st, repeat from * all around, sl st to the first st (60 sts)
R6: *1 dc in 4 sts, then 2 dc in the next st, repeat from * all around, sl st to the first st (72 sts)
Your circle should measure (from front loop to front loop) on average 6.5 inches +/-0.5 inches is fine for an adult-size hat).
R7-15: 1 dc per st all around, sl st to the first st (72 sts)
The height of the adult-size hat should be about 8-9 inches. Mine is 8 inches.
Fasten off, weave in ends.
Now, don’t forget to join Facebook Group “Crocheting with Nicki” and use the hashtag #SEP24MCAL when posting/commenting about this fun MCAL!


2 Air Pump Moving Hat Arms
Click this link or the image below for the Video Tutorial for Part 2!

Subscribe to my Youtube Channel here:
[youtube-subscriber channelID=”UCSI4OeQQnxVQEAwMGeTCn1Q” layout=”full” subscribers=”default”]
Remember to follow the measurements MORE than the round count. Add more rounds if needed. I discuss that in more detail in the video tutorial (Click here to watch it). Please watch it till the end!
Written Pattern
Crochet 2 of these:
R1: 18 foundation double crochet stitches (or ch 18, make a loop and add 1 dc per st (see video – Part 2)), sl st to the first st
R2-21: 1 dc per st, sl st to the first st
It should be 11 inches by this point as mentioned in the video. Measurement is more important than round count.
R22: *1 dc in 1 st, then 2 dc in the next st, repeat from * all around, sl st to the first st
R23-24: 1 dc per st, sl st to the first st
R25:*1 dc dec over the next 2 sts, repeat from * all around, sl st to the first st
It should be 13 inches by this point as mentioned in the video. Measurement is more important than round count.
Weave through the last round, and close the hole.
Fasten off, and weave in ends.
Now, don’t forget to join Facebook Group “Crocheting with Nicki” and use the hashtag #SEP24MCAL when posting/commenting about this fun MCAL!

Unicorn’s Face and Hat Assembly
Now let’s finish this fun pattern 🙂
Click this link or the image below for the Video Tutorial for Part 3!

Subscribe to my Youtube Channel here:
[youtube-subscriber channelID=”UCSI4OeQQnxVQEAwMGeTCn1Q” layout=”full” subscribers=”default”]
Air Pumps
To 100% finish this cute Happy Heads MOVING Unicorn Hat, you’ll need some air pumps (not required for the giveaway). You can get some of these air pumps here (only come in sets of 20 – for 10 hats):
–> Get the Air Pumps (US only) HERE
–> For Canada Get the Air Pumps HERE
–> For the UK Get the Air Pumps HERE
You’ll also need a tiny bit of polyfill and a little bit of black, white, and blue (or green if you prefer) worsted yarn.
Now let’s first attach the hanging arms (part 2) to the beanie (part 1).
Lay the beanie flat, and on each side, sew 9 of the 18 dc stitches from the first round of the arm to the beanie. Add the air pump to the arms.
Crochet 2 Ears
R1: MR, ch1, add 12 dc, sl st to the 1st st
R2: *1 dc, 2dc in the following st, repeat from * all around, sl st to the 1st st
R3-8: 1 dc per st, sl st to the 1st st

Unicorn Horn
R1: MR, ch 1, add 4 dc, close the ring, sl st to the first st
R2: *1 dc, 2 dc, repeat from * one more time, sl st to the first st
R3: *1 dc in 2 sts, 2 dc, repeat from * one more time, sl st to the first st
R4: *1 dc in 3 sts, 2 dc, repeat from * one more time, sl st to the first st
R5: *1 dc in 4 sts, 2 dc, repeat from * one more time, sl st to the first st
R6: *1 dc in 5 sts, 2 dc, repeat from * one more time, sl st to the first st
R7: *1 dc in 6 sts, 2 dc, repeat from * one more time, sl st to the first st
R8: *1 dc in 7 sts, 2 dc, repeat from * one more time, sl st to the first st
R9: *1 dc in 8 sts, 2 dc, repeat from * one more time, sl st to the first st
Fasten off and add polyfill

Snout
R1: ch 4, 3 sc in the first st, 1 sc, 3 sc in the last st, on the other side of the chain, 1 sc, sl st to the first st
R2: *2 sc in each of the next 3 sts, 1 sc, repeat from * one more time, sl st to the first st
R3: *(1 sc, 2 sc in the next st) repeat 3 times, 1 sc, repeat from * one more time, sl st
R4: *(1 sc in 2 sts, 2 sc in the next st) repeat 3 times, 1 sc, repeat from * one more time, sl st
R5: *(1 sc in 3 sts, 2 sc in the next st) repeat 3 times, 1 sc, repeat from * one more time, sl st
R6-10: 1 sc per st, sl st to the first st
Fasten off
2 Nostrils
R1: with black, MR, ch 1, 6 sc to the ring, sl st to the first st, fasten off, and sew to the front of the snout

Crochet 2 Eyes
R1: with white, MR, ch 1, add 6 sc to the ring, sl st to the first st, cut yarn
R2: with black, 2 sc per st, sl st to the first st
R3: * 1 sc, 2 sc in the next st, sl st to the first st, cut yarn
R4: with blue, 1 sl st, 1 sc, 2 sc, 1 sc, 1 sc, 2 sc, 1 sc, 1 sl st, cut yarn
R5: sk the first blue sl st and start on 1st blue sc st, with white, 1 sl st, 1 sc, [1 sc, 1 hdc] in the same st, 1 dc, 1 dc, [1 hdc, 1 sc] in the same st, 1 sc, 1 sl st, cut yarn
R6: with black, start on the st, next to the last blue st (opposite side of the last white st), 1sc, (1 sc In 2 sts, 2sc) 3 times, 1 sc In the next 6 sts (including the sl st), 2 sc, 1 sc, 2 sc, 1 sc, 2 sc, 1 sc in each st till the end of the round, sl st to the first st
Fasten off

Assembly
Figure out where the pump end bends at the location on the side of the beanie and push it through from the inside out. Do this for both sides. Then place the ears over the moving pump ends and sew the ears onto the beanie in a circle such that the pump still works and moves the ears.
Small tip: if you have a foam head (like this) use it and pin pieces (I use these u-pins) down before sewing on your pieces. It can help make everything align the way you prefer.
Sew on the snout to the bottom of the beanie, stuff with polyfill once you seamed almost all the way around. Sew on the eyes above, yet on the side of the snout. Sew on the stuffed horn in the center above the eyes, but not where the magic ring from the beanie is. Place the air pumps inside of the long arms, and place them on the left and right side of the beanie’s face.
I hope you LOVE your Moving Unicorn Hat as much as I do. I will truly make everyone smile, laugh, and happy when they see or wear it.
Remember to post your images with the hashtag #SEP24MCAL to the Facebook Group “Crocheting with Nicki” so we can celebrate you for finishing your hat.


Don’t forget to join Facebook Group “Crocheting with Nicki” and show off your crochet creation. I would love to admire them and cheer you on as you’re working on creating it and after you finished it.
Wanna learn more about Crochet MOVING HAT Patterns? Watch this Video here
I’m also always here to support you through this and any other pattern and tutorial. Simply ask in my group and me and other amazing and kind crocheters will help you along.
If you love this pattern, please use the social media share buttons above or below and share this pattern link with the world and your friends.
That way you will find it easily again when you need it and you also provide the world and your friends with the ability to gain extra crochet knowledge as well. And to top it off, you help me as it allows me to create more content that you love already and want to see more of – free crochet patterns and tutorials. So, thank you for sharing.
If you love my crochet patterns and the way I teach, I would suggest subscribing to my newsletter below as I share new patterns, tutorials, and special announcements often.