Free Crochet Dahlia Flower Pattern + Video Tutorial
This post includes affiliate links.
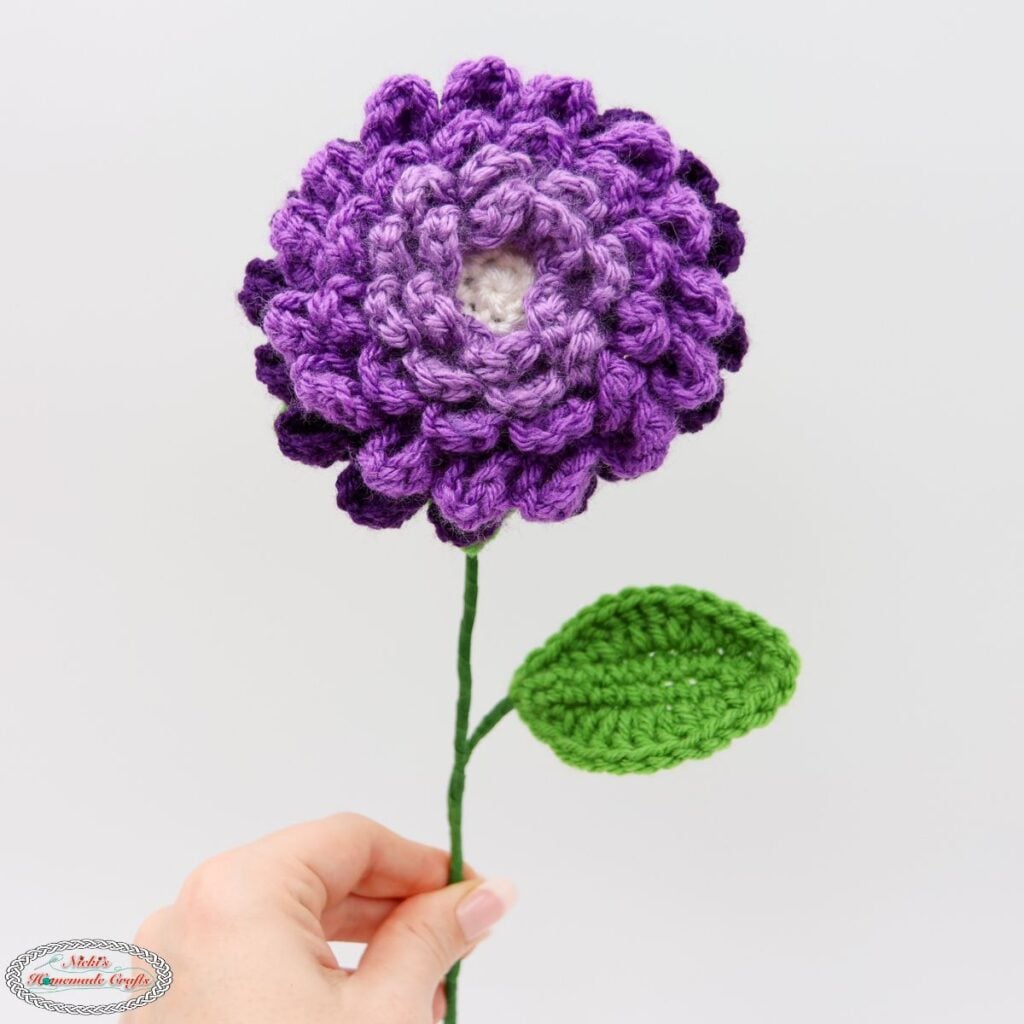
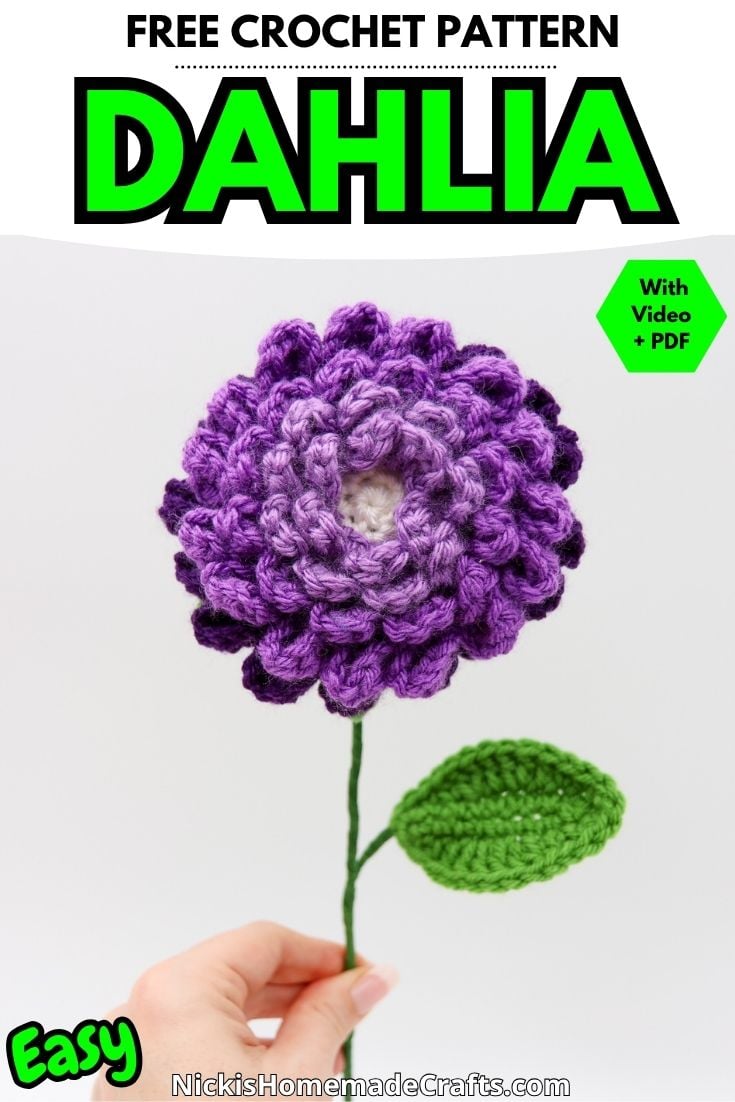
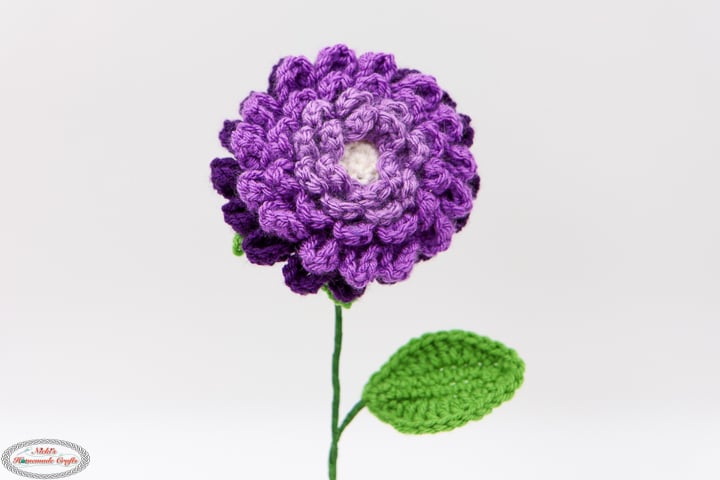
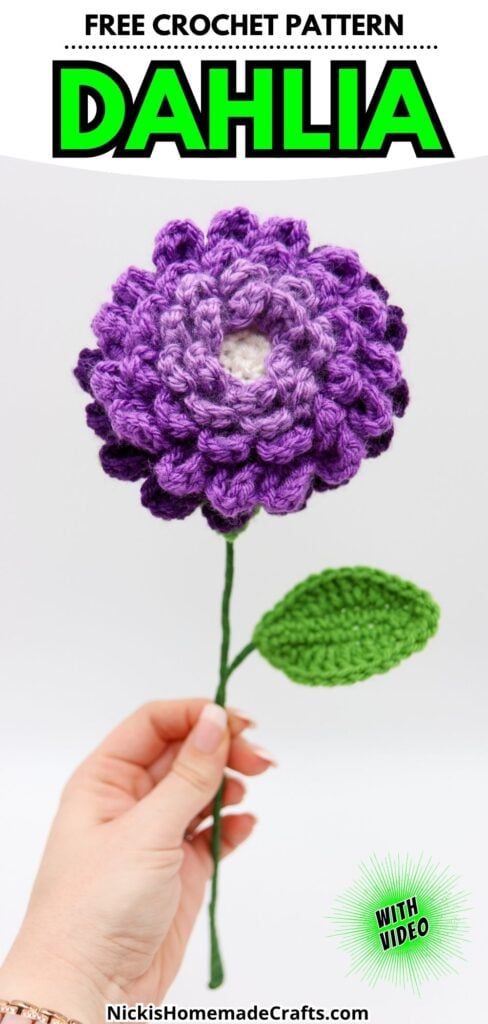
Crochet a stunning dahlia with this free advanced beginner crochet pattern! Includes a detailed video tutorial and is part of the 10-in-1 Flower Bouquet LIVE Crochet Along.
Bold, full, and beautifully layered, dahlias are known for making a statement in any bouquet. Their intricate petals create an eye-catching bloom that’s surprisingly fun to crochet. With this free Dahlia Flower Crochet Pattern, you can make a realistic flower that’s perfect for decorating your home, gifting to someone special, or adding to an everlasting crochet bouquet.
Designed for advanced beginners, this pattern uses worsted weight yarn, floral wire, and floral tape to create a sturdy stem and a beautifully shaped flower. The pattern includes detailed written instructions as well as a step-by-step video tutorial, so you can confidently build each layer of petals and watch your dahlia come to life.
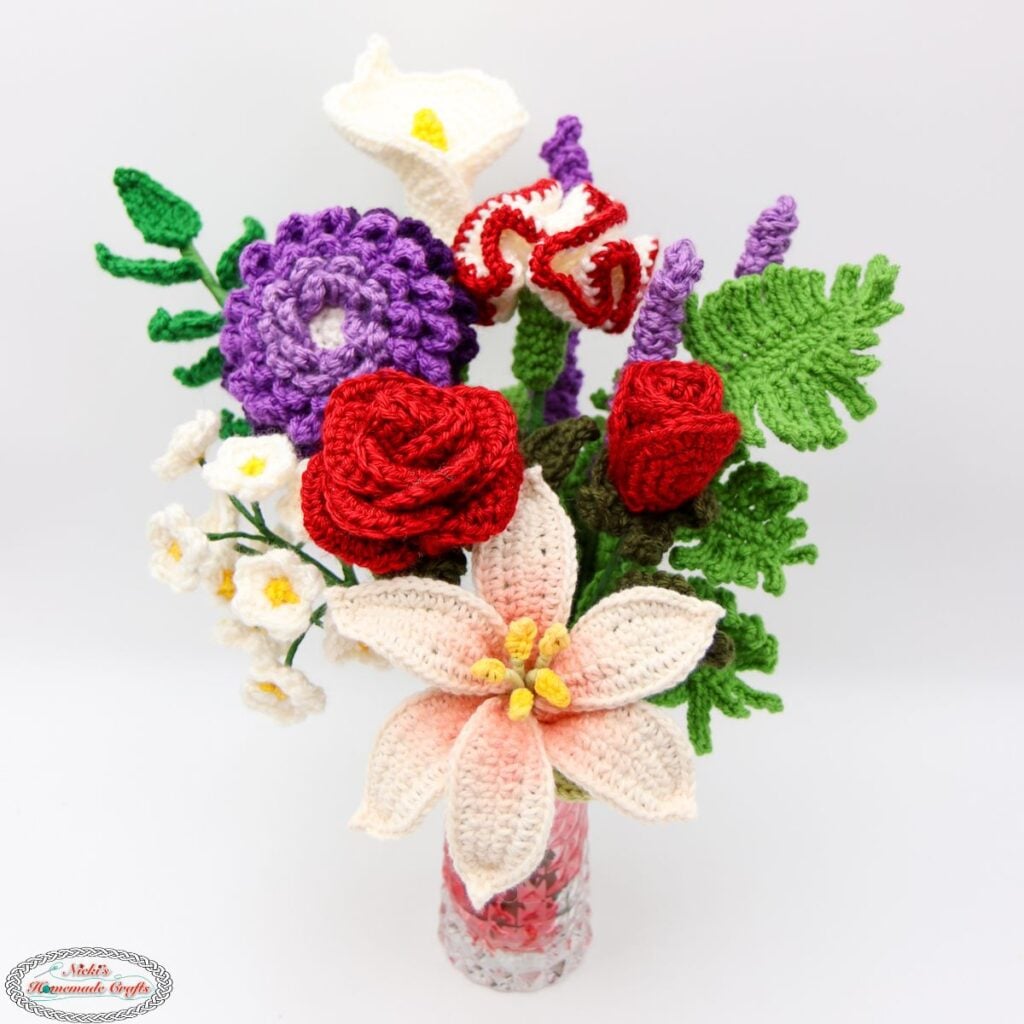
The dahlia is one of the flowers featured in my 10-in-1 Flower Bouquet LIVE Crochet Along. Together, we’ll crochet a complete bouquet while learning new techniques, following LIVE video tutorials, and sharing our progress with a wonderful community of crocheters. It’s a fun way to grow your crochet skills while creating flowers that will last for years.
👉 Join the FREE 10-in-1 Flower Bouquet LIVE Crochet Along here!
Get the PDF of the Crochet Dahlia Flower Pattern

This pattern is also available as an ad-free, printer-friendly pdf pattern that can be purchased at the links below on Ravelry and Etsy for only a small fee.




So, let me now give you the supplies you need in order to crochet this fun project.
Free Crochet Dahlia Flower Pattern
Materials you will need
less than 1 skein per color
- Herrschners Worsted Supreme Yarn (100% acrylic, 169yd/100g)
- heather
- WeCrochet Brava Worsted Yarn (100% acrylic, 218yd/100g)
- freesia
- eggplant
- peapod
- Premier Anti-Pilling Yarn (100% acrylic, 203yd/100g)
- white
- 4mm hook
- 22 Gauge Wire and Pliers
- Floral Tape
- This set has floral tape, 22 gauge wires and pliers together
- 2 gauge wire
- scissors
- tapestry needle
- Hot glue
Gauge
4 sts x 4 rounds = 1 square inch
Size
about 12 inches tall
Stitches used in the pattern
Learn all the basic crochet stitches HERE (US crochet terms and abbreviations)
- st/sts = stitch/stitches
- ch = chain
- sk = skip
- sl st = slip stitch (or invisible sl st – see video)
- MR = magic ring (think loosened slip knot)
- inc = increase
- sc = single crochet
- hdc = half double crochet
- dc = double crochet
- tr = treble crochet
- dtr = double treble crochet
- ATC = Alternative Turning Chain
- BLO = back loop only
- FLO = front loop only
- inv sc dec (rounds) or regular sc dec (rows)
Dahlia Flower Crochet Pattern Video Tutorial
Before you start crocheting your Dahlia Flower, I recommend watching the detailed tutorial video below
Crochet Dahlia Flower – Written Instructions
Pattern Notes:
For continuous rounds, use a stitch marker unless otherwise mentioned.
If R has no “turn” mentioned, it’s a ROUND (if no sl st mentioned, it’s a continuous round), if it is mentioned, it’s a “ROW”.
I used hot glue in some places for the assembly of the flowers. In some cases you can sew it instead, in other places (like the lavender) glue is required or it will not work well. However, you could use different glue, I just prefer hot glue as it dries quickly.
You crochet around the 22 gauge wire.
2 gauge wire is the “stem” of the plants.
Pattern Instructions
Dahlia
Premier Anti-Pilling Yarn – white (w)
WeCrochet Brava – Freesia (f), Eggplant (e) and Peapod (leaves)
Herrschners – Heathers (h)
Flower head
sl st after each round
cut color after finished using it
R1: w, MR, 6 sc
R2: w, 2 sc per st
R3: h, flo, *[sl st, ch 2, 2 dc, ch 2, sl st] same st, sk 1 st, repeat from * until the end
R3: h, blo, (1 sc, 2 sc) x 6
R4: h, flo, *[sl st, ch 2, 2 dc, ch 2, sl st] same st, sk 1 st, repeat from * until the end
R4: f, blo, (1 sc in 2 sts, 2 sc) x 6
R5: f, flo, *[sl st, ch 2, 2 dc, ch 2, sl st] same st, sk 1 st, repeat from * until the end
R5: f, blo, (1 sc in 3 sts, 2 sc) x 6
R6: f, flo, *[sl st, ch 3, 2 tr, ch 3, sl st] same st, sk 1 st, repeat from * until the end
R6: e, blo, (1 sc in 4 sts, 2 sc) x 6
R7: f, flo, *[sl st, ch 3, 2 tr, ch 3, sl st] same st, sk 1 st, repeat from * until the end
R7: e, blo, (1 sc in 4 sts, inv sc dec) x 6
R8: e, (1 sc in 3 sts, inv sc dec) x 6
R9: e, (1 sc in 2 sts, inv sc dec) x 6
R10: e, (1 sc, inv sc dec) x 6
R11: e, (inv sc dec) x 6, fasten off, weave in ends
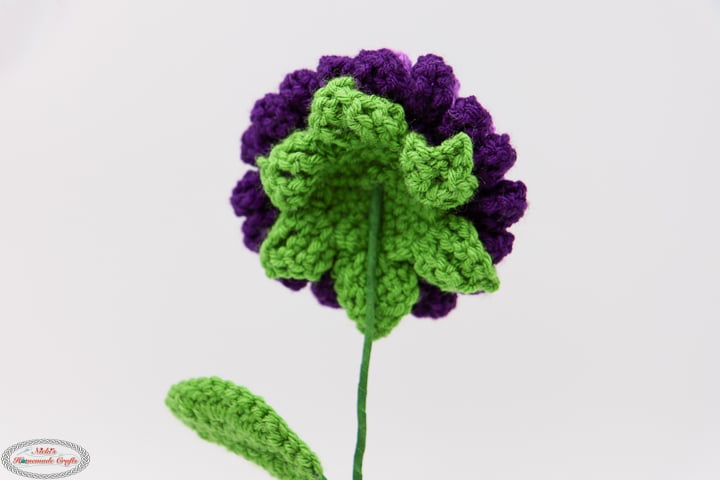
Sepal – peapod
R1: MR, 6 sc, use stitch marker for continuous rounds
R2: 2 sc per st
R3: (1 sc, 2 sc) x 6
R4: (1 sc in 2 sts, 2 sc) x 6
R5: *[ch 3, 1 tr, 1 dtr, ch 3, sl st to the first ch] into same st, [1 dtr, 1 tr, ch 3, sl st] into same st, sk 1 st, 1 sl st, 1 sl st, repeat from * until the end, fasten off, weave in ends
Bend about 1 inch on a 2 gauge wire to about 90 degrees, push through the area of the MR and glue to the wrong side of the sepal (the 1 inch wire piece). Then glue the circular area of the sepal to the BACK of the Dahlia flower head. See image below.
Leaf – peapod
R1: Ch 10, start from the 2nd ch from the hook, 1 sc in 8 sts, 3 sc in the last ch, crochet on the opposite side of the chain, 1 sc per ch until the end, stitch marker
R2: with wire, 1 sc, 1 hdc, (1 dc, 2 dc) x 2, 1 hdc, 1 sc, 3 sc, 1 sc, 1 hdc, (1 dc, 2 dc) x 2, 1 hdc, 1 sc, 1 sc, fasten off
Wrap floral tape around the base of the leaf for about 1 inch.
Assembly
Wrap floral tape around the base of the sepal, keep wrapping until you want to add the leaf, keep wrapping with floral tape, until the end. Shorten or bend the 2 gauge wire and wrap floral tape over it until you’re satisfied.
How did your pattern creation turn out? We’d love to see the result of all your hard work in the Facebook Group: Crocheting with Nicki.
I’m always here to support you through this crochet pattern and any other pattern or tutorial. Simply ask in my group and me and other amazing and kind crocheters will help you along.
Here are some other great Flower Crochet projects that you might like to try:
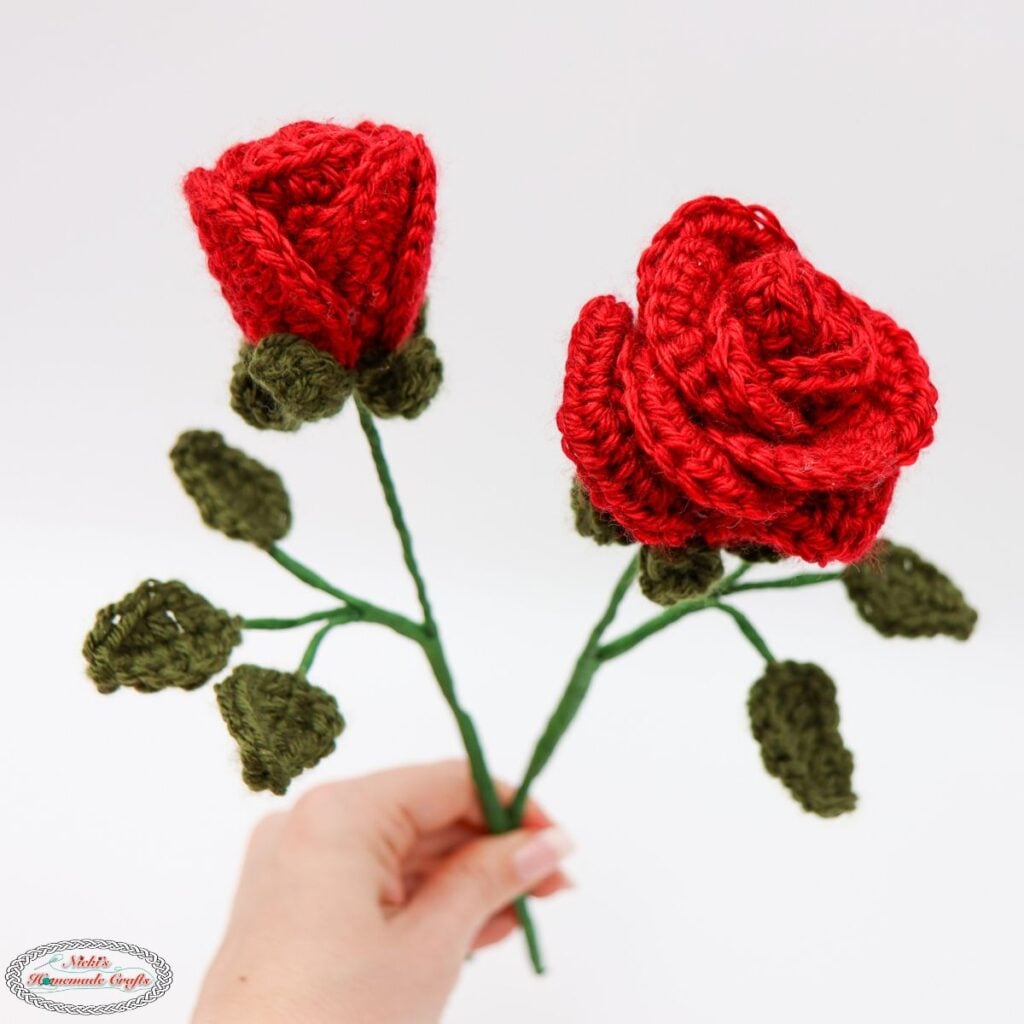
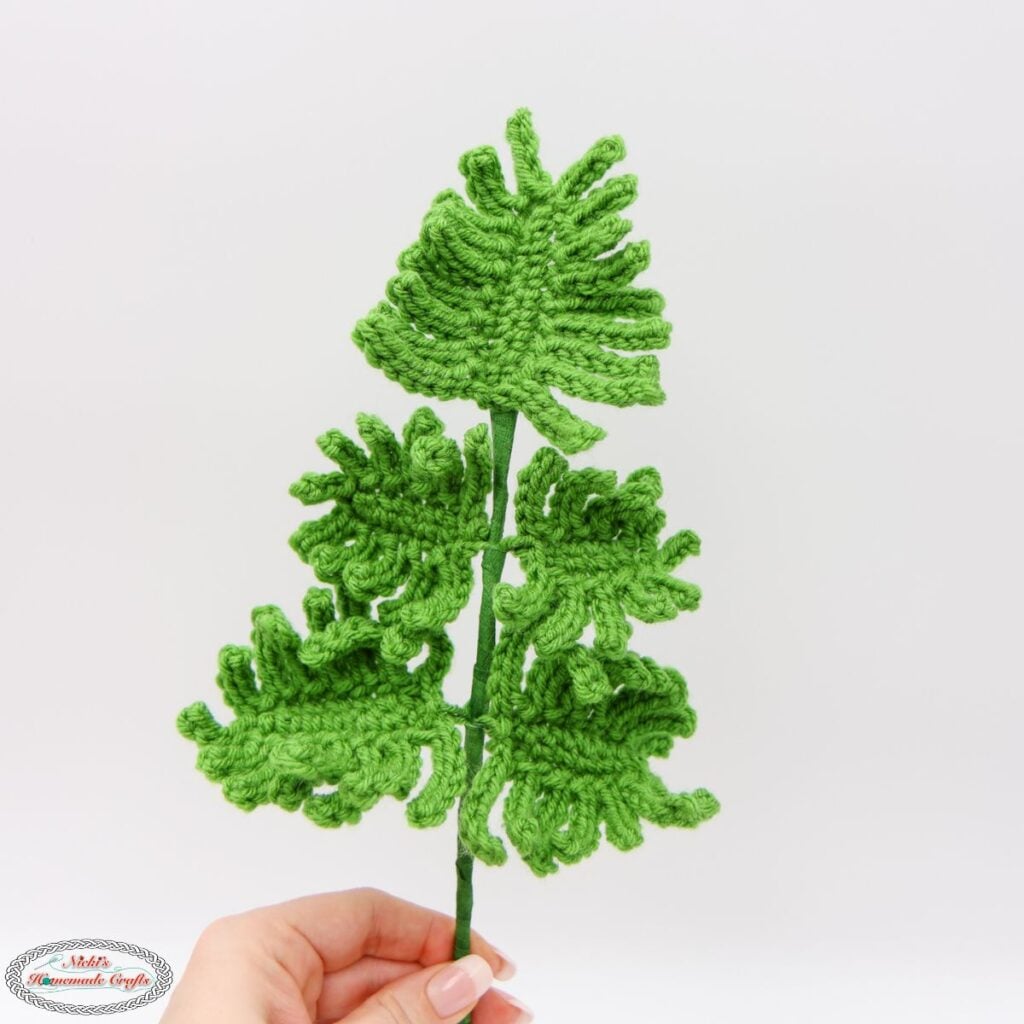

Find the free crochet patterns here:
Be sure to share the link with your crafty friends on social media using the buttons above or below this free crochet pattern.
That way you will find it easily again when you need it and you also provide the world and your friends with the ability to gain extra crochet knowledge as well. And to top it off, you help me as it allows me to create more content that you love already and want to see more of – free crochet patterns and tutorials. So, thank you for sharing.
If you love my crochet patterns and the way I teach, I would suggest subscribing to my newsletter below as I share new patterns, tutorials, and special announcements often.
NICKI’S CROCHET CLUB – CROCHET PATTERN, TIPS & TUTORIAL VAULT
You can have the most amazing pattern and yarn in the world, but if you don’t have the knowledge on how to crochet in a way that makes you proud, then all your work is for nothing.
Maybe you have a dream of having perfect straight seams or have less yarn to weave in?
Let me introduce you to NICKI’S CROCHET CLUB – AN ALL-ACCESS MEMBERSHIP! It is exactly what it says on the tin. If you sign up for the membership I will teach you different techniques and tips on how to improve your crochet projects!
You will get access to all my patterns in adfree printable formats with check off boxes and full support from myself to guide you through the tricky bits. I will also teach you what YOU want to learn! Join me in NICKI’S CROCHET CLUB – AN ALL-ACCESS MEMBERSHIP!
Does getting 8 Crochet Secret Tips delivered straight into your inbox sound like something you would find useful? If so, sign up for my crochet newsletter below. I send out a weekly newsletter packed full of crochet patterns and tutorials.