Crochet an Amazing Gingerbread House – Free Crochet Pattern
This post includes affiliate links.
The Gingerbread House is a free crochet pattern that’s easy to make and will last for years. Plus, this Gingerbread House is classic Christmas decor! The tutorial includes lots of step by step photos.
This Christmas Holiday season was going to be different. This year, she wanted to make something that would last, something she could pass down to her children and her grandchildren. Finally, she came upon the perfect pattern: a crocheted gingerbread house! How much fun the kids would have with this! It would be something they could look forward to year after year.
Crochet Gingerbread House
It is the time of the year again, everyone in the craft community starts making Christmas gifts or items to be sold for crafts fairs. Well, after I participated in the Christmas in July trend, I published this pattern gingerbread house as a Crochet Along. I now present it to you as a free crochet pattern in its entirety here and simply call it the Gingerbread House.
About the Crochet Gingerbread House
The Gingerbread House is made with many simple and basic crochet stitches that create this amazing piece of art and is stabilized by cardboard from the inside. I added a special feature to this Gingerbread House that you normally do not see. It has a door that can be opened and closed as well as windows that are open which means you can add items inside such as LED tea lights or doll furniture to make it even more special.

The special thing about Gingerbread Houses is that you can make and design the outside the way you like. I show you my version of where I placed the candy canes, wreaths, gumdrops and icicles as well as snow patches. I invite you to make this crochet Gingerbread House yours, by designing it the way you like using my pattern.
The most wonderful part of the pattern is that it allows you to only need to sew a very small portion of the entire pattern. The rest is simply glued with a hot glue gun. It makes the entire pattern easy-peasy and fast to create. Furthermore, the pattern features the Brick Crochet Stitch for which I have a full photo and video tutorial for.

To see other stunning free crochet patterns, check out my collection HERE!

Be sure to use the hashtag #GingerbreadHouseCAL on social media, so I can follow along on your journey to create this awesome Gingerbread House.
Also be sure to add this pattern to your Ravelry Favorites by clicking the button below.

If you add this pattern to you Ravelry Favorites and share it on social media as a link, I will be able to share a lot more free crochet patterns for you all.
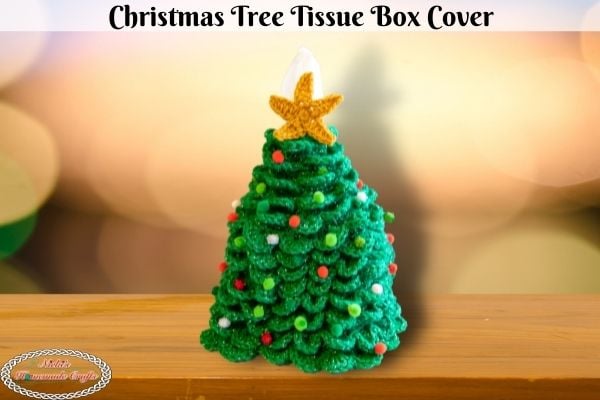
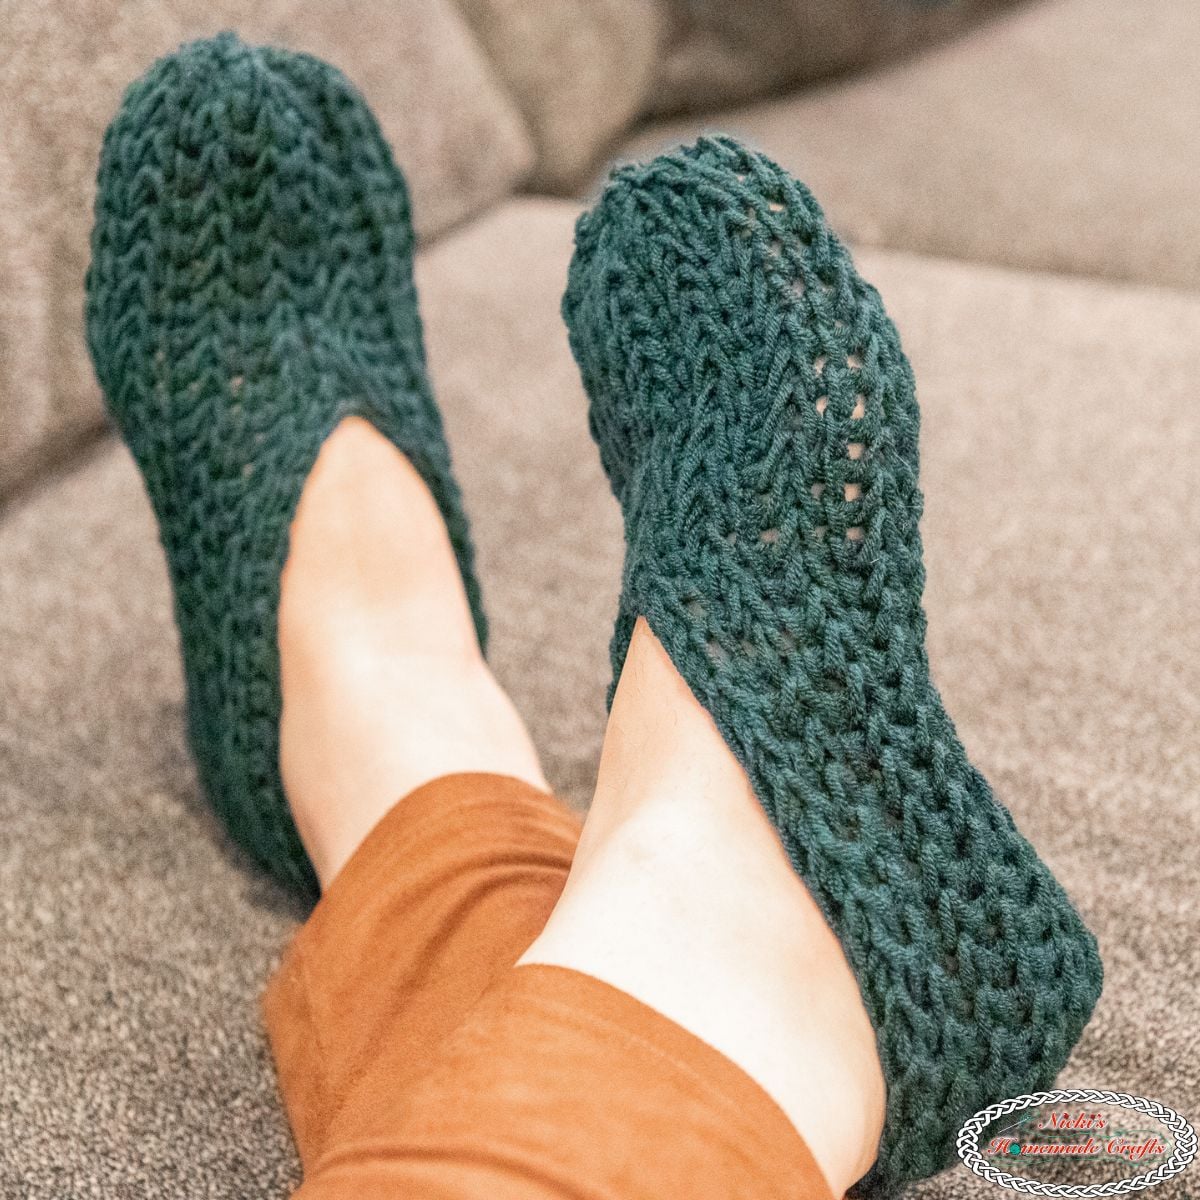
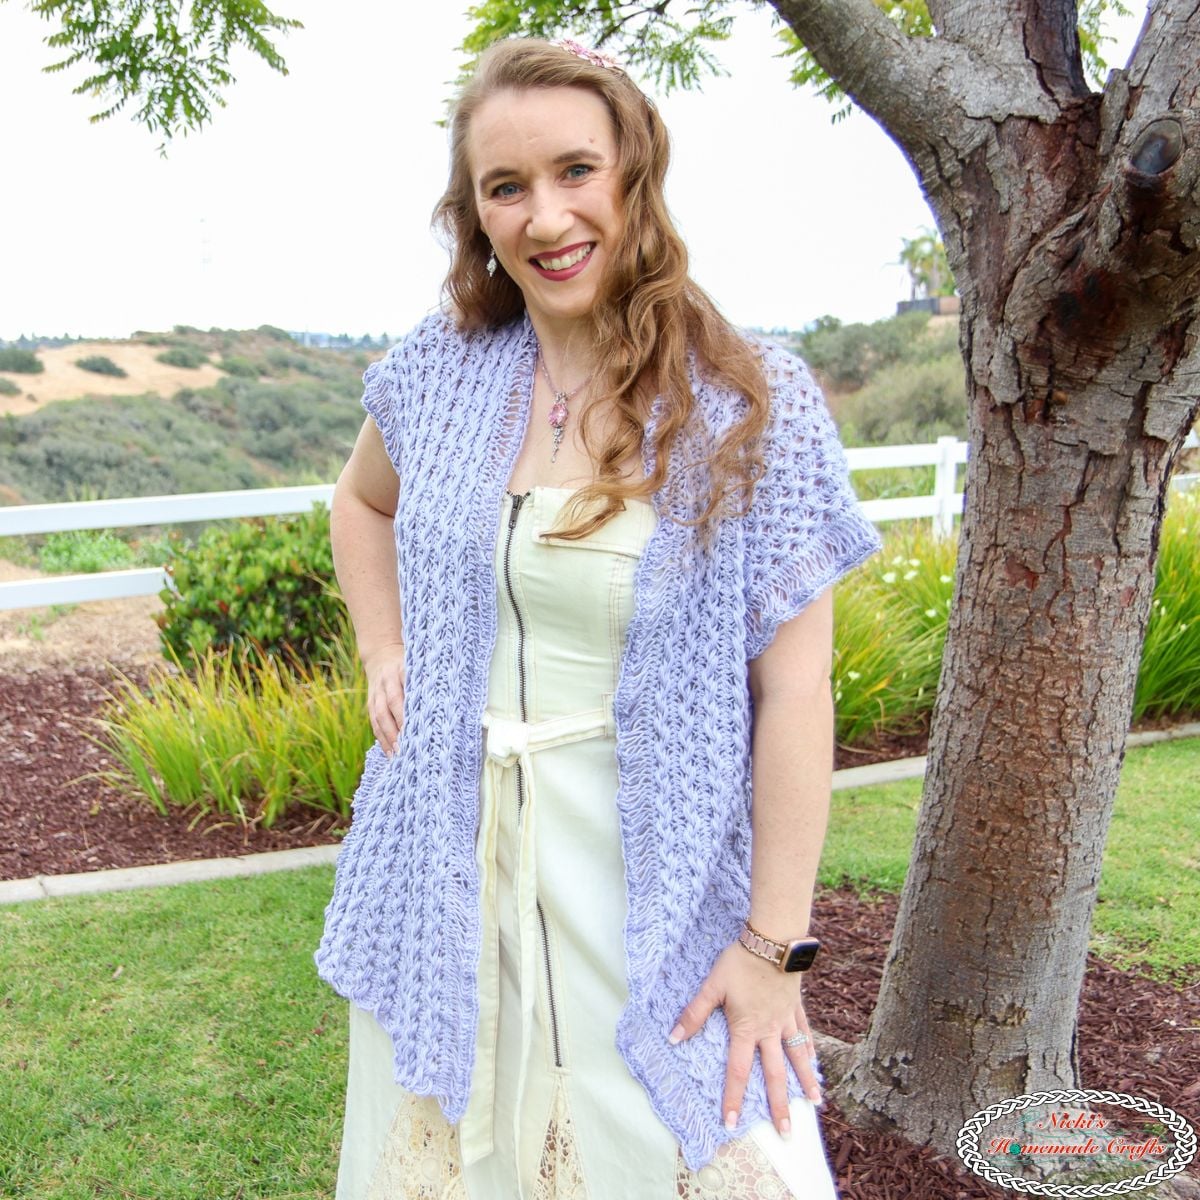
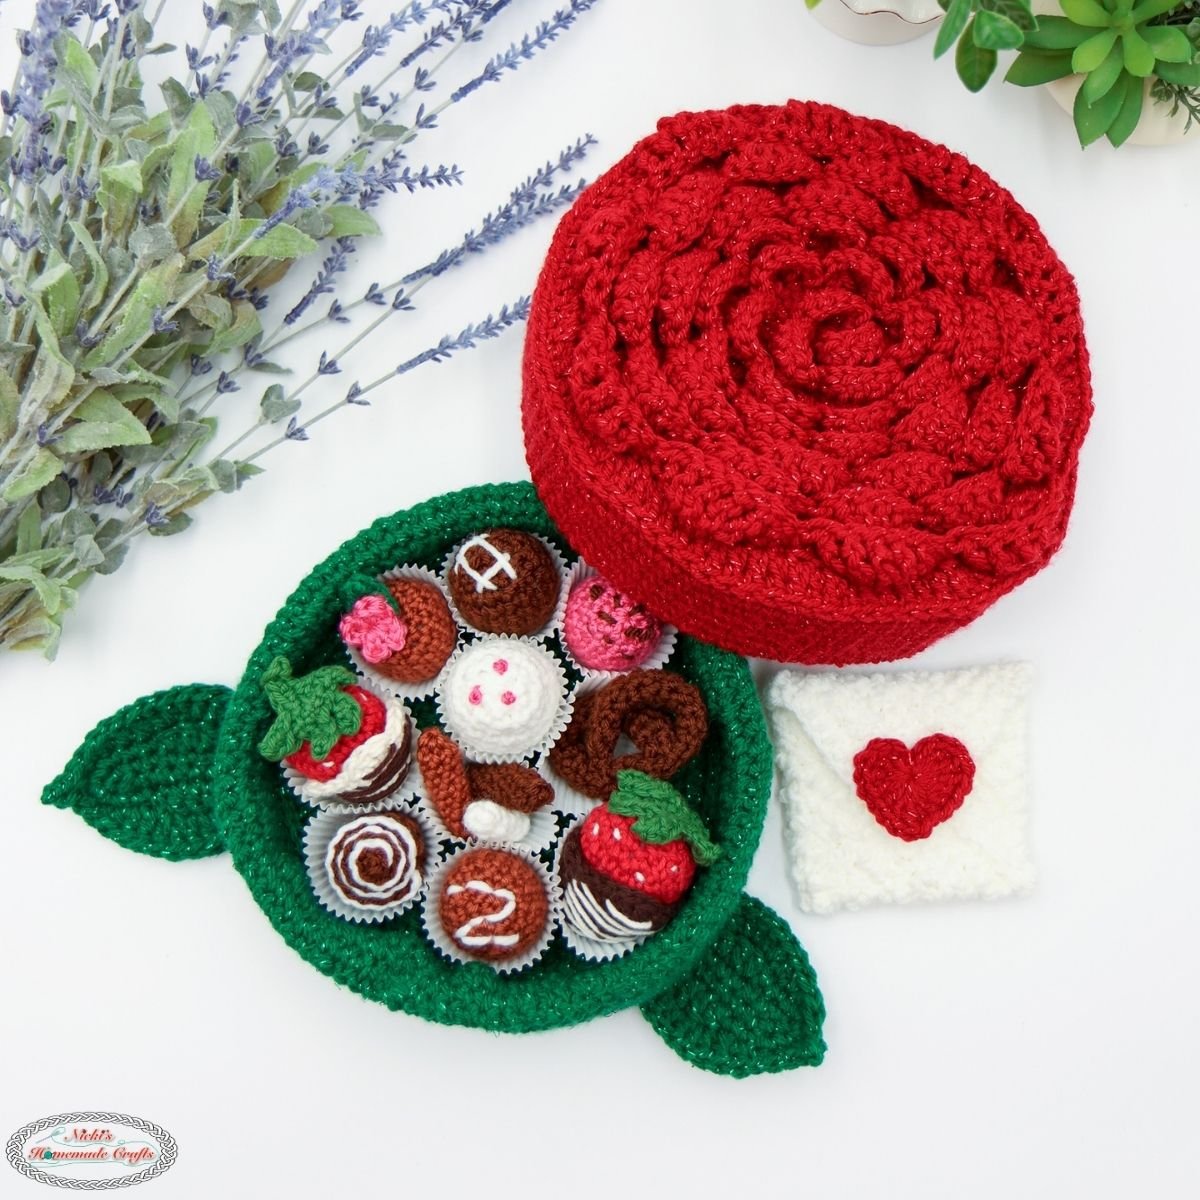
More Christmas crochet pattern inspirations for you:


Furthermore, please join my Facebook Crochet Group so you can share your progress pictures with us and also get feedback or answers to questions you may have about this project or other ones in the future.

In addition, I created a downloadable pdf for you all, that has all the pictures as references added to the back of the pattern. So you can choose whether you want to print them or not. That can save you a lot of ink in the long run.
You can get the crochet pattern for the Gingerbread House on Ravelry, Etsy, LoveCrafts, or my new membership The Crochet Club. The Crochet Club has so much more to offer than just PDF patterns! You get tutorials, references and the complete VIP treatment as well.
If you pay just double the amount as this pattern costs and you have a month’s worth of The Crochet Club Membership with a lot more patterns! It’s well worth it.
If you do not want to join The Crochet Club, you can also purchase the ad-free, printer-friendly PDF pattern at the links below. But IF you join the All-Access Membership you will automatically get this pattern.


So, let’s summarize everything up in quick and easy to read bullet points.

How to crochet the Gingerbread House
Material List:
You can use to other worsted weighted yarns, just be aware that the Jeans yarn is not a true worsted weighted yarn, but a bit on the thinner side and is almost considered DK yarn. All the other worsted weighted yarns are true worsted weighted yarns.
- Lion Brand Jeans Yarn in the color Top Stitch: 2 skeins
- Lion Brand Heartland Yarn in colors
- Premier Yarns Anti-Pilling Everyday Worsted in color snow white: 1 skein (mentioned as white in the pattern)
- Knit Picks Brava Worsted in color Sienna: 1 skein (mentioned as brown in the pattern)
- 5.00mm hook
- Hot glue gun and glue sticks
- Old LARGE shipping box or cardboard (you need to be able to cut out 2 pieces that are 6×9 inches, 2 pieces that are 10×12 inches and 1 piece that is 12x20inches)
- Steamer
- Blocking Board
- scissors
- tapestry needle
Stitches used, in US terms:
All basic stitch tutorials can be found HERE and a U.K. translator is HERE
- ch = chain
- sc = single crochet
- dc = double crochet
- hdc = half double crochet
- tr = treble crochet
- dec = decrease
- sl st = slip stitch
- sk = skip
- mattress stitch
- French knot
Final Size:
- 10 x 9 inches (not measuring the roof on top in width), height is 12 inches
Gauge:
Walls: 4 sc x 4 rows = 1 square inch
Instructions:
Cutting the cardboard house:
Cut out the 5 pieces of the house using these measurements:

I used a cutting board and a rolling cutter. But you can easily just use sharp scissors to cut out all these pieces. The broken-up lines are parts where the cardboard is bend, but not cut (one for the rooftop and one for the door)!
Below you can see the rooftop cardboard cut-out.

Here are three sides of the Gingerbread House cardboard cut-outs.

Next, hot glue all the vertical pieces (walls) together to make it look like a house with no roof. So, do not glue the roof on just yet. That will be the last step after finishing the crocheting, sewing and the rest of the gluing.

Below you can see the tilted view of the cardboard cut-outs glued together.

Making the crocheted walls:
For all the walls use the top stitch yarn
Make 1 piece of the back wall.
Ch 36
Row 1: Starting from the 2nd ch from the hook, 1 sc in each st, ch 1, turn (35 sts)
Row 2 – 27: 1 sc in each st, ch 1, turn
Row 28: 1 sc dec, 1 sc in each st until the last 2 sts, 1 sc dec, ch 1, turn
Row 29: 1 sc in each st, ch 1, turn
Repeat Rows 28 – 29 until you finish with a tip. Fasten off and weave in the ends.
Block the piece with a blocking board and a steamer such that it measures the cut out cardboard piece.

Make 1 piece of the front wall.
You will be making the right side of the window first. Then, you will be making the left side with window and door and then connect them both to work your way up to the top.
Ch 15
Row 1: Starting from the 2nd ch from the hook, 1 sc in each st, ch 1, turn (14 sts)
Row 2 – 4: 1 sc in each st, ch 1, turn
You are now working on one side next to the window (empty space).
Row 5: 1 sc in the next 4 sts, ch 1, turn (4 sts)
Row 6 – 12: 1 sc in the each st, ch 1, turn (4 sts), fasten off after the last row
Re-attach the yarn 7 spaces over on row 5 where you did not finish the row (you are skipping 6 sts for the window)
Row 5: 1 sc in the next 4 sts, ch 1, turn (4 sts)
Row 6 – 12: 1 sc in the each st, ch 1, turn (4 sts)
Row 13: 1 sc in the next 4 sts, ch 6, 1 sc in the next 4 sts, ch 1, turn (14 sts)
Row 14: 1 sc in the next 4 sts, 1 sc in the next 6 chs, 1 sc in the next 4 sts, ch 1, turn (14 sts)
Row 15 – 19: 1 sc each st, ch 1, turn (14 sts), fasten off after the last row and weave in the ends.
Working on the other side now (left side plus door)
Ch 22
Row 1: Starting from the 2nd ch from the hook, 1 sc in each st, ch 1, turn (21 sts)
Row 2 – 4: 1 sc in each st, ch 1, turn
You are now working on one side next to the window (empty space) plus the door.
Row 5: 1 sc in the next 11 sts, ch 1, turn (11 sts)
Row 6 – 12: 1 sc in the each st, ch 1, turn (11 sts), fasten off after the last row
Re-attach the yarn 7 spaces over on row 5 where you did not finish the row (you are skipping 6 sts for the window)
Row 5: 1 sc in the next 4 sts, ch 1, turn (4 sts)
Row 6 – 12: 1 sc in the each st, ch 1, turn (4 sts)
Row 13: 1 sc in the next 4 sts, ch 6, 1 sc in the next 11 sts, ch 1, turn (21 sts)
Row 14: 1 sc in the next 4 sts, 1 sc in the next 6 chs, 1 sc in the next 4 sts, ch 1, turn (21 sts)
Row 15 – 19: 1 sc each st, ch 1, turn (21 sts)
You are now connecting the left side (with door) with the right side.
Row 20: 1 sc in the next 15 sts, ch 6, sk 6 (you do not want to crochet over the door or you can’t open it), 1 sc in the next 14 sts (from the right-side piece), ch 1, turn (35 sts)
Row 21: 1 sc in the next 14 sts, 1 sc in the next 6 chs, 1 sc in the next 15 sts, ch 1, turn
Row 22-27: 1 sc in each st, ch 1, turn
Row 28: 1 sc dec, 1 sc in each st until the last 2 sts, 1 sc dec, ch 1, turn
Row 29: 1 sc in each st, ch 1, turn
Repeat Rows 28 – 29 until you finish with a tip. Fasten off and weave in the ends.

Block the piece with a blocking board and a steamer such that it measures the cut out cardboard piece.

For all the walls use the top stitch yarn
Make 2 of the side pieces.
Ch 33
Row 1: Starting from the 2nd ch from the hook, 1 sc in each st, ch 1, turn (32 sts)
Row 2 – 4: 1 sc in each st, ch 1, turn
You are now working on one side next to window (empty space).
Row 5: 1 sc in the next 13 sts, ch 1, turn (13 sts)
Row 6 – 12: 1 sc in the each st, ch 1, turn (13 sts), fasten off after the last row
Re-attach the yarn 7 spaces over on row 5 where you did not finish the row (you are skipping 6 sts for the window)
Row 5: 1 sc in the next 13 sts, ch 1, turn (13 sts)
Row 6 – 12: 1 sc in the each st, ch 1, turn (13 sts)
Row 13: 1 sc in the next 13 sts, ch 6, 1 sc in the next 13 sts, ch 1, turn (32 sts)
Row 14: 1 sc in the next 13 sts, 1 sc in the next 6 chs, 1 sc in the next 13 sts, ch 1, turn (32 sts)
Row 15 – 27: 1 sc each st, ch 1, turn (32 sts), fasten off after the last row and weave in the ends.

Block the 2 pieces with a blocking board and a steamer such that they measure the cutout cardboard pieces.

After blocking:

Roof Top (using the Brick Stitch – Tutorial for it is HERE)
You will use the Knit Picks Brava worsted yarn in brown for the row 1 and repeat rows 4-5 and 8-9, and Lion Brands Top Stitch yarn for the repeat rows 2 -3 and 6-7
Ch 40
Row 1: Starting from the 2nd ch from the hook, 1 sc in each st, ch 1, turn (39 sts), change colors again to the previous color.
Row 2 – 3: Ch 1, *1 sc, 1 hdc, 1 dc in the next 3 sts, 1 hdc, 1 sc, sk 1 st, ch 1, repeat from * until the end, always finishing with the sc, not the [sk 1 st, ch 1]. During the last stitch in row 3 change colors again to the previous color.
Row 4: ch 1, 1 sc in the next 7 sts, 1 dc into the skipped stitch 3 rows below, repeat from * finishing with a single crochet, not the double crochet.
Row 5: ch 1, 1 sc in each st, changing colors during the last stitch to the previous color.
Row 6 – 7: ch 2, 1 dc, 1 hdc, 1 sc, sk 1 st, ch 1, *1 sc, 1 hdc, 1 dc in the next 3 sts, 1 hdc, 1 sc, sk 1 st, ch 1, repeat from * until the last 3 stitches where you do the following: 1 sc, 1 hdc, 1 dc. During the last stitch in row 7 change colors again to the previous color.
Row 8: ch1, place 1 sc in the next 3 stitches, 1 dc into the skipped stitch 3 rows below, then place *1 sc in the next 7 stitches, repeat from * until the last 3 stitches, where you place 1 sc in the next 3 stitches.
Row 9: ch 1, 1 sc in each stitch. During the last stitch in row 9 change colors again to the previous color.
Repeat rows 2 – 9 until you reached 20 inches
(Picture below does not show the entire piece)

Icicles around the roof top
Using the white yarn, attach the yarn anywhere around the edge. There is no exact pattern for the icicles as there are in nature different lengths as well. Now chain a number of chains between 3 and 8 and then work your way back from the 2nd ch from the hook in sc’s. Once you reached the first ch, sl st 2 sts over (1 skipped stitch in between), repeat. For the edges of the rooftop where the rows, rather than stitches are, be sure to make the icicles evenly spaced like before. Once you reach the starting point again, sl st and fasten off and weave in the ends.
Icicles for the top edge of the roof top
Using the white yarn, make a chain of 39, repeat the icicle making as you did for the rooftop, but instead of placing the sl st into stitches, they are chains here. Once you reached the end of the chain, turn and work your way back on the other side of the chain in the same process. Then fasten off and weave in the ends.
Snow patches for the roof top
Make as many as you wish, but I made 12.
Make a Magic circle, ch 1 and place 8 sc’s inside, and close the hole, sl st to the first st, ch 2, 1 tr in the next st, ch 2, sl st into the next st, fasten off and weave in the ends.
Gumdrops
Using the red and green yarn
Make 13 red and 14 green gumdrops.
Make a Magic circle, ch 2, make 6 dc’s, now cut the yarn and use the end to sew the half circle into a gumdrop shape by going from the last dc’s to the first and then into several others to create a ball.


2 Wreaths
Using the green yarn
Ch 12 and sl st to the first ch to create a circle
Round 1: ch 1, *1 sc, 1 sc inc, repeat from * all around (18 sts), sl st to the first st
Round 2: ch 1, *1 sc, 1 sc, 1 sc inc, repeat from * all around (24 sts), sl st to the first st
Round 3: ch 1, *1 sc, 1 sc, 1 sc, 1 sc inc, repeat from * all around (30 sts), sl st to the first st, fasten off and weave in the ends.
Using the red yarn make 2 small bows (like you would tie shoelaces) and glue them onto the wreaths (one each) with hot glue.

Candy Canes (9)
The candy cans are actually made by twisting 2 long chains together. Chain 20 to create a long chain. You need one red and one white long chain per candy cane. So, make 9 red chains and 9 white ones. You will twist them when they will be glued onto the walls, later.


Framing the windows and door
In order to frame the windows so they look like they have snow and ice on them, use the white yarn and use the surface crochet stitch to go all around the windows and the door (the frame, not the actual door). But for the window sill crochet icicles again like you did for the rooftop, but this time make them all between 2 to 4 chains long. In order to create the + on the windows, make chains of 6 (need 8) and glue them to the window with hot glue.

Doorknob
I simply sewed on a door knob using my tapestry needle and some white yarn to make a French knot.
Sewing and gluing it all together
First, sew the front wall to one of the side walls using the mattress stitch. Repeat the same way for that same side to the back side. Now sew the other last side to the front side as well. You will sew the back side to the other side after gluing!
Now, using the hot glue, add the gum drops to the top of the windows and door. Next, glue on the wreaths (one in the front and one in the back). Next, glue on the strip of icicles for the tip of the rooftop right in the center of the rooftop. After that, glue some gumdrops right on top of it.

Next, you will create and glue on the candy canes. There are one on each side of the side windows (not on the front) and 5 in the back of the house. First, you will glue on one white and one red long chain in the same spot (it helps to tie them up first). Once the glue is dried, twist the 2 chains and create a candy cane and glue it to the house wall while being twisted.


Next, glue on the snow patches randomly on top of the roof.
You will now glue and sew everything together. First, glue the rooftop to the cardboard piece that is for the rooftop. Next, start on the left small side of the house and start gluing the crocheted parts to the cardboard walls. You will work your way counterclockwise around the house. Once the last part is glued on, be sure to sew together the backside wall with the side that it was now sewn on yet. Finally, glue the rooftop to the house. I supported the rooftop by using the glue also from the side which stabilized the entire structure.
You are now finished with the Gingerbread House. I hope you enjoyed this pattern just as much as I did.
Please share the link to the Gingerbread House on social media! That helps me share the free patterns with crocheters around the world. Thank you

I hope you love this crochet Gingerbread House pattern as much as I do. If you love this pattern and technique, please use the social media share buttons above or below and share this pattern link with the world and your friends.
That way you will find it easily again when you need it and you also provide the world and your friends with the ability to gain extra crochet knowledge as well. And to top it off, you help me as it allows me to create more content that you love already and want to see more of – free crochet patterns and tutorials. So, thank you for sharing.
If you love the my crochet patterns and the way I teach, I would suggest subscribing to my newsletter below as I share new patterns, tutorials and special announcements often.