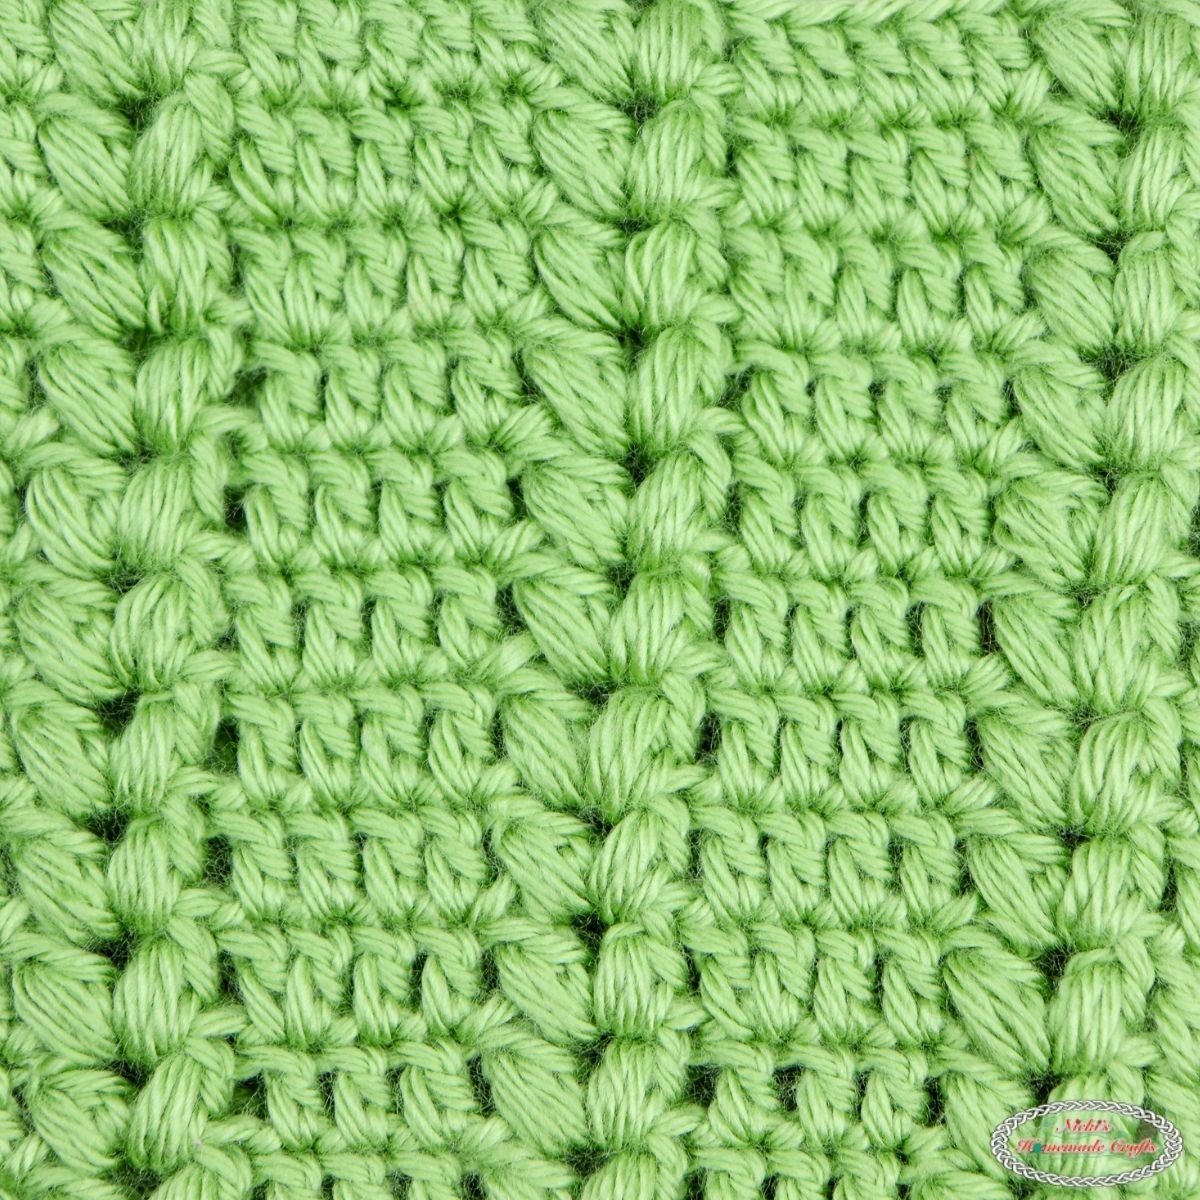
Reversible Overlay Mosaic Crochet: Free Step-by-Step Tutorial
This post includes affiliate links.
Learn reversible overlay mosaic crochet step by step. Turn any mosaic crochet graph into a double-sided design using 2 special stitches, photos and video.
Have you ever finished a beautiful overlay mosaic crochet project—only to turn it over and see nothing but stripes? In this free reversible overlay mosaic crochet tutorial, I’ll show you how to create the design on BOTH sides of your work.
You can turn almost any overlay mosaic crochet pattern or graph into a reversible, double-sided design by learning just 2 additional stitches: the anchored double crochet and anchored single crochet. I’ll walk you through both stitches with step-by-step photos, written instructions, and a complete video tutorial.
Reversible mosaic crochet does use more yarn than the regular technique, but the result is worth it—especially for blankets, scarves, cowls and other projects where both sides are visible. Grab two colors of yarn and a matching hook, and let’s make a small practice swatch together.
For the tutorial swatch shown here, I used Premier Cotton Sprout. It’s a beautiful cotton yarn that’s easy to care for and perfect for kitchen linens.

How do you make overlay mosaic crochet reversible?
To make overlay mosaic crochet reversible, replace the single crochet above each mosaic double crochet with an anchored double crochet. After completing the graph, add two catch-up rows using anchored double crochet and anchored single crochet. These stitches recreate the design on the back instead of leaving horizontal stripes.
Overlay Mosaic Crochet
Overlay Mosaic Crochet may seem hard, but it actually isn’t. It’s a very simple colorwork technique. You do not change colors unless it’s at the beginning of a row or round and uses only basic crochet stitches such as single crochet and double crochet to create incredible mosaic designs.
You simply cut your yarn at the end of each row or drop it for rounds.
Access to the PDF Version of the Tutorial
You can get this tutorial and the Christmas Blanket Pattern right on my website HERE.
Reversible Mosaic Crochet at a Glance
- Skill level: Intermediate
- Technique: Overlay mosaic crochet in rows
- Colors used: Two
- Special stitches: Anchored double crochet and anchored single crochet
- Tutorial format: Written instructions, photos, graph and video
- Result: A double-sided fabric with the design visible on both sides
- Important: Reversible mosaic crochet uses more yarn than regular overlay mosaic crochet
Reversible Mosaic Crochet – Video Tutorial
How to Make ANY Mosaic Crochet Pattern Reversible
Let’s break up this technique into several steps to make it really clear how to Overlay Mosaic Crochet and have it be reversible. Grab your yarn and your crochet hook. I used a 4.5mm WeCrochet Dots Crochet Hook and Premier Cotton Sprout.
The most important part about this technique is to understand that you will need to do 2 important things to turn ANY Mosaic Crochet Pattern or Graph into a reversible one.
Step 1 – Make Any Mosaic Crochet Pattern Reversible
First, you will need to learn the anchored double crochet (anch-dc) which is coupled with a single crochet in the back loop only (sc in blo). Although explained in more detail below, the most important part about this stitch is that always replaces a sc in blo ABOVE any mosaic crochet double crochet (mdc – dc placed into flo 2 rows down in the same color).
What is an anch-dc stitch?
An anch-dc looks like a sc in blo from the front and a dc in the back.
Step 2 – Make Any Mosaic Crochet Pattern Reversible
Finally, after finishing any mosaic crochet pattern or graph (now reversible), you will need to add 2 rows (which I like to call catch up rows). The first one is made to catch up with anch-dc stitches above any mdc stitches in the last row (all other stitches are sc in the blo). The last row is another new stitch (in more detail below) which is the anchored single crochet (anch-sc) and is the reverse of the anch-dc.
What is an anch-sc stitch?
An anch-sc looks like a mdc from the front, but a sc in the back.
How to Crochet Reversible Overlay Mosaic – Photo Tutorial
Now that you know the basic about how to make any overlay mosaic crochet pattern and graph reversible, let me show you how that will actually look like.
Of course, you must make sure you know and have tried overlay mosaic crochet before learning how to make such a pattern reversible. If you never tried it before, you can learn overlay mosaic crochet here.
Reversible Mosaic Crochet Graph


Legend:
Blank pixel = sc in blo (besides 1st row)
X = mdc in the flo 2 rows down
A = anch-dc (sc in blo from the front, dc in the back)
E = anch-sc (dc in the flo 2 rows down from the front, sc in the back)
Row 1 and 2 – Set up Mosaic Crochet
Let’s make the graph above as a swatch to learn this technique. Ch 10. Crochet the first 2 rows:
R1: starting from the 2nd ch from the hook, 1 sc in each ch, cut yarn
R2: (sc) x 9

Row 3 – Regular Overlay Mosaic Crochet
R3: (sc) x 1, (mdc) x 1, (sc) x 1, (mdc) x 1, (sc) x 1, (mdc) x 1, (sc) x 1, (mdc) x 1, (sc) x 1

Row 4 – Starting Reversible Overlay Mosaic Crochet Technique
R4: (sc) x 1, (anch-dc) x 1, (mdc) x 1, (anch-dc) x 1, (mdc) x 1, (anch-dc) x 1, (mdc) x 1, (anch-dc) x 1, (sc) x 1
How to crochet the ANCH-DC
The anch-dc will look like a sc in the blo from the front but like a dc in the back.
1. Insert hook into the blo, yo

2. Yo, turn project slightly to the back, insert hook into blo 2 rows down (stitch hidden behind the mdc made in the other color)

3. Yo, pull through 2 loops

4. Yo, pull through 3 loops
Now you made an anch-dc that look like a sc in the blo from the front but like a dc in the back.


Row 5 – 9 – Continue Crocheting the Pattern Reversible
R5: (sc) x 2, (anch-dc) x 1, (mdc) x 1, (anch-dc) x 1, (mdc) x 1, (anch-dc) x 1, (sc) x 2
R6: (sc) x 3, (anch-dc) x 1, (mdc) x 1, (anch-dc) x 1, (sc) x 3
R7: (sc) x 3, (mdc) x 1, (anch-dc) x 1, (mdc) x 1, (sc) x 3
R8: (sc) x 2, (mdc) x 1, (anch-dc) x 1, (mdc) x 1, (anch-dc) x 1, (mdc) x 1, (sc) x 2
R9: (sc) x 1, (mdc) x 1, (anch-dc) x 1, (mdc) x 1, (anch-dc) x 1, (mdc) x 1, (anch-dc) x 1, (mdc) x 1, (sc) x 1
Row 10 – First Catch-up Row for the Reversible Pattern
R10: (sc) x 1, (anch-dc) x 1, (sc) x 1, (anch-dc) x 1, (sc) x 1, (anch-dc) x 1, (sc) x 1, (anch-dc) x 1, (sc) x 1
Row 11 – Last Catch-up Row for the Reversible Pattern
R11: (anch-sc) x 9
How to crochet the ANCH-SC
The anch-sc will look like a dc in the flo (mdc) from the front but like a sc in the back.
Important Side Note:
For EVERY first stitch when crocheting the anch-sc, start with a sc in the flo 2 rows down (unfinished alternative turning chain) and then go to step 2.
Crochet the ANCH-SC
1. Yo, insert hook into flo (in the same color) 2 rows down, yo, pull through 2 (unfinished dc)

2. Insert hook into the sc st right behind (last row), yo, pull through

3. Yo, pull through all 3 loops

Now finish the row with all anch-sc stitches.
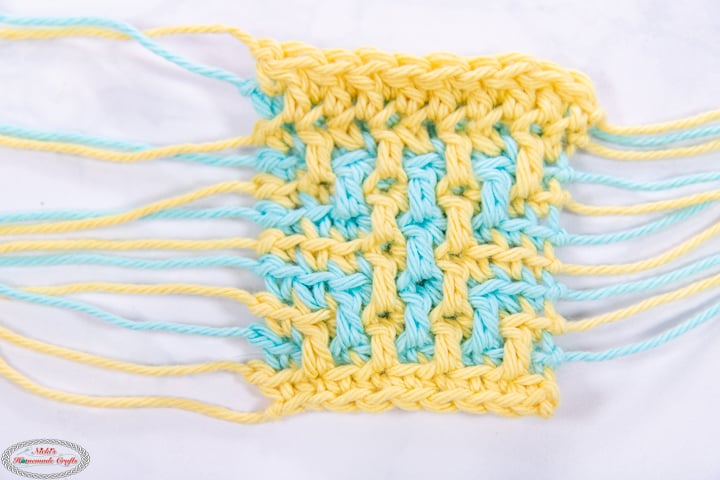

Now you can leave the fringe, or add a border like the popular Envelope Border often used for Mosaic Crochet as you don’t need to weave in your ends.
Regular vs. Reversible Overlay Mosaic Crochet
| Regular overlay mosaic | Reversible overlay mosaic |
|---|---|
| Design appears mainly on the front | Design appears on both sides |
| Back usually has horizontal stripes | Back shows a reverse-color version |
| Uses sc and mosaic dc stitches | Adds anch-dc and anch-sc |
| Uses less yarn | Uses more yarn |
| Ideal when the back is hidden | Ideal for blankets, scarves and cowls |
Which Projects Work Well with Reversible Mosaic Crochet?
Pretty much ANY Overlay Mosaic Crochet Pattern or Graph can be turned into reversible crochet stitch patterns.
You just have to remember that this technique requires more yarn. So if you are making a pattern reversible, ADD MORE YARN to your cart before starting.
Here are some great regular overlay mosaic patterns and graphs you can use and turn reversible.


Find the free crochet patterns here:
- Christmas Mosaic Crochet Blanket
- Brick Weave Mosaic Blanket
- Mosaic Crochet Baby Blanket
- Mosaic Crochet Cowl
Even better, any of the above patterns are available ad-free in one easy-to-download pdf file. So if you’ve caught the mosaic crochet bug, you can learn everything there is to know about Mosaic Crochet!
If you have enjoyed this Reversible Overlay Mosaic Crochet tutorial, be sure to share the link with your crafty friends on social media using the buttons above or below this stitch tutorial. I hope you enjoy it. Thanks for sharing.

NICKI’S CROCHET CLUB – CROCHET PATTERN, TIPS & TUTORIAL VAULT
You can have the most amazing pattern and yarn in the world, but if you don’t have the knowledge on how to crochet in a way that makes you proud, then all your work is for nothing.
Maybe you have a dream of having perfect straight seams or have less yarn to weave in?
Let me introduce you to NICKI’S CROCHET CLUB – AN ALL-ACCESS MEMBERSHIP! It is exactly what it says on the tin. If you sign up for the membership I will teach you different techniques and tips on how to improve your crochet projects!
You will get access to all my patterns in PDF formats and full support from myself to guide you through the tricky bits. I will also teach you what YOU want to learn! Join me in NICKI’S CROCHET CLUB – AN ALL-ACCESS MEMBERSHIP!
Does getting 8 Crochet Secret Tips delivered straight into your inbox sound like something you would find useful? If so, sign up for my crochet newsletter below. I send out a weekly newsletter packed full of crochet patterns and tutorials.