
How to Crochet the Waistcoat Stitch (Knit Stitch) Easily in Rows and Rounds
This post includes affiliate links.
The waistcoat stitch is also known as the crochet knit stitch or center single crochet. This tutorial walks you through how to crochet it flat and in rounds.
In late 2016, I discovered the Waistcoat Stitch aka the crochet Knit Stitch as many people call it because it looks like it was knitted but was actually crocheted. I decided it needed to be shown off to the crochet world. So after making a quick one-minute video using this stitch and creating small little hearts with this stitch, it went viral. WOW.
But I also got many questions. So I created a more detailed video and uploaded it to my Youtube channel which can also be seen below. Plus I created a detailed picture tutorial for the crochet waistcoat stitch as well.
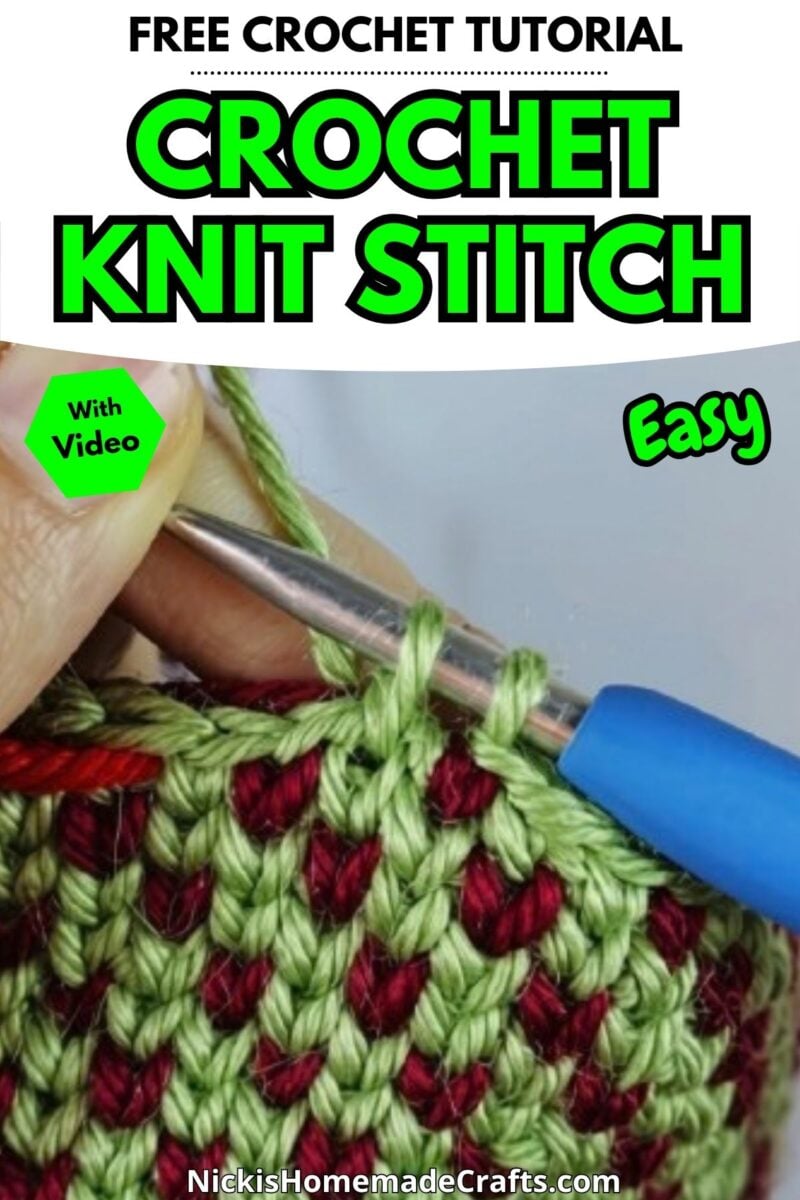
How do you crochet the waistcoat stitch?
So, you can create the Waistcoat Stitch (wst) by going in a round or doing it flat, by going row by row and turning in between. They look very similar, but just a hint different.
Adding a secondary color to the flat version can be tricky, as you might find it hard to hide the secondary color, unless you choose one side to be the wrong (not so pretty) side and collect the yarn on that side, or better let it run on that side only, not visible from the right (pretty) side.
However, going in rounds solves that issue, as most people would think it is inside and not seen from the inside. Not important for hats or beanies how the inside looks like, right?
In case, you feel like it matters, I would suggest covering it up with fabric. Let’s say you make it into a bag, then just add a lining to it. Problem solved 🙂
Waistcoat Stitch Crochet Patterns

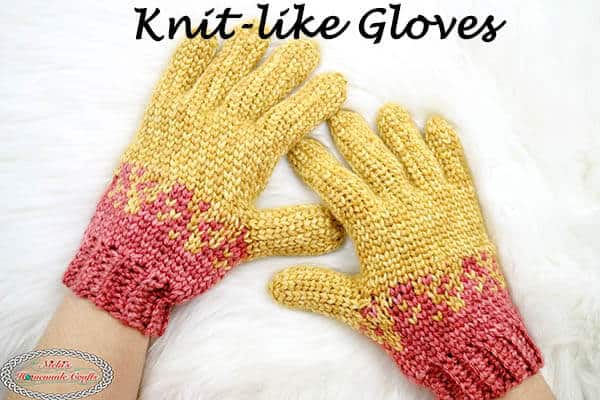
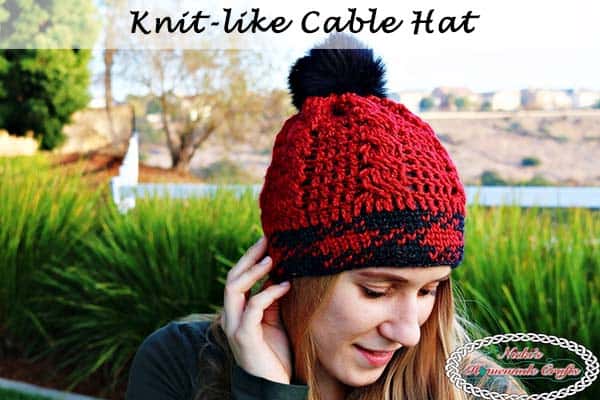

All of these are awesome knit-like waistcoat stitch crochet patterns using the crochet waistcoat stitch. If you need more inspiration, check out this waistcoat stitch collection.
Well, let me get to it and show you how this waistcoat stitch is made. No matter which way you pick (round or flat), start with a chain (connect the chain into a circle for rounds) and crochet one row of single crochet as you normally would. Starting with round 2, you will use the waistcoat stitch.
Waistcoat Stitch Crochet Video Tutorial – Rows vs Rounds
Crochet Waistcoat Stitch – Rows and Rounds
Waistcoat Stitch Crochet Rows Flat
Insert your hook underneath the bar, underneath the upside-down V (like a pyramid), do not go into the space where you normally go for a single crochet!

After pushing the hook through (remember to have LOOSE tension!!).

Yarn over and pull the yarn through, just like you would for a single crochet.

After the yarn was pulled through both loops, you made a crochet waistcoat stitch. Isn’t it so beautiful? It sure does look like it was knitted.

Laid out flat piece when going row by row and turning in between (there is no decrease or increase; the right bottom corner is just bending upwards, sorry).

Waistcoat Stitch Crochet Round
Again do not go through the space as you would for a normal single crochet, but rather go thru the top of the V (right ABOVE where you see my hook, push the hook thru where the 2 bars of the V split apart). You are splitting the single crochet from the previous round to create a waistcoat stitch in crochet.


Yarn over the primary color (here in green), and pull the yarn through just like you would for a normal single crochet.


For the secondary color, just pick it up by yarning over (instead of the green) and pulling it thru, but finishing it with the primary color.


The next 2 pictures show how to finish the waistcoat stitch with the primary color after a color change for the loop only.


The picture below shows how the stitch looks from the inside and out when going in a round using two different colors while using the waistcoat stitch.

I hope the pictures make sense and it explains how to do this stitch. If you do not understand it yet and/or you are more of a visual learner please check out my extended video above which shows you exactly how it is done.
Waistcoat Stitch Color Changes
Once you’re comfortable crocheting the waistcoat stitch in one color, try adding a second color! It’s a fun way to create little details that look like they were knitted.
How I Worked My Two-Color Example
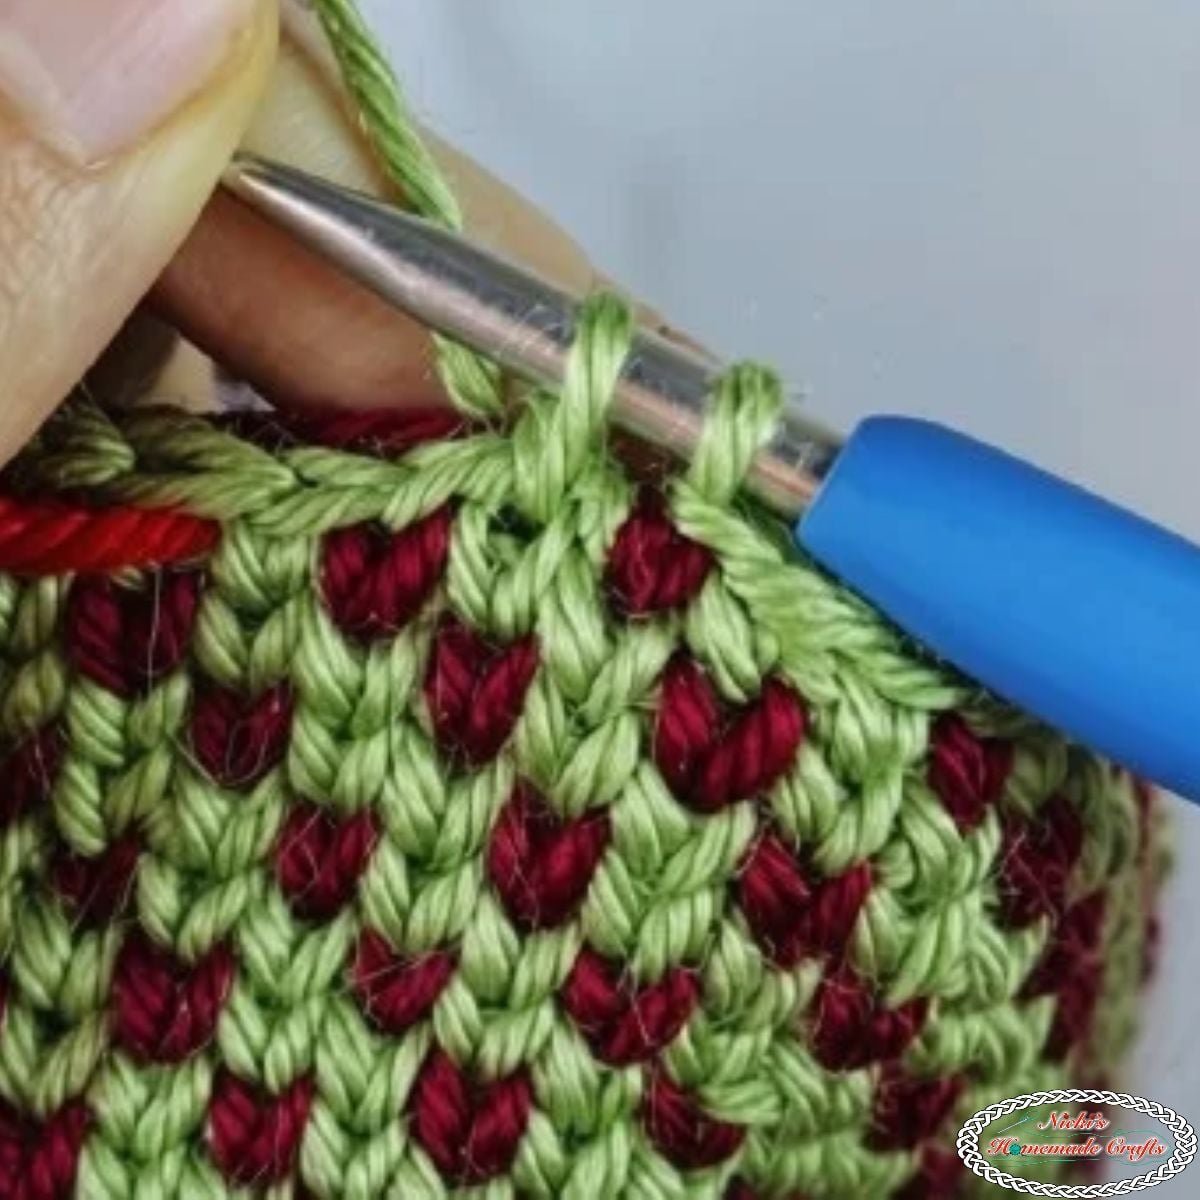
In the example shown below, green is my main color. For the contrasting detail, I insert my hook into the center of the next stitch, yarn over with the second color, and pull up a loop. Then I yarn over with green and pull through both loops to finish the stitch.
This creates a contrasting detail while leaving green on my hook, ready for the next stitch. Follow the close-up photos below to see where each color goes.
How to Change Colors for the Next Stitch
My example above is different from changing the color of an entire stitch. For a standard color change, work the stitch before the change until you have two loops on your hook. Yarn over with the new color and pull through both loops. Then work the next waistcoat stitch with that new color.
Keeping the Unused Yarn Neat
Keep the unused yarn toward the wrong side of your work and avoid pulling it too tightly. Tight carried yarn can make your fabric pucker!
When working flat, remember that you turn after each row. Keep the unused yarn on your chosen wrong side as you turn. In rounds worked without turning, keep it inside the project.
Try a small two-color swatch first so you can check the appearance and tension before starting your project.
Crochet Waistcoat Stitch FAQ and Troubleshooting
Why is my waistcoat stitch so tight?
The waistcoat stitch creates a dense fabric, so tight tension can make it difficult to work into the stitches on the next row or round. Keep your tension relaxed, especially when pulling up a loop. You can also try a slightly larger hook on a practice swatch. The hook should slide through the stitch without you having to force it!
Where do I insert my hook after turning my work?
Insert your hook through the center of the stitch from the previous row, rather than under the two top loops as you would for a regular single crochet. After turning, the back of the stitch looks different from the front, so the insertion point may be harder to spot. Follow the close-up photos in the flat tutorial and check that your hook goes through the center without catching individual strands of yarn.
Why are the edges of my waistcoat stitch uneven?
Check your stitch count first! Accidentally skipping an edge stitch or adding a stitch into the turning chain can make your swatch narrower or wider. Follow the tutorial’s instructions for the first and last stitches, and place a stitch marker in each edge stitch if you need help finding them. Keeping your tension consistent also helps.
Why does my second yarn color show through?
The carried yarn can peek through if the stitches are loose or it sits too close to the front of your work. Keep it toward the wrong side and maintain gentle, even tension without pulling it so tightly that the fabric puckers. If you’re working flat, you can leave the unused yarn on the wrong side instead of carrying it inside every stitch. Follow your project’s colorwork instructions, since the best method depends on the design.
Does the waistcoat stitch look different in rows and rounds?
Yes! Turning after each row changes which side of the stitch faces you, so the flat version has a slightly different appearance. When you work in rounds without turning, the same side faces you throughout, creating a more consistent knit-like look. Both methods are useful—it depends on the project you want to make.
Is the waistcoat stitch the same as single crochet?
It is worked much like a single crochet, but the hook goes through the center of the stitch below instead of under its top two loops. Insert your hook, yarn over and pull up a loop, then yarn over and pull through both loops. That different insertion point creates the little V shapes that make this crochet stitch look like knitting!
You might also want to check out Make & Do Crew‘s headband using this stitch. It looks so beautiful and elegant.
I hope you love this crochet waistcoat stitch as much as I do. If you love this pattern and technique, please use the social media share buttons above or below and share this pattern link with the world and your friends.

That way you will find it easily again when you need it and you also provide the world and your friends with the ability to gain extra crochet knowledge as well. And to top it off, you help me as it allows me to create more content that you love already and want to see more of – free crochet patterns and tutorials. So, thank you for sharing.
If you love my crochet patterns and the way I teach, I would suggest subscribing to my newsletter below as I share new patterns, tutorials and special announcements often.



Do you have the pattern for the waistcoat stitch hat? Or how many chains do you start with? Even or uneven number of chains? Then for the 2 colors is it 2 sc in main color & 1 sc in contrasting color? Thank you.
Hi Patty. The one I used in the pictures and video above is a pattern that is not published yet. But I did just publish a beanie pattern using the Waistcoat Stitch. Here: https://www.nickishomemadecrafts.com/2017/01/07/love-is-in-the-air-beanie-pattern/
But to answer the question regarding colors, yes, above, I used 2 colors in the Waistcoat Stitch and 1 different color in the Waistcoat Stitch. Hope that helps?
I loved this video thank you so much I’m going to try this asap.
Can’t wait to see more of your work.
Thank you for the positive feedback. Very much appreciated?
Don’t forget to follow me on Facebook, Instagram, Pinterest and/or YouTube? , so you can see more of my work? will be publishing a new pattern this weekend?
Tried to follow the flat one, couldnt follow your instructions easily. 🙁 really struggled. And it was blurry…
Anne, I am sorry you had problems. I do think that my pictures are not blurry. But to learn the stitch, have you checked out my video? It should help a lot to learn it. Remember all you need to do, is place the hook thru the V’s. I hope that helps.
Cannot see where you are going in those pics. Need a video
There are 2 videos above. Do you see them?