How to Crochet the Tunisian Full Stitch – Easy Tutorial
This post includes affiliate links.
This crochet tutorial will teach you how to crochet the Tunisian Full Stitch using Photos and a Video. This stitch has a unique texture and is easy to crochet.
Currently, I am really into crocheting a lot of Tunisian Crochet projects using several different stitches. As I am using them, I realize that not many people have ever seen these stitches before. So I decided to start a Tunisian Crochet Stitch Collection.
I personally first started to learn to crochet Tunisian several years ago when I bought my first Tunisian Crochet Book from my good friend Kim Guzman.

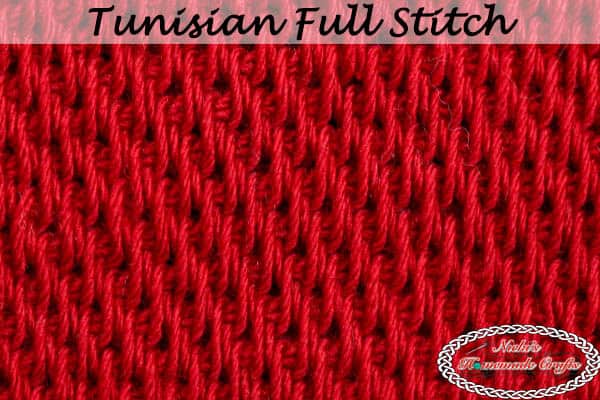
The Tunisian Full stitch is a very special stitch, in my opinion. It looks much different than you think it would when you actually crochet it. The actual stitch reminds me a bit of the normal single crochet as you simply just pull up a loop. But rather than finishing the stitch right way, you do it on the way back.
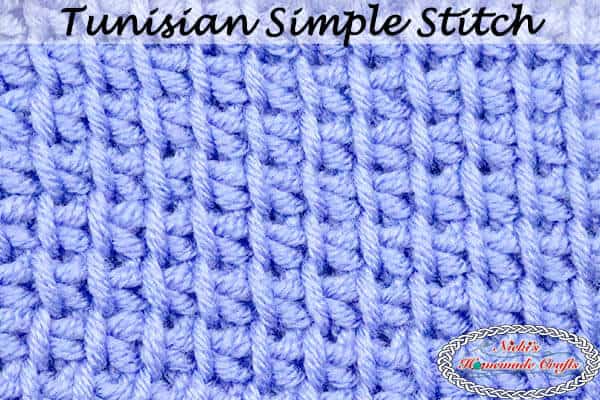
So for the Tunisian Full stitch, the first row is the Tunisian Simple Crochet stitch as it counts as the foundation row, but then you start crocheting the second row using the Tunisian Full Stitch. It works up pretty quick and is very easy.
It starts out that you use a Clover’s Interchangeable crochet hooks and you crochet loops onto the crochet hook for the entire row which looks like knitting and then you work your way back which is like the crocheting part of Tunisian Crochet.
In case you need some more inspiration or are curious about other Tunisian crochet stitch patterns I have tutorials for, please check these out:


The Most Important Part of all: Crochet Tunisian Full Stitch Tutorial
So first, make a chain in any number you wish. The amount of chains is equal to the number of loops you will need to count on your hook when crocheting the Tunisian Full stitch.

Next, crochet 1 row using the Tunisian Simple Crochet Stitch.

Now, you will start the Tunisian Full Stitch. You will see a front and a back vertical bar for the first stitch. Insert your hook right behind it and pull up a loop. Continue crocheting the same way until the end. On the edge be sure to go through 2 loops and pull up a loop. You should have the same number of loops on your hook as chains you made in the beginning. In my case that is 15. Now, work your way back: Yarn over and pull through one loop, then continue to the last stitch, then yarn over and pull through two loops. (see my video tutorial below if you never crocheted Tunisian before).

In the second row of the Tunisian Full stitch, you will insert your hook right before the 2 vertical bars. That way it switches it up from the row before. Continue to pull up loops like that until the end of the row, making sure you go through 2 loops on the edge. Again make sure the number of loops on your hook is the same as before. Now work your way back as you did in the previous row.


Next, you will repeat row 2 (which is the first row you crocheted the Tunisian Full Stitch) which means you will insert your hook behind the two vertical bars and

In row 5, you will repeat row 3 (which is the second row you crocheted the Tunisian Full Stitch) which means you will insert your hook in front of the two vertical bars and continue to crochet the same way as mentioned above.

In this close up you can see the switch between inserting your hook behind vs in front of the two vertical bars. Every row creates this beautiful look and texture of the Tunisian Full Stitch.

If you had any trouble with the above photo tutorial, I highly recommend for you to check out my below video tutorial to learn how to make ribbing on hats. It is very detailed and shows every step.
The Break-Through Moment: Tunisian Full Stitch Video Tutorial
Subscribe to my Youtube Channel here:
[youtube-subscriber channelID=”UCSI4OeQQnxVQEAwMGeTCn1Q” layout=”full” subscribers=”default”]
I hope you love this tutorial as much as I do. If you love this tutorial and my technique, please use the social media share buttons above or below and share this pattern link with the world and your friends. That way you will find it easily again when you need it and you also provide the world and your friends with the ability to gain extra crochet knowledge as well. And to top it off, you help me as it allows me to create more content that you love already and want to see more of – free crochet patterns and tutorials. So, thank you for sharing.
Also, I share many more free crochet patterns and tutorials quite often in my Newsletter. Just for signing up I will send you a free ebook. If you are interested, please sign up below. I’m pretty sure you will enjoy my newsletter and support group on Facebook.
See what Angela, from my crochet group, said: “…Just today alone, I was speaking to a friend and mentioned this group to her because she’s having a hard time emotionally. I told her she needed to join so she can learn some cool crochet techniques and keep herself busy. You’re my first “go-to” group. Not only do you have some amazing ideas… But it’s you as a person that I can relate to. You’re kind, generous, and probably take things to heart more than you should (I do that too lol)… But you’re awesome! …”


What a beautiful stitch. I hope you are going to make a pattern with this stitch so I can try it out.
By ‘behind’ and ‘in front of’, are you referring to ‘before’ the vertical bar and ‘after’ the vertical stitch? Usually ‘behind’ would mean ‘inserting your hook from the back of the work’, and ‘in front of’ would mean ‘inserting your hook from the front of the work’. I know we’re talking Tunisian and not regular crochet, so we are always inserting our hook from the work, not from behind, as we would doing a back post double crochet? Thanks for helping me clarify this in my mind.
As I am foreign, I might explain things a bit differently than others. But if you watch my video for this stitch it becomes very clear what I mean. Hope that helps. Sorry to confuse you. Tunisian Crochet is so pretty and only worked from one side. The Tunisian Full stitch looks extra special in my opinion.
Thanks for the reply. I did watch the video and it was, for me, to really see where you were placing your hook. I guess it wasn’t close up enough for me to see it clearly. I’ll get my hook and try it out..
I think I got it! Thanks!