
How to Crochet a Pinecone in 5 Minutes – Free Pattern
This post includes affiliate links.
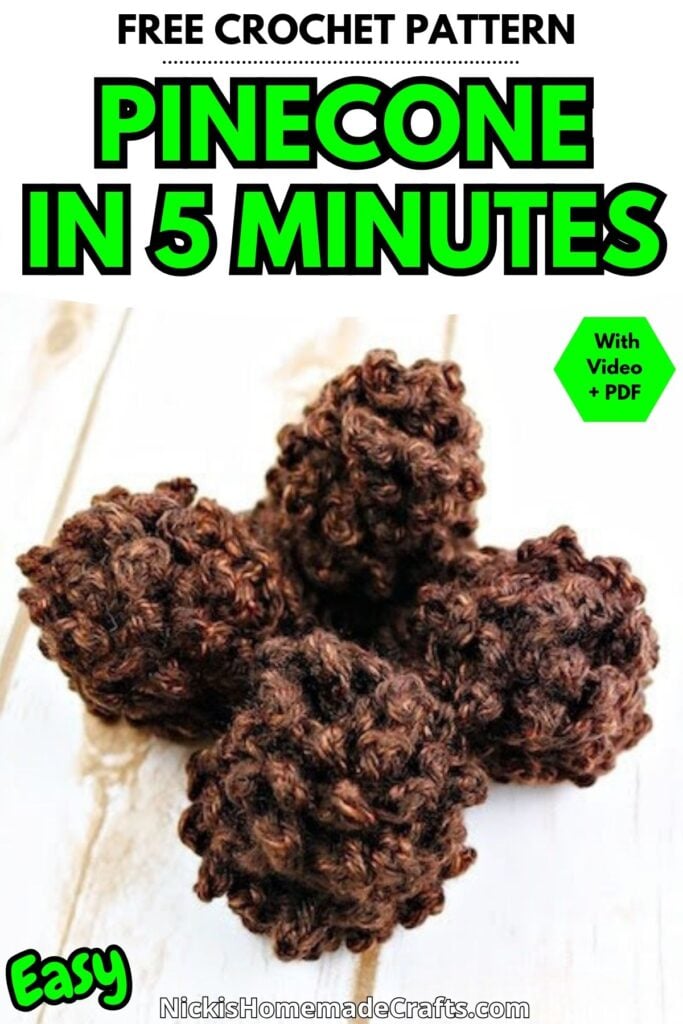
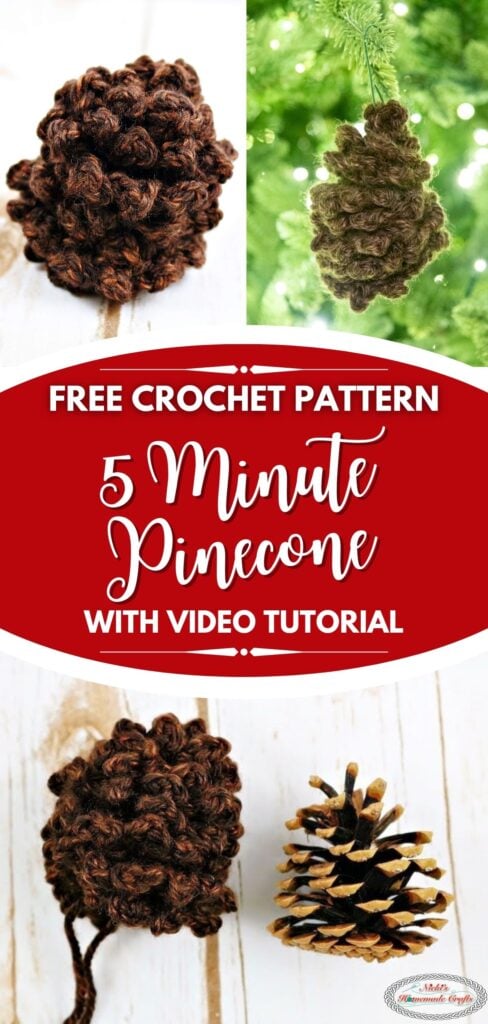
Learn how to crochet a pinecone in about 5 minutes with this easy free pattern. Use it for fall decor, wreaths, ornaments and woodland projects.
Did you know you can crochet a pinecone in about 5 minutes? This quick pattern starts as one long crocheted strip. Once you roll it into a spiral and secure the layers, it turns into a realistic little pinecone.
Crochet pinecones are perfect for fall decorations, woodland projects, wreaths, garlands and Christmas ornaments. They’re also a fun way to use small amounts of worsted weight yarn.
I originally designed these pinecones for my Advent Wreath , but you can use them in so many other ways. The free written pattern and video tutorial are both included below.

How is the crochet pinecone made?
The pinecone is made by crocheting textured stitches along a foundation chain. The finished strip is rolled into a spiral and sewn through the layers to hold the pinecone shape.
This pattern used to be part of the Advent Wreath Crochet Along. Be sure to check out the main page for that as well.
I absolutely love this yarn and it is from now on one of my favorite go-to yarns. It is so soft and easy to work with. And let me tell you the colors are incredible.
Crochet Pinecone Pattern PDF
As this pattern is created for the Advent Wreath, please go to Ravelry and add the entire pattern to your Ravelry Favorites. This is also the place where you could purchase the entire pattern at once, which includes all 6 patterns of the Advent Wreath.

So, if you prefer an ad-free version of this pattern where the pictures are added separately to the back of the pattern (to save ink in case you just want to reference the pictures but not print them), you can purchase the pdf on Ravelry or Etsy below.


So, let me now tell you what you will need to make these awesome looking pinecones and how to make them very easily.
How to crochet a Pinecone
You will need (click to see which ones I used):
- Lion Brand Heartland yarn
- 1 skein of Sequoia (136-126)
- 5.00mm hook
- scissors
- tapestry needle
Stitches used, in US terms:
You can learn all Basic Stitches through THESE TUTORIALS
- ch = chain
- sl st = slip stitch
- dc = double crochet
Final Sizes:
Pinecone: 3 x 2.5 inches
Gauge:
4 sc x 4 rows = 1 square inch
Pinecone Pattern Details
Make 4 pinecones for the Advent Wreath pattern
Using Sequoia
Ch 20
Sl st to the 3rd ch from the hook (picture 1 – 2), then add the following repeat 4 times to the 3rd ch from the sl st: 1 dc, ch3, sl st to the 3rd ch (pictures 3 – 7)
Now into each ch of the rest of the long ch add this repeat 5 times: 1 dc, ch3, sl st to the 3rd ch
After all chains have the repeat crocheted into, roll up the long piece in a spiral and sew it layer by layer together so it won’t get undone. Fasten off. (pictures 8 – 10)


How to Crochet a Pinecone – Video Tutorial
If you love the pattern as much as I do, please use the social media share buttons above or below and share this pattern link with the world and your friends. Thank you
More Fall and Christmas Decor Patterns
If you want to add more patterns to your Fall and Christmas Decor collection, then these might be for you:


