Super Cute Panda Bear Crochet Tissue Box Cover – Free Crochet Pattern
This post includes affiliate links.
This is a free crochet tissue box cover pattern featuring a cute panda bear. Make it to elevate your home decor or as a present for a panda lover in your life!
This Panda Bear Crochet Tissue Box Cover is a free crochet pattern that I created because my brother loves panda bears.
I mean have you seen these videos how panda bears roll, play and eat. It is just so adorable.
I am not surprised many people love them so much. Remember March 16th is National Panda Day!
So let’s celebrate these wonderful animals by making a tissue box out of them.
I also believe they are just sooo cute and snuggly.
So, my first thought of course was “Which yarn do I use?”
Well, I had to go with Premier Yarns Deborah Norville Everyday Collection.
Because it is not only my favorite yarn of all times, but also has a really nice and soft texture, as well as vibrant colors.
*Deborah Norville is now Anti-Pilling Everyday Worsted Yarn.

Making a Crochet Panda
Now, when it comes to creating a panda bear crochet tissue box cover that shows off the nice features the panda bear does have, I struggled a bit in the beginning.
But I was able to make it work and display the oval and tilted eye patch with the black eyes barely visible.
And of course the cute and adorable nose with the mouth hidden underneath needed to be correct too.
Then all that was needed was the black ears flapping over and the precious fluffy pom-pom tail in the back of the tissue box.
There you have it – a Panda Bear Tissue Box Cover.
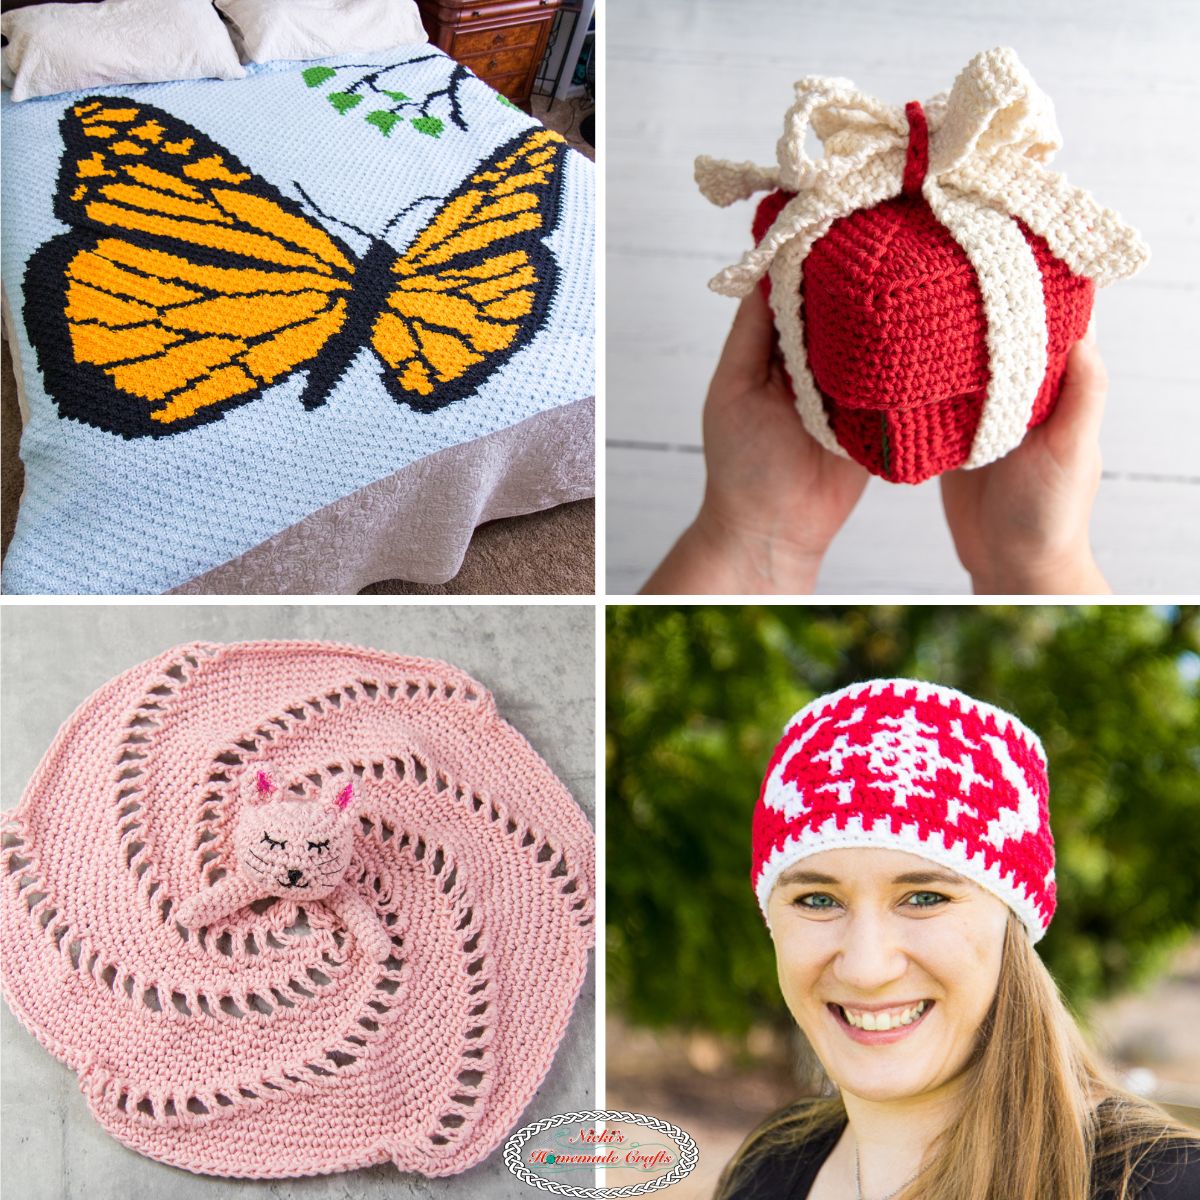
More Crochet Tissue Box Cover Tutorials
I have created several other tissue box covers before. My entire collection can be found HERE.
But you can see some of the shown below (click on the images to take you to the free patterns.


Interested in the same awesome crochet hook displayed on the pictures? Get it HERE! I really love mine!
Now, before I show you the rest of my materials and the actual pattern, please also be sure to add this pattern to your Ravelry Favorites by clicking the button below.
Get the PDF Pattern for the Panda Crochet Tissue Box Cover

If you add this pattern to your Ravelry Favorites and share it on social media as a link, I will be able to share a lot more free crochet patterns for you all.
You can get the crochet pattern for the Panda Bear Tissue Box Cover on Ravelry, Etsy, LoveCrafts, or my new membership The Crochet Club.
The Crochet Club has so much more to offer than just PDF patterns! You get tutorials, references and the complete VIP treatment as well.
If you pay just twice the amount as this pattern costs and you have a month’s worth of The Crochet Club Membership with a lot more patterns! It’s well worth it.
If you do not want to join The Crochet Club, you can also purchase the ad-free, printer-friendly PDF pattern at the links below.
But IF you join the All-Access Membership you will automatically get this pattern.
In addition, I created a downloadable crochet tissue box cover PDF that has all of the pictures separated from the pattern, so you can choose whether you want to print them or not.
This can save you a lot of ink in the long run.
You can buy the ad-free, printer-friendly PDF on Ravelry, Etsy, LoveCrafts, and my VIP crochet membership, The Crochet Club.


So let me now get started and tell you what you will need in order to crochet the Panda Bear Tissue Box Cover.
How to make the Panda Bear Crochet Tissue Box Cover
Material List:
- Premier Yarns Anti-Pilling Everyday Solids in colors:
- snow white
- black
- 5.0mm hook
- scissors
- tapestry needle
- 12mm black/clear plastic eyes
- Polyfill
Stitches used (US terms):
Click HERE to learn these basic stitches
- ch = chain
- sc = single crochet
- sl st = slip stitch
- dc = double crochet
Gauge:
4 sc x 4 rounds = 1 square inch
Final Size:
Fits a tissue box in the size 4 3/8 x 4 3/8 x 5 inches (US size tissue box)
Crochet Tissue Box Cover Written Instructions:
Crochet Tissue Box Cover
Ch 17
Row 1:
starting from the 2nd ch from the hook, 1 sc in each ch, ch 1, turn
Row 2 – 6:
1 sc in each st, ch 1, turn
Row 7:
1 sc in the next 3 sts, ch 8, sk 8 sts, 1 sc in the next 3 sts, ch 1, turn
Row 8:
1 sc in the next 3 sts, 1 sc in the next 8 chs, 1 sc in the next 3 sts, ch 1, turn
Row 9 – 15:
1 sc in each st, ch 1, turn
Do not ch 1 or turn after the last row.

Now you going to start going in continuous rounds, so please use a stitch marker. We will now go around the squares extending it to create the sides of the tissues box cover.
Round 1: *
1 sc in the corner, then crochet 13 sc equally along the side, 1 sc in the corner, 1 sc in the next 16 sts, repeat from * till the end of the round (62 sts)
Round 2 – 22:
1 sc in each st all around
Fasten off and weave in the ends.

White part of Nose
Still using the white yarn
Round 1:
Make a magic ring and add 8 sc, sl st to the 1st st (pull the magic ring closed)
Round 2:
ch 1, 2 sc in each st, sl st to the 1st st
Round 3:
ch 1, *1 sc, 2 sc in the same st, repeat from * all around, sl st to the 1st st
Round 4 – 6:
ch 1, 1 sc in each st, sl st to the 1st st
Fasten off, cut a long piece of yarn end to use for sewing later.
Black part of nose
Using the black yarn
Row 1:
Make a magic ring and add 4 sc, ch 1, turn (pull the magic ring closed)
Row 2:
2 sc in each st
Fasten off and leave a long yarn end for sewing
Eyes
Make 2 eyes for your crochet tissue box cover.
Using the black yarn
Round 1:
Make a magic ring and add the following: *2 sc, 2 dc, repeat from * 1 more time, sl st to the 1st st (pull the magic ring closed) (8 sts)
Round 2:
ch 1, * 2 sc each of the next 2 sts, 2 dc each of the next 2 sts, * 1 more time, sl st to the 1st st (16 sts)
Round 3:
ch 1, * [1 sc, 2 sc in the same st] twice, [1 dc, 2 dc in the same st] twice, * 1 more time, sl st to the 1st st (24 sts)
Fasten off and leave a long yarn end for sewing
Ears
Make 2 ears for your crochet tissue box cover.
Using the black yarn
Row 1:
Make a magic ring and add 4 sc, ch 1, turn (pull the magic ring closed)
Row 2:
2 sc in same st, 2 dc in each of the next 2 sts, 2 sc in same st, ch 1, turn
Row 3:
1 sc, 2 sc in the same st, [1 dc, 2 dc in the same st] twice, 1 sc, 2 sc in the same st, ch 1, turn
Row 4:
1 sc in the next 2 sts, 2 sc in the same st, [1 dc in the next 2 sts, 2 dc in the same st] twice, 1 sc in the next 2 sts, 2 sc in the same st
Fasten off and leave a long yarn end for sewing
Tail
Using a pom-pom maker, make a black pom-pom to create a tail.
Sewing the crochet tissue box all together
Start with sewing on the black part on top of the white part. Now sew on the mouth using embroidery stitches.

The easiest way to sew the nose to the tissue box cover is to insert the actual tissue box inside the cover, so you know everything is aligned properly. Now, pin the nose on the bottom half of one side of the tissue box cover. Then sew the nose on with the leftover white yarn end. Before you finish sewing it on completely add some polyfill. Then sew the leftover part together.

Now, pin down the eye patches besides the nose on the upper part of the same side of the tissue box cover. Next, add the plastic eyes to the black eye patches.

After that, you will sew on the ears right on the corners of the tissue box cover, right above the eyes. And finally, you will attach the pom-pom tail towards the back of the tissue box cover.


Here is also a picture of how it looks like without adding the tissue box inside the Panda Bear cover.

You are now finished with the Panda Bear Tissue Box Cover and can use it, gift it or sell it. Does it look so cute?
If you like the pattern as much as I do, please share a link to the pattern on social media using the button above or below the pattern. Thank you.