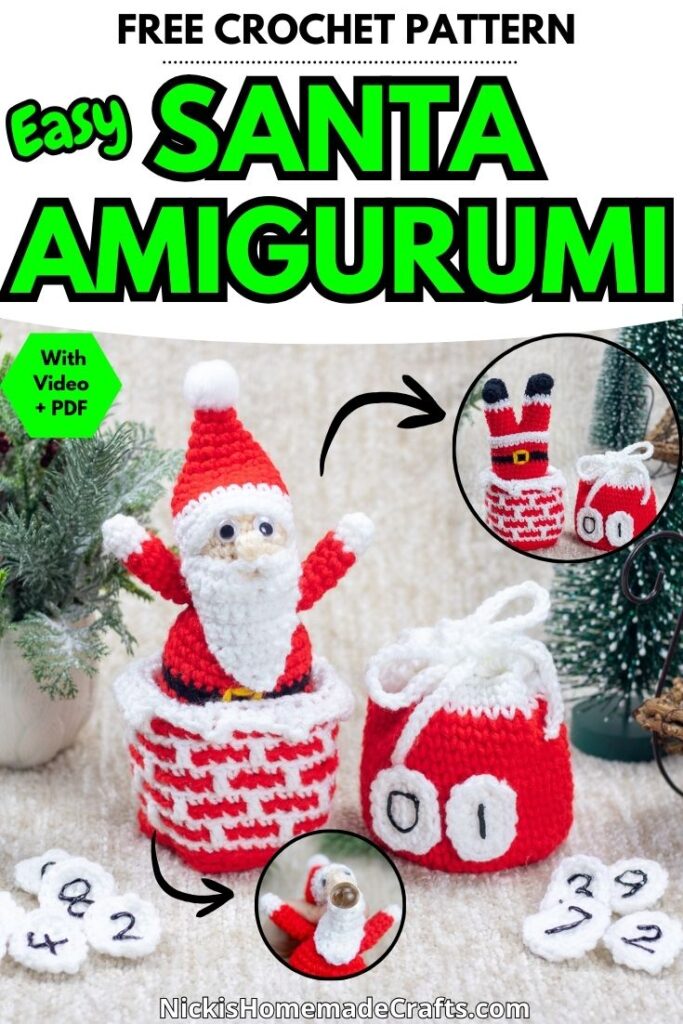
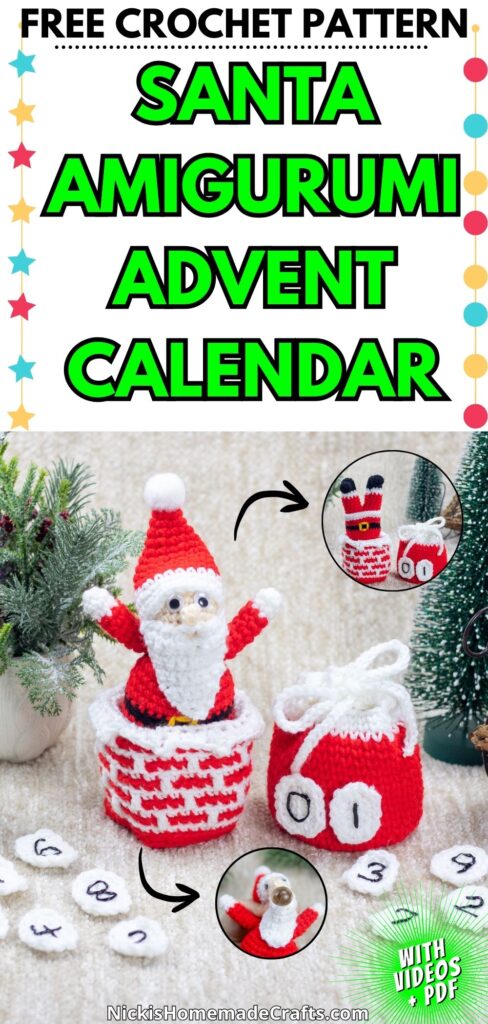
FREE Santa Amigurumi Advent Calendar Crochet Pattern (Santa in Chimney + Santa Sack)
This post includes affiliate links.
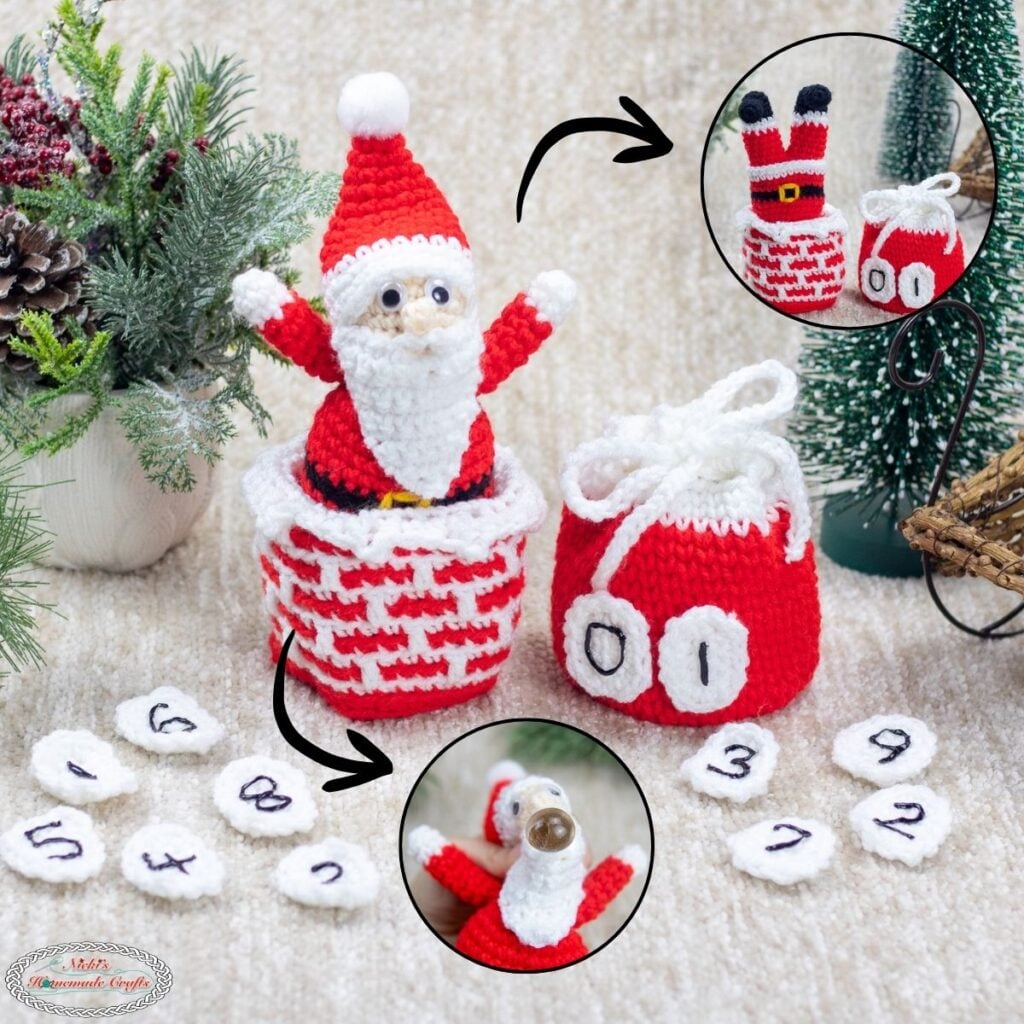
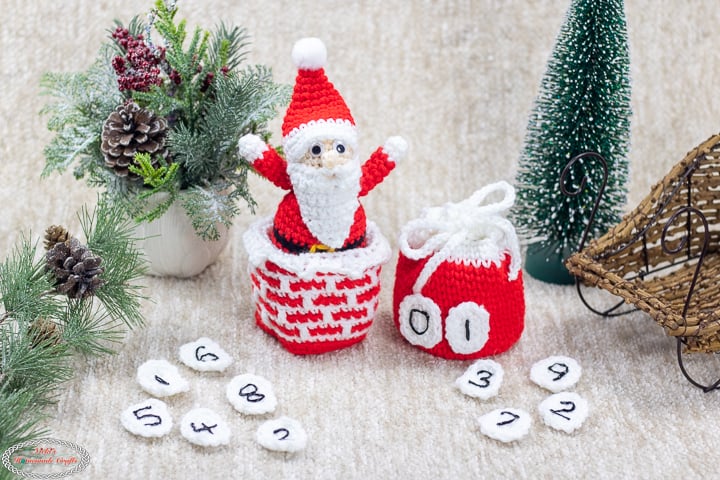
Create this FREE Santa Amigurumi Advent Calendar crochet pattern with Santa in a chimney, Santa sack, number tiles, and video tutorials for every step.
Christmas magic + crochet fun in one project? Yes, please! 🎅❤️
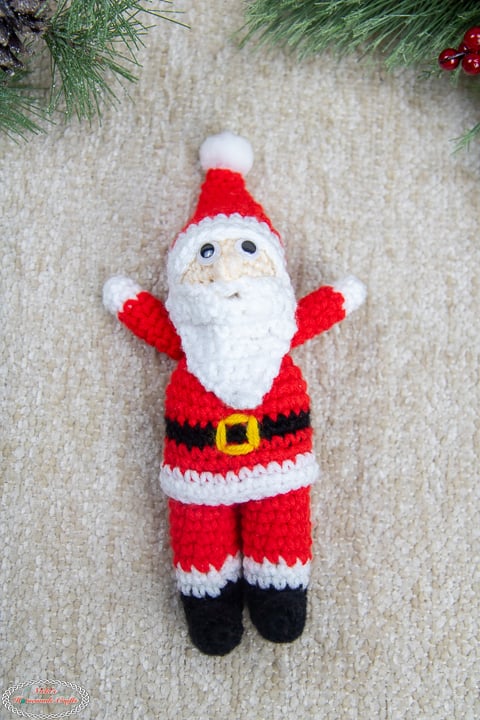
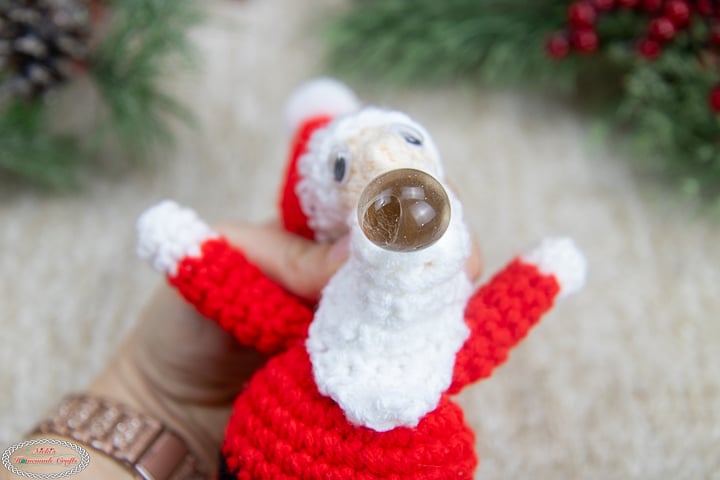
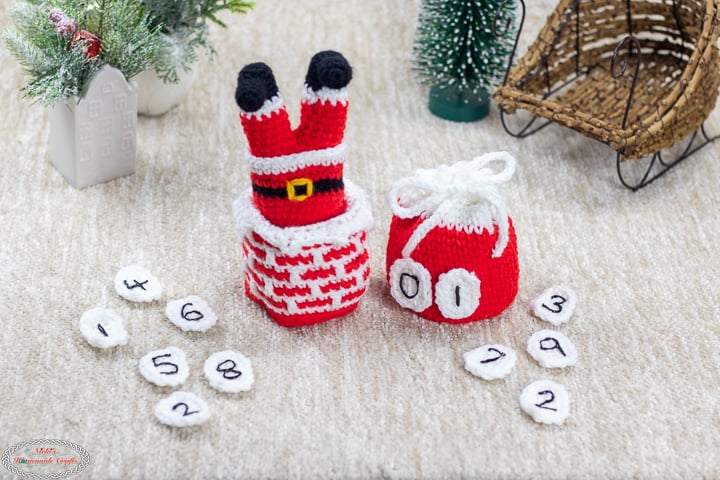
I’m thrilled to share this FREE Santa Amigurumi Advent Calendar Crochet Pattern, complete with a Santa who pops in and out of a chimney and a Santa Sack filled with number tiles for counting down to Christmas. Whether Santa is upright, waving at you, or upside-down, stuck in the chimney, this amigurumi toy brings giggles and festive cheer with a stress ball inside his head.
Not Your Average Crochet Santa Amigurumi Pattern
Inside Santa’s head is a fun little twist—a stress ball that pops out through his mouth when squeezed, making him interactive and extra playful for little hands (or grown-ups who need a holiday de-stress moment 😉). And the Santa Sack doubles as a functional calendar for the season using the crocheted number tiles to count down days or create custom number sets.
It’s festive, educational, stash-friendly, and makes a whimsical handmade decoration or gift. I can’t wait to see your Santas popping out of chimneys this year!
This project was originally part of my Multi-Stitch Mystery Crochet Alongs (MCAL), so you’ll learn several techniques step-by-step through 3 full video tutorials. We’ll combine amigurumi, the waistcoat stitch, linked crochet, and even a touch of mosaic crochet. Even if these stitches are new to you, the videos walk through everything slowly so you can crochet confidently.
Let’s dive into this fun and seasonal pattern together—you’re going to love it!
Crochet Stress Balls Made Easy
If you love this pattern, then you’ll likely love this collection filled with stress ball patterns!? Well, did you know I have 40 Stress Ball patterns for you! Ad-free and Printable, with Many videos!
The Crochet Club
This pattern is also part of the popular “The Crochet Club” which hosts over 600 ad-free patterns with check-off boxes as well as a vault of videos, plus weekly new tutorials and patterns as well as twice-a-month virtual meetups.
Get the PDF of the Crochet Santa Amigurumi Advent Calendar Pattern

This pattern is also available as an ad-free, printer-friendly pdf pattern that can be purchased at the links below for only a small fee on Ravelry or Etsy.


More Free Christmas Crochet Patterns
If you like more free patterns, you might also like to try one of these:


So, let me now give you the supplies you need in order to crochet this unique crochet Santa Amigurumi Advent Calendar pattern.
Crochet Santa Amigurumi Advent Calendar – Free Pattern
Materials you will need
- Premier “Just Yarn” Yarn (100% Cotton, Worsted, 875 yds/400g)
- about 100g of red
- about 50g of white
- small amount of beige (can be replaced with light brown)
- small amount of black
- small amount of gold
- 4.0mm hook – I used the WeCrochet Dots Hook
- scissors
- tapestry needle
- polyfill
- Fabric Paint – in black
- Plastic Canvas
- Stress Ball – from this set
- Googly Eyes
- Velcro
- Hot Glue
- Tiny Pom Pom
Gauge
3 sc sts x 4 rounds = 1 square inch
Size
4 x 10 inches for the chimney with Santa
4 x 5 inches for the Santa sack
Stitches used in the pattern (US Terms)
Learn all the basic crochet stitches HERE
- st/sts = stitch/stitches
- ch = chain
- sk = skip
- sl st = slip stitch
- sc = single crochet
- wst = waistcoat stitch
- ldc = linked double crochet
- dc = double crochet
- Mattress Stitch
- bobble stitch
Free Written Crochet Santa Amigurumi Advent Calendar Pattern with Videos
IF you would like the pattern ad-free you can join “The Crochet Club” membership as a trial or as a full member and get access to this pattern ad-free and more than 600 patterns, even with interactive checkboxes to save your progress row by row.
You can join the “The Crochet Club” Membership here if you want to have the entire pattern ad-free.
Already a member? Login HERE to see the ad-free version
Crochet Santa Chimney Pattern
Be sure to watch the video for PART 1 so you’ll know how to crochet the stitches.
Stitches:
- mdc = mosaic double crochet = dc into front loop 2 rounds down to the same color
- flo = front loop only
- blo = back loop only
- sc = single crochet
Extra Materials used: Plastic Canvas
Written Pattern
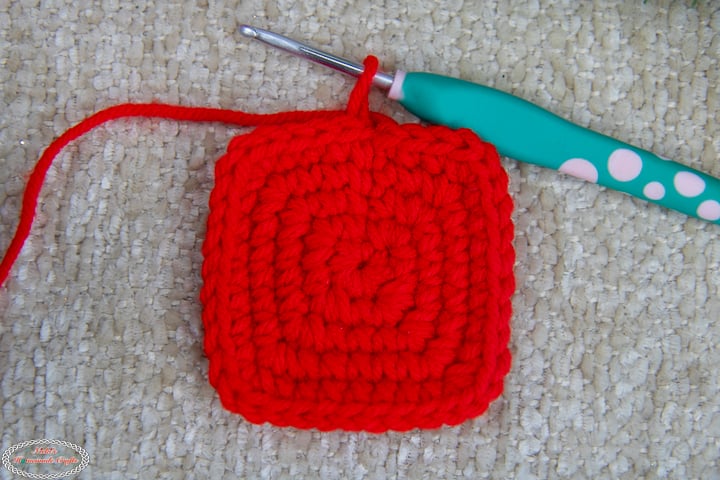
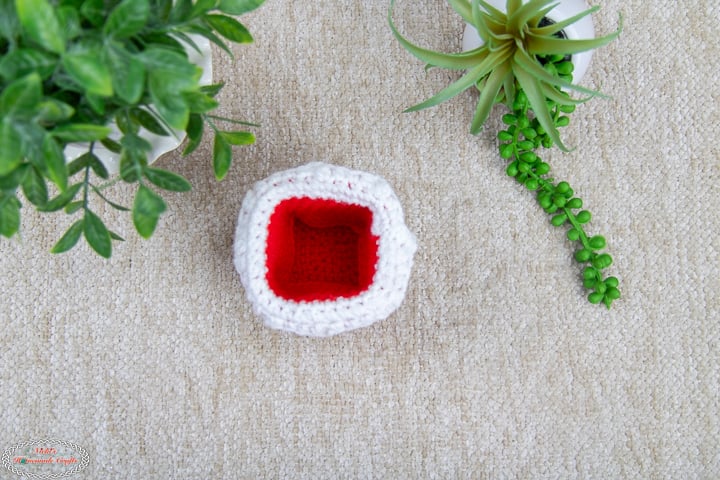
Chimney
Start with Red
R1: MR, ch 1, add 8 sc, close the ring, sl st to the first st
R2: (1 sc, 3 sc) x 4, sl st
Mark the CENTER (2nd) sc of the 3 sc
R3 – 5: 1 sc per st, 3 sc into the marked st, add stitch marker to 2nd st of 3 sc each time
R6: in blo, 1 sc per st, over ALL 4 corners crochet 3-sc tog, sl st
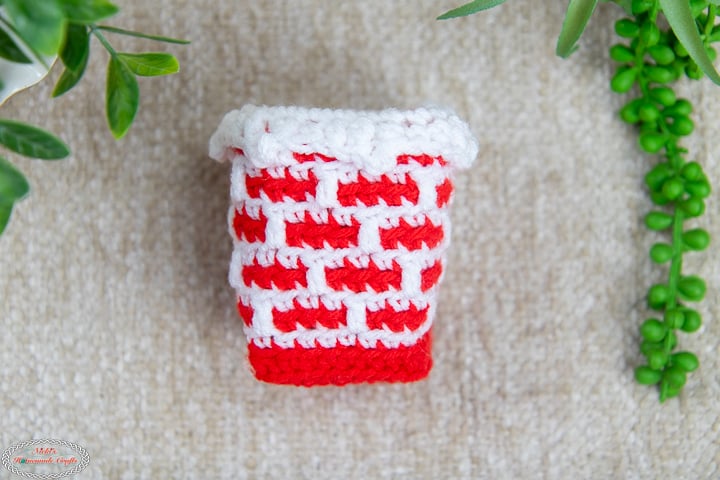
R7: w, 1 sc in blo, sl st, drop white
R8: r, 1 sc in blo, sl st, drop red
R9: w, (1 mdc, 1 sc in blo in 3 sts) x 8, sl st, drop white
R10: r, 1 sc in blo, sl st, drop red
R11: w, (1 sc in blo in 2 sts, 1 mdc, 1 sc in blo) x 8, sl st, drop white
R12: r, 1 sc in blo, sl st, drop red
Repeat R9-R12 until R17
R18 – 1: w, turn (work from the inside out), in blo, (1 sc, 1 hdc, 1 dc, ch 2, sl st to 1st ch, 1 hdc) x 8, sl st
R18 – 2: w, turn (work from outside in again), in blo (leftover loop – was flo before), 1 sc per st
R19: w, 1 sc per st
R20-29: r, 1 sc per st
Add 4 plastic canvas pieces (~2 x 3 inches) to the inside, then push the sc rounds inward. Sew on.
Fasten off, weave in ends
Be sure to take a picture of PART 1 and post it into the Facebook group “Crocheting with Nicki” with the hashtag #NOV25MCAL to qualify for the giveaway.
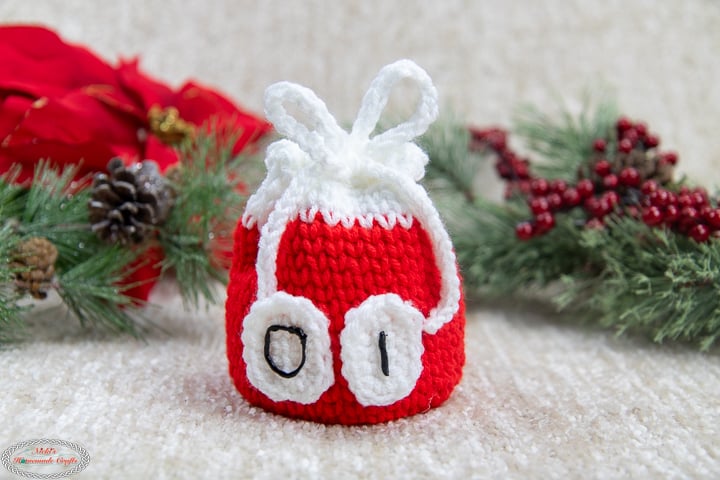
Crochet Santa Sack
Be sure to watch the video for PART 2 so you’ll know how to crochet the stitches.
Stitches:
- wst = waistcoat stitch
- ldc = linked double crochet
Written Pattern
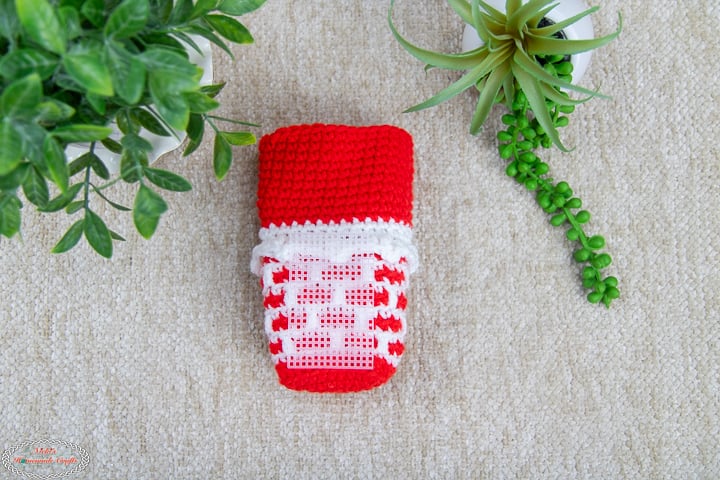
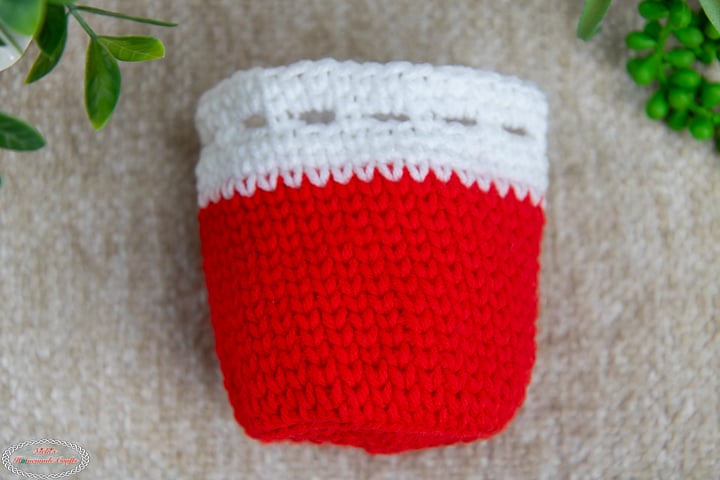
Santa Bag
Start with red
R1: MR, ch 1, add 6 sc, close the ring, use a stitch marker for continuous rounds
R2: 2 sc per st
R3: (1 sc, 2 sc) x 6
R4: (1 sc in 2 sts, 2 sc) x 6
R5: (1 sc in 3 sts, 2 sc) x 6
R6: (1 sc in 4 sts, 2 sc) x 6
R7: in blo, LOOSELY, 1 sc per st
R8-19: 1 wst per st
Switch to white now, cut red
R20-22: 1 wst per st
R23: (1 wst, ch 2, sk 2) x 12
R24: (1 wst, 2 sc in ch-2) x 12
R25: 1 wst per st
Fasten off, weave in ends
Drawstring (white) using the I-cord technique (shown in video 2): make yarn end about 4-5 ft long, add a slip knot, *then wrap yarn end around hook front to back, hold it, using running yarn, yarn over, pull through, then repeat from * until your drawstring is long enough. Mine is about 18 inches.
Pull through the openings of the bag.
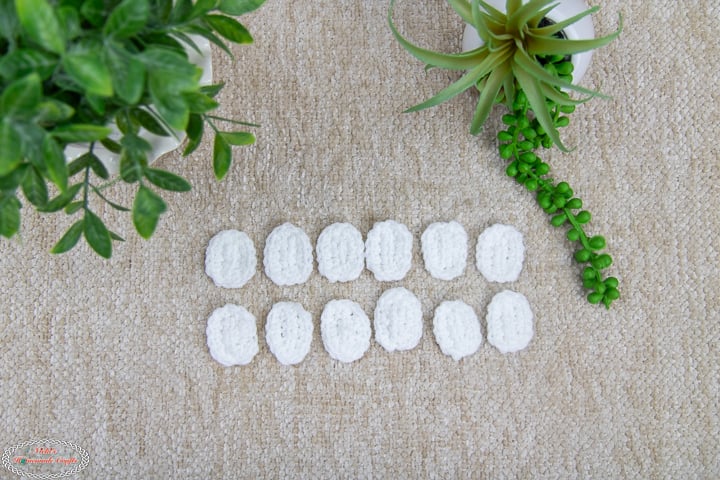
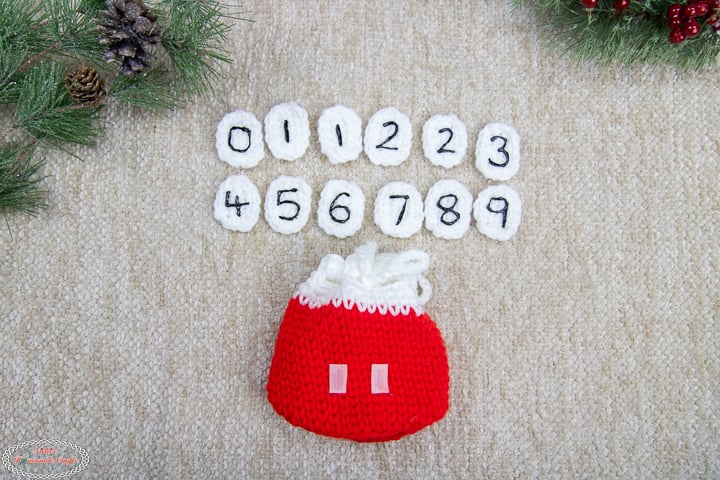
12 Tiles
in white
Ch 6, start from the 2nd ch from the hook, 1 ldc per ch (4 sts)
Now crochet around the rectangle made, 1 sc per short edge, 1 sc per st, 2 sc per corner (14 sts)
Fasten off, weave in ends
Be sure to take a picture of PARTS 1-2 and post it into the Facebook group “Crocheting with Nicki” with the hashtag #NOV25MCAL.
Crochet Santa Amigurumi And Assembly
Be sure to watch the video for PART 3 so you’ll know how to crochet the stitches.
Stitches:
- inv sc dec = invisible single crochet decrease
- 4-dc bobble stitch
Written Pattern
Let’s first finish the titles and turn them into “Number Tiles” for an Advent Calendar or simply a calendar.
Add fabric paint for numbers – I used this Fabric Paint – in black. Optionally, you can also glue on numbers or sew/crochet them on.
Add Velcro (I used this one) to the back of the numbers and on the front of the bag.
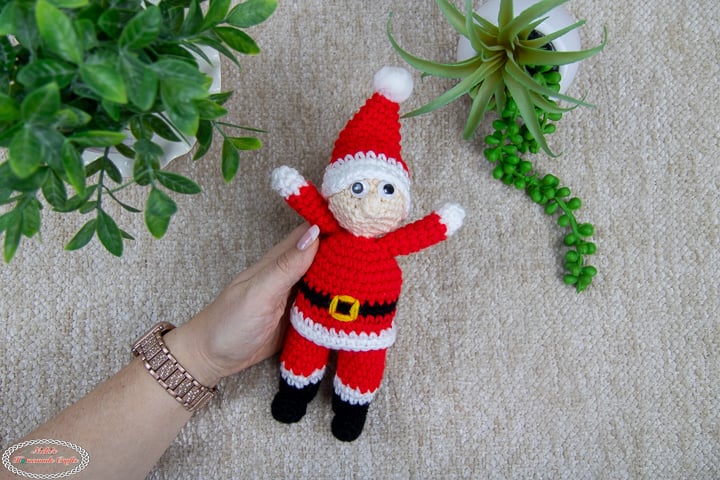
Santa
start with beige/cream
R1: MR, ch 1, add 6 sc, close the ring, use a stitch marker for continuous rounds
R2: 2 sc per st
R3: (1 sc, 2 sc) x 6
R4: (1 sc in 2 sts, 2 sc) x 6
R5 – 6: 1 sc per st
R7: 1 sc in 11 sts, 4-dc bobble, 1 sc per st until the end
R8: 1 sc in 11 sts, ch 2, sk 2, 1 sc per st until the end
R9: 1 sc per st
R10: (1 sc in 2 sts, 1 inv sc dec) x 6
R11: (1 sc, 1 inv sc dec) x 6
Add the stress ball (watch the video for a substitution)
R12: (1 inv sc dec) x 6
switch to red
R13: 2 sc per st
R14: (1 sc, 2 sc) x 6
R15: (1 sc in 2 sts, 2 sc) x 6
R16: (1 sc in 3 sts, 2 sc) x 6
R17-19: 1 sc per st
drop red, switch to black
R20-21: 1 sc per st
drop black, switch to red
R22-23: 1 sc per st
drop red, switch to white
R24-25: 1 sc per st
Fasten off, weave in ends
2 Arms
Start with white
R1: MR, ch 1, add 6 sc, close the ring, use a stitch marker for continuous rounds
R2-3: 1 sc per st
drop white, switch to red
R4-9: 1 sc per st
Fasten off, stuff mindly, sew to the side of the shoulder
2 Legs
Start with black
R1: MR, ch 1, add 6 sc, close the ring, use a stitch marker for continuous rounds
R2: 2 sc per st
R3-6: 1 sc per st
drop black, switch to white
R7-8: 1 sc per st
drop white, switch to red
R9-12: 1 sc per st
Fasten off the first leg, but continue from 2nd leg
R13: ch 1, pull loop through the first leg (1 st), 1 sc into ch-1, then 1 sc per st on the 2nd leg, 1 sc into ch-1, 1 sc per st on first leg (26 sts)
R14-15: 1 sc per st
Then stuff, sew to the last red round of the body (from the inside), don’t forget to stuff the body too.
Using the yellow yarn and sew on the buckle around the black section of the body.
2 Shoe – Toes
in black
R1: MR, ch 1, add 9 sc, close the ring, use a stitch marker for continuous rounds
R2-4: 1 sc per st
Fasten off, stuff, and sew to the front of the back section of the legs
Beard
Ch 13
R1: 1 sc in 5 sts, ch 2, sk 2, 1 sc in 5 sts, turn
R2: 1 sc dec, 1 sc per st, turn
Repeat R2 until 2 sts left, 1 sc dec at the end, fasten off and sew on to the face
Glue on the googly eyes
Hat
Start with red
R1: MR, ch 1, add 6 sc, close the ring, use a stitch marker for continuous rounds
R2: 1 sc per st
R3: (1 sc in 2 sts, 2 sc) x 2
R4: (1 sc in 3 sts, 2 sc) x 2
R5: (1 sc in 4 sts, 2 sc) x 2
R6: (1 sc in 5 sts, 2 sc) x 2
R7: (1 sc in 6 sts, 2 sc) x 2
R8: (1 sc in 7 sts, 2 sc) x 2
R9: (1 sc in 8 sts, 2 sc) x 2
R10: (1 sc in 9 sts, 2 sc) x 2
drop red, switch to white
R11: (1 sc in 10 sts, 2 sc) x 2
R12: (1 sc in 11 sts, 2 sc) x 2
R13: (1 sc in 12 sts, 2 sc) x 2
Fasten off and sew onto the head
Glue on pom pom.
Be sure to take a picture of PARTS 1-3 and post it into the Facebook group “Crocheting with Nicki” with the hashtag #NOV25MCAL.

Want more moving crochet hat patterns like this crochet witch hat? Watch this video!
I’m also always here to support you through this and any other pattern and tutorial. Simply ask in my group and me and other amazing and kind crocheters will help you along.
If you love this pattern, please use the social media share buttons above or below and share this pattern link with the world and your friends.
That way you will find it easily again when you need it and you also provide the world and your friends with the ability to gain extra crochet knowledge as well. And to top it off, you help me as it allows me to create more content that you love already and want to see more of – free crochet patterns and tutorials. So, thank you for sharing.
If you love my crochet patterns and the way I teach, I would suggest subscribing to my newsletter below as I share new patterns, tutorials, and special announcements often.