How to crochet a candle with a flameless tealight – Free Crochet Pattern
This post includes affiliate links.
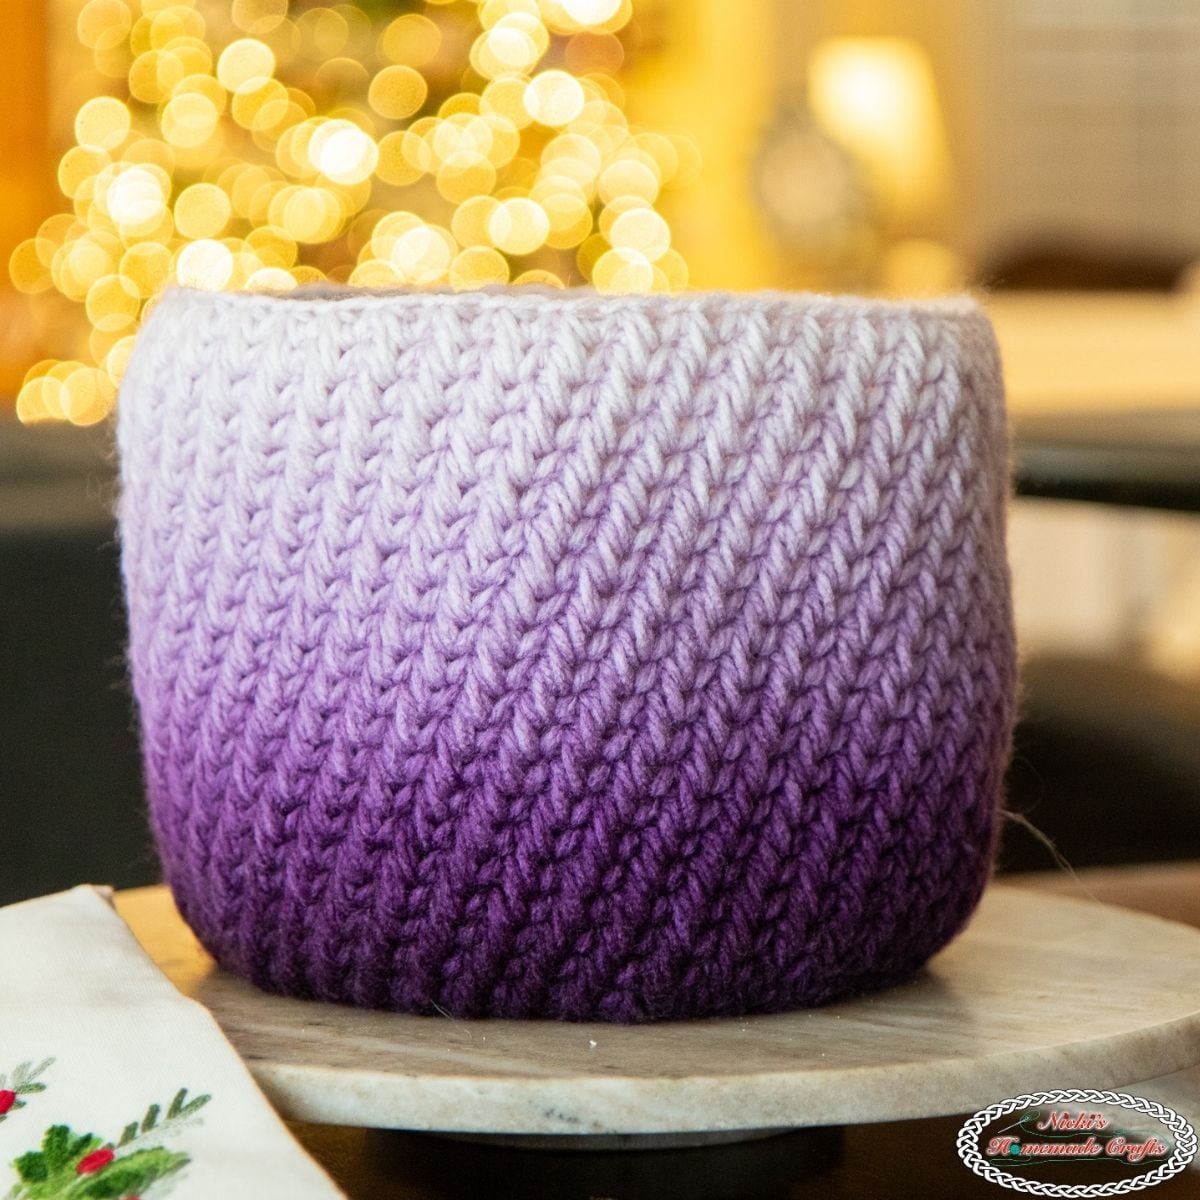
This candle is a free crochet pattern for Christmas and any Holiday season using a flameless tealight that will last forever. Video is included in the pattern.
No matter what time of the year, I love having candles on around the house. It provides an awesome ambiance and is very romantic. But I don’t like having to buy new candles all the time. So I created my own romantic candles that can last forever and also make a great gift.
With the crocheted candle, you will never need to buy a new candle again! This candle can be become a family heirloom for generations to come.
This free crochet pattern is all about candles. I recently made an Advent Wreath which needed some candles. But I did not want to have candles that I can’t use. So I decided to create candles with flameless tealights so you can reuse the candles over and over again, with no wax dripping anywhere.
This pattern is part of the above-mentioned Advent Wreath which was sponsored by Lion Brand Yarns who provided me with some free yarn. The yarn I used was Heartland and it was the best yarn for this project.

This pattern is also part of the Advent Wreath Crochet Along. Be sure to check out the main page for that as well.
I absolutely love this yarn and it is from now on one of my favorite go-to yarns. It is so soft and easy to work with. And let me tell you the colors are incredible.
To make it easier, I also created a photo and video tutorial for the candles. It is a very easy and fast crochet pattern. And of course it is perfect for any time of the year. Switch out the colors if you like and you can use this pattern not only for Christmas, but also Easter, Thanksgiving, Halloween, Valentine’s Day or any other Holiday.
As this pattern is created for the Advent Wreath, please go to Ravelry and add the entire pattern to your Ravelry Favorites. This is also the place where you could purchase the entire pattern at once, which includes all 6 patterns of the Advent Wreath.

So, if you prefer an ad-free version of this pattern where the pictures are added separately to the back of the pattern (to save ink in case you just want to reference the pictures but not print them), you can purchase the pdf on Ravelry or Etsy below.


So, let me now tell you what you will need to make these awesome looking candles and how to make them very easily.
How to crochet a Candle with Flameless Tealight
You will need (click to see which ones I used):
- Lion Brand Heartland yarn
- 1 skein of Redwood (136-113)
- FloralCraft Styrofoam Vase Insert
- Flameless Tealight candles
- 5.00mm hook
- scissors
- tapestry needle
Stitches used, in US terms:
You can learn all Basic Stitches through THESE TUTORIALS
- sc = single crochet
- magic ring
- inc = increase
- ch = chain
- sl st = slip stitch
- BLO = back loop only
Final Sizes:
Candle: 6.5 x 3 inches
Gauge:
4 sc x 4 rows = 1 square inch
Video Tutorial for a Candle with Flameless Tealight:
Subscribe to my Youtube Channel here:
[youtube-subscriber channelID=UCSI4OeQQnxVQEAwMGeTCn1Q layout=full subscribers=default]
Written Instructions:
All starting chains are not counted and the first stitch of every round or row goes into the same stitch as the starting chain.
VIDEO TUTORIAL can be found above
Each candle is made in 2 pieces that are sewn together after adding the foam insert. Make 4 Candles if you are making it for the Advent Wreath.
Using the Redwood yarn
Large Candle Piece:
Round 1: Make a magic ring and add 10 sc’s in the center, pull the yarn to close the loop, sl st to the 1st st (10 sts)
Round 2: ch 1, 1 sc inc in each st, sl st to the 1st st (20 sts)
Round 3: ch 1, 1 sc in the BLO in each st, sl st to the 1st st (20 sts)
Round 4: ch 1, 1 sc in each st, sl st to the 1st st (20 sts)
Round 5: ch 1, *1 sc, 1 sc inc, repeat from * all around, sl st to the 1st st (30 sts)
Round 6: ch 1, *1 sc, 1 sc, 1 sc inc, repeat from * all around, sl st to the 1st st (40 sts)
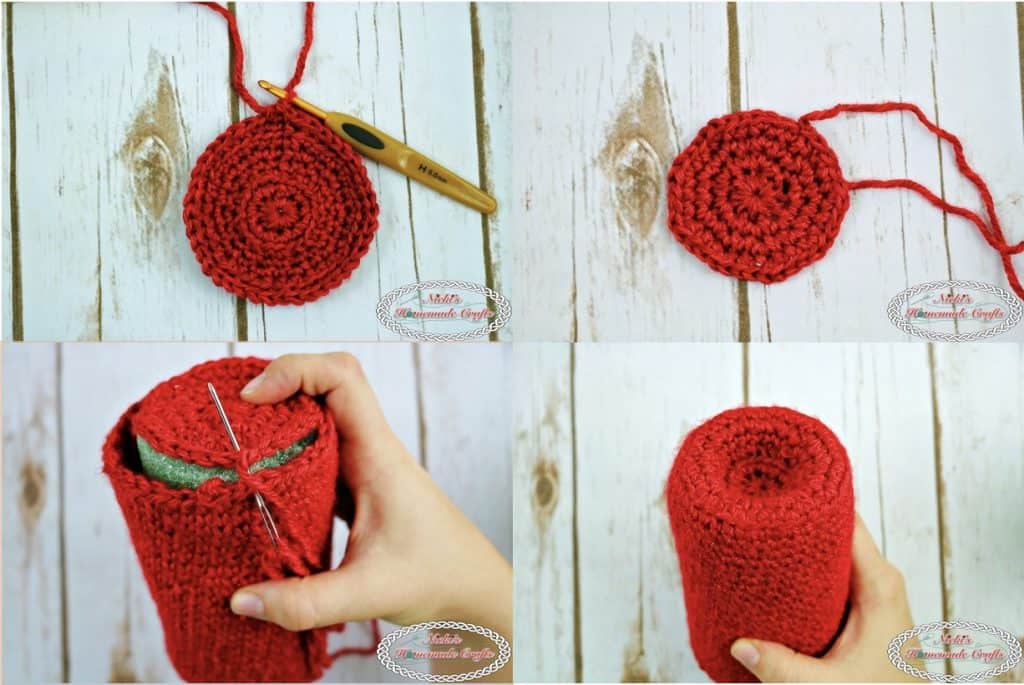
(see picture 1)
You will now work in continuous rounds. So no more sl sts until the end of the last st. Use a stitch marker to help with the number of rounds.
Round 7 is made in the BLO, starting Round 8 the sc’s are made through both loops.
Round 7 – 30: 1 sc in each st all around (40 sts), at the end of round 30 sl st, fasten off and weave in the end.
Small piece:
Round 1: Make a magic ring and add 10 sc’s in the center, pull the yarn to close the loop, sl st to the 1st st (10 sts)
Round 2: ch 1, 1 sc inc in each st, sl st to the 1st st (20 sts)
Round 3: ch 1, *1 sc, 1 sc inc, repeat from * all around, sl st to the 1st st (30 sts)
Round 4: ch 1, *1 sc, 1 sc, 1 sc inc, repeat from * all around, sl st to the 1st st (40 sts)
(see picture 2)
Prep the Foam Insert by cutting off the small piece on the bottom (Picture 5) and making a 2 inch (diameter) by 1 inch (height) hole on the smaller side of the foam insert (Picture 6).
Add the foam insert to the large candle piece and sew the small candle piece to the bottom of the candle (picture 3). Now you can add your flameless candle to the top (picture 4 – 5).

Be sure to share this pattern as a link on social media. Thank you!