Free Mosaic Crochet Mug Pincushion with Saucer Pattern
This post includes affiliate links.
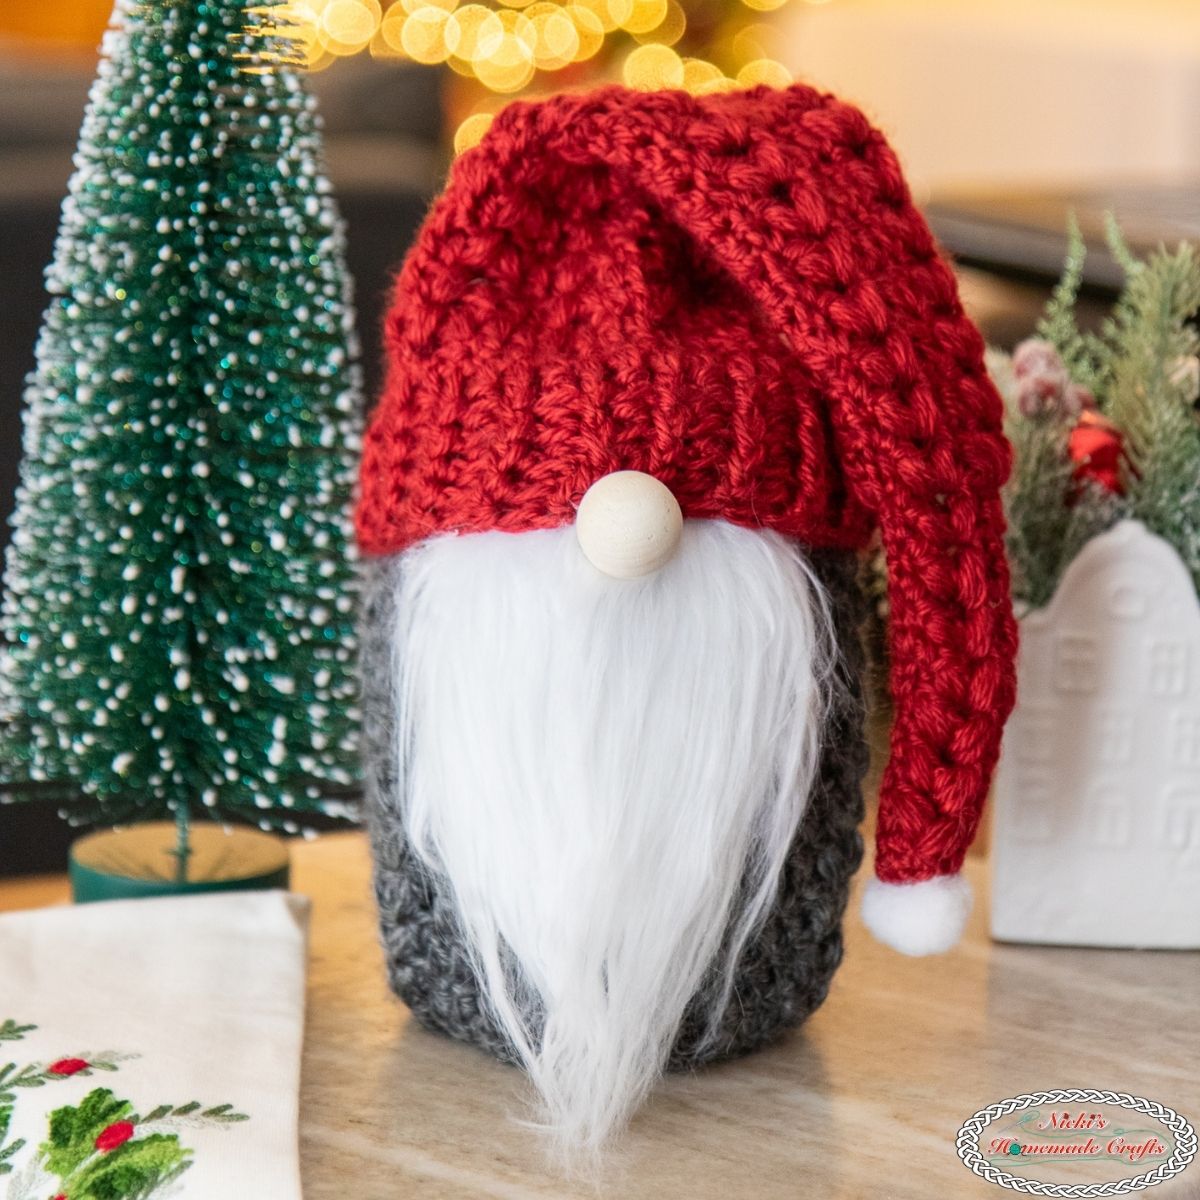
This is a free cute pincushion mug with a saucer mosaic crochet pattern made with simple basic crochet stitches. This is a great beginner pattern to learn how to mosaic crochet.
Mosaic Crochet is a fascinating crochet technique to create a color-changing effect and look but actually has no color changes at all within a row or round. In fact, you’ll only change colors at the beginning of a row or round. The mosaic crochet effect is created by crocheting double crochet stitches down 2 rows to the same color. Pretty amazing and much easier than you might think.
This Pincushion Mug with a Saucer is a great beginner mosaic crochet pattern to learn this amazing technique. The pattern includes a few video tutorials as it’s broken up into many pieces as it used to be part of a mystery crochet along.
Ready to make this one?

Mosaic Crochet Patterns
Well, this Mosaic Crochet Mug Pincushion with Saucer is certainly not my mosaic crochet pattern! I have written 39 other mosaic crochet patterns along with 8 tutorials and 11 videos!
Get the PDF of the Mosaic Crochet Mug Pincushion with Saucer Pattern

This pattern is also available as an ad-free, printer-friendly pdf pattern that can be purchased at the links below for only a small fee.


If you like Mosaic crochet patterns, you might like these also:


- Mosaic Crochet Washcloth
- Mosaic Crochet Blanket
- Mosaic Crochet Pillow
- Mosaic Crochet Fingerless Gloves
So, let me now give you the supplies you need in order to crochet this cute pattern.
How to Mosaic Crochet the Mug Pincushion with Saucer Pattern
Materials you will need
- Lion Brand “Feels Like Heaven” Yarn (100g) – DK (#3) yarn – 1/2 SKEIN – in the colors:
- Mauve
- White
- 4.0 mm Crochet Hook (or pick your favorite size for the yarn you picked) -> I used Furls Crochet Streamline Resin Hook
- use NICKI15 for 15% off
- scissors
- tapestry needle
- Stuffing/Polyfill
- optional: plastic canvas for stability
Gauge
4 sts x 4 rows = 1 square inch
Size
6.5 x 4.5 inches (mug without handle)
Stitches used in the pattern
Learn all the basic crochet stitches HERE
- st/sts = stitch/stitches
- ch = chain
- sc = single crochet
- sk = skip
- sc = single crochet
- blo = back loop only
- flo = front loop only
- 3rd loop behind the V
- mdc = mosaic double crochet (place around front loop 2 rows down – same color yarn)
- dc = double crochet
- sl st = slip stitch
- ATC= alternative turning chain
Video Tutorials
Free Written Pattern for the Crochet Mug Pincushion and Saucer
IF you would like the pattern ad-free you can join “The Crochet Club” membership as a full member and get access to the pattern ad-free and more than 200 patterns, even with interactive checkboxes to save your progress row by row.
You can join the “The Crochet Club” Membership here if you want to have the entire pattern ad-free.
Already a member? Login HERE to see the ad-free version
Pattern Notes
First, you’ll be crocheting all the circles. Next, you’ll crochet the mosaic crochet section of this pattern before finishing it up by assembling the finial pincushion mug with a saucer.
If you never crocheted circles before, please check out this circle tutorial.
Crochet a Large Circle – Saucer Top
Use white yarn
Crochet in continuous rounds, use a stitch marker
R1: make a magic ring, add 6 sc
R2: 2 sc per st
R3: *1 sc, then 2 sc in the next st, repeat from * all around
R4: *1 sc in each of the next 2 sts, then 2 sc in the next st, repeat from * all around
R5: *1 sc in each of the next 3 sts, then 2 sc in the next st, repeat from * all around
R6: *1 sc in each of the next 4 sts, then 2 sc in the next st, repeat from * all around
R7: *1 sc in each of the next 5 sts, then 2 sc in the next st, repeat from * all around
R8: *1 sc in each of the next 6 sts, then 2 sc in the next st, repeat from * all around
R9: *1 sc in each of the next 7 sts, then 2 sc in the next st, repeat from * all around
R10: *1 sc in each of the next 8 sts, then 2 sc in the next st, repeat from * all around
R11: *1 sc in each of the next 9 sts, then 2 sc in the next st, repeat from * all around
R12: *1 sc in each of the next 10 sts, then 2 sc in the next st, repeat from * all around
R13: *1 sc in each of the next 11 sts, then 2 sc in the next st, repeat from * all around
R14: *1 sc in each of the next 12 sts, then 2 sc in the next st, repeat from * all around
R15: *1 sc in each of the next 13 sts, then 2 sc in the next st, repeat from * all around
R16: *1 sc in each of the next 14 sts, then 2 sc in the next st, repeat from * all around (96sts)
R17: 1 sc per st
Fasten off (using the invisible join) and weave in your ends

Crochet a Small Circle – Saucer Bottom
Use white yarn
Crochet in continuous rounds, use a stitch marker
R1: make a magic ring, add 6 sc
R2: 2 sc per st
R3: *1 sc, then 2 sc in the next st, repeat from * all around
R4: *1 sc in each of the next 2 sts, then 2 sc in the next st, repeat from * all around
R5: *1 sc in each of the next 3 sts, then 2 sc in the next st, repeat from * all around
R6: *1 sc in each of the next 4 sts, then 2 sc in the next st, repeat from * all around
R7: *1 sc in each of the next 5 sts, then 2 sc in the next st, repeat from * all around
R8: *1 sc in each of the next 6 sts, then 2 sc in the next st, repeat from * all around
R9: *1 sc in each of the next 7 sts, then 2 sc in the next st, repeat from * all around
R10: *1 sc in each of the next 8 sts, then 2 sc in the next st, repeat from * all around (60sts)
Fasten off (using the invisible join) and leave a longer tail (about 12 inches or so)

Crochet the Pincushion Top Circle
Use mauve yarn
Crochet in continuous rounds, use a stitch marker
R1: make a magic ring, add 6 sc
R2: 2 sc per st
R3: *1 sc, then 2 sc in the next st, repeat from * all around
R4: *1 sc in each of the next 2 sts, then 2 sc in the next st, repeat from * all around
R5: *1 sc in each of the next 3 sts, then 2 sc in the next st, repeat from * all around
R6: *1 sc in each of the next 4 sts, then 2 sc in the next st, repeat from * all around
R7: *1 sc in each of the next 5 sts, then 2 sc in the next st, repeat from * all around
R8: *1 sc in each of the next 6 sts, then 2 sc in the next st, repeat from * all around (48 sts)
Fasten off and leave a longer tail end (about 12 inches or so)

Mosaic Crochet Mug
Start with white yarn
Crochet in continuous rounds, use a stitch marker
R1: make a magic ring, add 6 sc
R2: 2 sc per st
R3: *1 sc, then 2 sc in the next st, repeat from * all around
R4: *1 sc in each of the next 2 sts, then 2 sc in the next st, repeat from * all around
R5: *1 sc in each of the next 3 sts, then 2 sc in the next st, repeat from * all around
R6: *1 sc in each of the next 4 sts, then 2 sc in the next st, repeat from * all around
R7: *1 sc in each of the next 5 sts, then 2 sc in the next st, repeat from * all around
R8: *1 sc in each of the next 6 sts, then 2 sc in the next st, repeat from * all around (48 sts)
Graph info:
The section on the graph between the black lines is the pattern that needs to be repeated 4 times to have 48 stitches per round.
Column 1 doesn’t count as it only indicates which color is used per round.
Pixels without an X indicate 1 sc in the blo, no matter the color is shown, the color in column 1 determines the color of the round.
Pixels with an X are mosaic double crochet stitches crocheted 2 rounds down to the same color in the flo.
Be sure to watch this video tutorial to understand Mosaic Crochet for this pattern better ❤️
Subscribe to my Youtube Channel here:
[youtube-subscriber channelID=”UCSI4OeQQnxVQEAwMGeTCn1Q” layout=”full” subscribers=”default”]
You’ll crochet the pattern repeat 4 times in total for 48 sts per round.

All slip stitches are made as invisible slip stitches.
R1: 1 sc in the 3rd loop behind the V all around, sl st to the first st

R2: 1 sc in the blo in each st, sl st to the first st
R3: 1 sc in the blo in each st, sl st to the first st
M = Mauve yarn color
W = White yarn color
M – R4: 1 sc in the blo in each st, sl st to the first st
W – R5: 1 sc in the blo in each st, sl st to the first st
M – R6: *1 mdc, 1 sc in the blo in the next 3 sts, repeat from * all around, sl st to the first st
W – R7: *1 sc in the blo, 1 mdc, 1 sc in the blo in the next 3 sts, 1 mdc, 1 sc in the blo, 1 mdc, 1 sc in the blo in the next 3 sts, 1 mdc, repeat from * all around, sl st to the first st
M – R8: *1 sc in the blo in the next 2 sts, 1 mdc, 1 sc in the blo in the next 3 sts, 1 mdc, 1 sc in the blo in the next 3 sts, 1 mdc, 1 sc in the blo in the next st, repeat from * all around, sl st to the first st
W – R9: *1 sc in the blo in the next 3 sts, 1 mdc, 1 sc in the blo in the next 5 sts, 1 mdc, 1 sc in the blo in the next 2 sts, repeat from * all around, sl st to the first st
M – R10: *1 mdc, 1 sc in the blo in the next 3 sts, repeat from * all around, sl st to the first st
W – R11: *1 sc in the blo, 1 mdc, 1 sc in the blo in the next 3 sts, 1 mdc, 1 sc in the blo, 1 mdc, 1 sc in the blo in the next 3 sts, 1 mdc, repeat from * all around, sl st to the first st
M – R12: *1 mdc, 1 sc in the blo in the next 3 sts, repeat from * all around, sl st to the first st
W – R13: *1 sc in the blo in the next 3 sts, 1 mdc, 1 sc in the blo in the next 5 sts, 1 mdc, 1 sc in the blo in the next 2 sts, repeat from * all around, sl st to the first st
M – R14: *1 sc in the blo in the next 2 sts, 1 mdc, 1 sc in the blo in the next 3 sts, 1 mdc, 1 sc in the blo in the next 3 sts, 1 mdc, 1 sc in the blo in the next st, repeat from * all around, sl st to the first st
W – R15: *1 sc in the blo, 1 mdc, 1 sc in the blo in the next 3 sts, 1 mdc, 1 sc in the blo, 1 mdc, 1 sc in the blo in the next 3 sts, 1 mdc, repeat from * all around, sl st to the first st
M – R12: *1 mdc, 1 sc in the blo in the next 3 sts, repeat from * all around, sl st to the first st
W – R17-19: 1 sc in the blo in each st, sl st to the first st
Fasten off and weave in your ends.

Crochet Mug Handle
Use mauve yarn
Leave a longer tail end
Ch 6
R1: starting from the 2nd ch from the hook, 1 sc per st, turn
R2: 1 sc per st, turn
R3-23: repeat R2
Fasten off, leave a longer tail end

Assembly of the Pincushion Mug with a Saucer
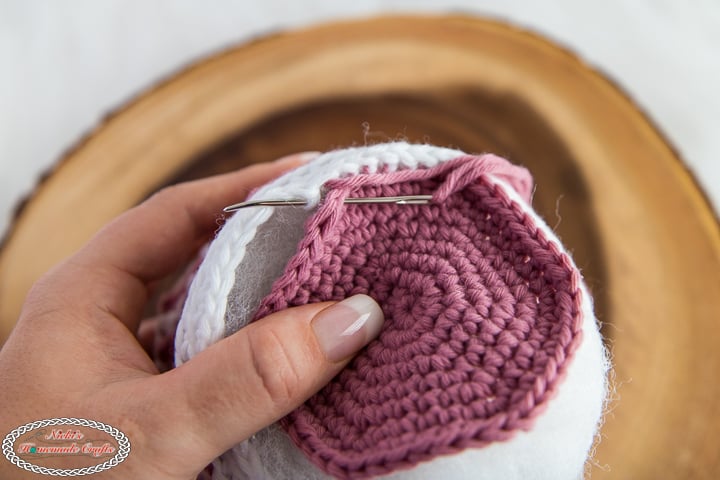
Mug Saucer
Sew the smaller circle on the back of the larger circle (exactly in the center) to turn it into a saucer


Pincushion Mug
Now optionally cut a circle and rectangle of plastic canvas, sew the plastic canvas short sides together to make a loop, and then sew the circle to the loop about 2 rows up on the plastic canvas.
Make a loop of stuffing and add it around to the bottom of the mug, then add your plastic canvas and stuff the inside of the plastic canvas.


Then sew the mauve top to the last row around the 3rd loop behind the V of R19. Before you finish sewing it on, stuff the mug a bit more so it’s rounded on the top (like a pincushion should).
Now sew the mug handle to the side of the mug.
You’re done and can use your mug now.
I use mine for pins, tapestry needles, and stitch markers. What will you use yours for?


Be sure to join my Crochet Facebook Group and show off your crochet creation. I would love to admire them and cheer you on as you’re working on creating it and after you finished it.
I’m also always here to support you through this and any other pattern and tutorial. Simply ask in my group and me and other amazing and kind crocheters will help you along.
If you love this pattern, please use the social media share buttons above or below and share this pattern link with the world and your friends.

That way you will find it easily again when you need it and you also provide the world and your friends with the ability to gain extra crochet knowledge as well. And to top it off, you help me as it allows me to create more content that you love already and want to see more of – free crochet patterns and tutorials. So, thank you for sharing.
If you love my crochet patterns and the way I teach, I would suggest subscribing to my newsletter below as I share new patterns, tutorials, and special announcements often.