FREE Easy Lattice Pie Crochet Potholder Pattern
This post includes affiliate links.
This cute pie crochet potholder pattern has three layers, including a woven lattice crust, which gives it extra thickness. Make one for the cook or foodie in your life!
This free pattern is the perfect gift for the cooks on your list – a sweet crochet pie hot pad, or trivet. Most crochet potholder patterns have two layers. The woven lattice on this one adds a third layer to make it triple thick. This triple-layer design creates a thick, textured potholder that’s both decorative and practical for the kitchen. It’s a really cool effect but is made with basic crochet stitches and simple weaving, making this pattern appropriate for any skill level.
I made my “pie filling” from red cotton yarn to look like cherry pie. But these crochet pie potholders can be customized. The yarn I used, Premier Cotton Sprout, comes in 38 shades, including lots of pie colors that resemble other delectable ingredients. So you can make beautiful pie pot holders in any flavor. Why not try a lemon, blueberry, blackberry, or pumpkin pie? This pattern can be addictive so you might want to make them all!
If you want to use up your stash, other yarn suggestions include any medium/worsted-weight cotton, like Lily Sugar ‘n Cream yarn from Yarnspirations. Just make sure you use cotton, as another type of yarn, such as acrylic yarn, can melt. Wash your potholders on the delicate cycle and dry flat to help them retain their scrumptious forms.
Now let’s get started with this delicious pie pattern. Happy crocheting!

All Advent Calendar Mystery CAL Patterns
This pattern was created for my Advent Calendar Mystery Crochet Along and it includes 24 free patterns, or you can buy a bundle of 30 patterns. Each one comes with a video tutorial.
Get the PDF of the Cherry Pie Hot Pad Pattern

This pattern is also available as an ad-free, print-ready pdf pattern that you can purchase at the links below for only a small fee.



If you like crochet pot holder and hot pad patterns, find more inspiration with these sweet patterns:



- Thermal Stitch Potholder
- Soup Bowl Cozy
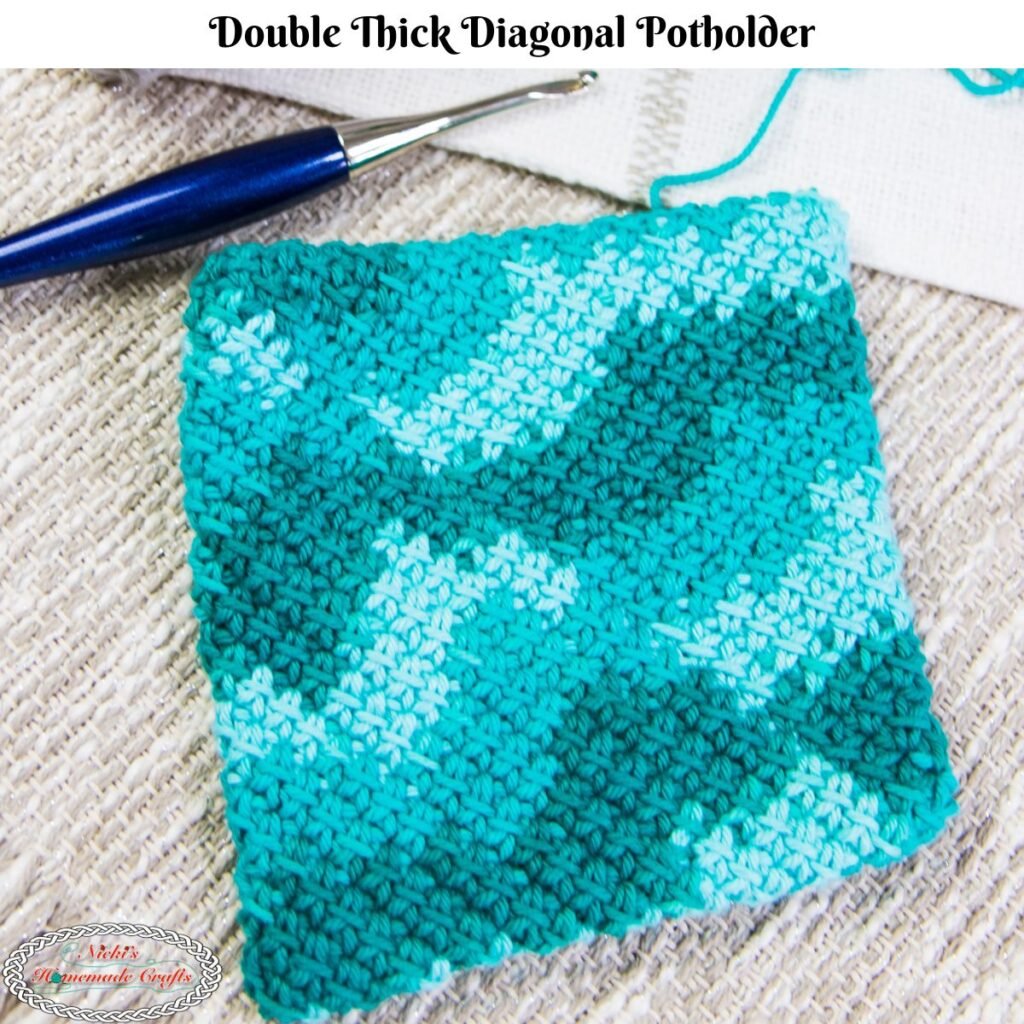
- Double Thick Diagonal Potholder
- Double Thick Tunisian Crochet Potholder
So, let me now give you the supplies you need in order to crochet this cute pattern.
How to Crochet the Cherry Pie Potholder Pattern
Materials you will need
- Premier Cotton Sprout Yarn (worsted-weight yarn, 100 g/180 yds) -> use coupon code DecMCAL20 for 20% off Cotton Sprout until December 24, 2023
- Red
- Beige
- 4.0 mm crochet hook -> I used a WeCrochet Dots Crochet Hook
- Scissors
- tapestry needle (yarn needle)
Gauge
4 sts x 4 rounds = 1 square inch
Finished Size of the Pie
7 inches (18 cm) in diameter
Crochet Abbreviations and Stitches used in the pattern
Learn all the basic crochet stitches HERE (US terms)
- st/sts = stitch/stitches
- ch = chain
- sl st = slip stitch
- sc = single crochet
- inv sc dec = invisible single crochet decrease
- ltr = linked treble crochet
- invisible join
Video Tutorial of the Cherry Pie Crochet Potholder Pattern
Subscribe to my Youtube Channel here:
[youtube-subscriber channelID=”UCSI4OeQQnxVQEAwMGeTCn1Q” layout=”full” subscribers=”default”]
If you would like the pattern ad-free you can join “The Crochet Club” membership as a full member. Your subscription gives you access to the pattern ad-free and more than 400 patterns, even with interactive checkboxes to save your progress row by row.
You can join The Crochet Club here to access the entire pattern ad-free. Sign up today!
Already a member? Login HERE to see the ad-free version
Free Cherry Pie Crochet Potholder Pattern
Do NOT like ADS? No worries! I got a solution for you!
You can also get THIS quick pattern plus 29 additional GIFT crochet patterns plus all of their video tutorials in 1 ebook with NO ADS and printer-friendly!
Get the “Last Minute Crochet GIFTS Made Easy” Ebook HERE
Written Instructions for the Cherry Pie Hotpad
With Red – Pie filling
R1: make a Magic Ring, insert hook into center of the ring and add 6 sc to the ring, close the ring, use a stitch marker
R2: 2 sc per st
R3: * 1 sc in the first st, 2 sc in the next st, repeat from * all around
R4: * 1 sc in the next 2 sts, 2 sc in the following st, repeat from * all around
R5: * 1 sc in the next 3 sts, 2 sc in the following st, repeat from * all around
R6: * 1 sc in the next 4 sts, 2 sc in the following st, repeat from * all around
R7: * 1 sc in the next 5 sts, 2 sc in the following st, repeat from * all around
R8: * 1 sc in the next 6 sts, 2 sc in the following st, repeat from * all around
R9: * 1 sc in the next 7 sts, 2 sc in the following st, repeat from * all around
R10: * 1 sc in the next 8 sts, 2 sc in the following st, repeat from * all around
R11: * 1 sc in the next 9 sts, 2 sc in the following st, repeat from * all around
R12: * 1 sc in the next 10 sts, 2 sc in the following st, repeat from * all around
R13: * 1 sc in the next 11 sts, 2 sc in the following st, repeat from * all around
R14: * 1 sc in the next 12 sts, 2 sc in the following st, repeat from * all around
R15: * 1 sc in the next 13 sts, 2 sc in the following st, repeat from * all around
R16: * 1 sc in the next 14 sts, 2 sc in the following st, repeat from * all around
R17: * 1 sc in the next 15 sts, 2 sc in the following st, repeat from * all around
Fasten off and weave in your ends.
Pie Crust
Now repeat rnds 1-17 one more time with beige
R18: * 1 sc in the next 16 sts, 2 sc in the following st, repeat from * all around
R19: * 1 sc in the next 16 sts, 1 inv sc dec, repeat from * all around
R20: * 1 sc in the next 15 sts, 1 inv sc dec, repeat from * all around
R21: * 1 sc in the next 14 sts, 1 inv sc dec, repeat from * all around
Fasten off, leave a long tail for sewing
Lattice (with beige) – make 6 strips:
Ch 4 and crochet 28 chainless foundation linked treble crochet stitches (please watch the video for a full demonstration) – optionally you can also ch 31 and crochet 28 ldc sts.

Weave in all your ends of the lattice strips and now make the lattice weave between the red circle and the pie crust edge.
Finally, sew in a circle all around on the pie crust so the lattice weave, the pie filling and pie crust all stay in place.
Fasten off and weave in end.

Save this Cherry Pie Potholder crochet pattern for later
Be sure to join my Crochet Facebook Group and show off your crochet creation. I would love to admire them and cheer you on as you’re working on creating it and after you’ve finished it.
I’m also always here to support you through this and any other pattern and tutorial. Simply ask in my group and other amazing and kind crocheters and I will help you along.
If you love this pattern, please use the social media share buttons above or below and share this pattern link on your Facebook page, Twitter, Instagram, or Pinterest.

That way you will find it easily again when you need it and you also provide the world and your friends with the ability to gain extra crochet knowledge as well. And to top it off, you help me as it allows me to create more content that you love already and want to see more of – free crochet patterns and tutorials. So, thank you for sharing.
If you love my crochet patterns and the way I teach, I would suggest subscribing to my newsletter below as I share new patterns, tutorials, and special announcements often.
Join My Crochet Club
Love making fun and unique crochet projects like this adorable pie potholder? Then you’ll love being part of my Crochet Club!
Inside my Crochet Club, you’ll get access to hundreds of crochet patterns, helpful video tutorials, and exclusive Design Crochet Alongs where you can learn new techniques and help bring new patterns to life. You’ll also be part of a friendly community of crocheters where you can ask questions, share your creations, and find inspiration for your next project.
Ready for more crochet fun? Join my Crochet Club here!