5 Tips on How to Crochet Thermal Stitch – THICKEST Crochet Stitch in the World
This post includes affiliate links.
These are the 5 essential tips I would love to teach you on how to crochet thermal stitch so you can create fun projects. It truly is the thickest crochet stitch technique in the world.
The cheerful laughter and excited screams of kids spread all the way down the road. We decided to walk to the park this time as the sun has finally come out and warmed up the bright Saturday morning. The kids are running at the front calling and urging me to walk faster as they can’t wait to join in the play. As we approach the big green metal gate I smile and nod. They know what it means and sprint the last 50 meters into the park. They have a little competition going on who can reach the giant slide first.

How to Crochet the Thermal Stitch was the Topic of the Conversation
I walk towards my usual spot in the sun which has the perfect view of the whole park. “I love your bag” she says looking over the top of her sunglasses. “Thanks, I made it myself, it’s crochet” I replied pulling another crochet project out to add a few rows while the boys play.
“I used to crochet too but I hit a bit of a creative block, nothing really inspired me until I saw your bag!” she said with excitement in her voice.
“It’s made with a thermal stitch which is perfect for a project like this. Have you tried it?” I asked.
She jumped to her feet and joined me on the bench. We spent the next hour talking about crochet and sharing the different tips and tricks on how to crochet the thermal stitch.
5 Essential Tips on How to Crochet the Thermal Stitch
Thermal stitch is a very interesting crochet stitch that might have you scratching your head a little. But don’t worry, we will shed some light on the basics to help you crochet the thickest crochet stitch out there! So, here are my 5 tips and tricks on how to crochet this beautiful stitch.
Subscribe to my Youtube Channel here:
[youtube-subscriber channelID=UCSI4OeQQnxVQEAwMGeTCn1Q layout=full subscribers=default]
1. Understand how to crochet the thermal stitch
When it comes to crochet projects worked in rows you typically work back and forth. This is where the thermal stitch is different than any other stitch. You are simply making two pieces of crochet fabric one at the front and one at the back. The difference is they are connected together as you work which creates a super thick fabric.
You start your project with a standard row. However, instead of going back and forth upwards, you are going to flip your project onto the side. You will then continue working upwards at a zig zag angle. You will be working on the front and back sides always half a row up.
I know that might have just sounded like a lot of confusing words that don’t make sense. They do say a picture speaks a thousand words. In this case, a video might be even more helpful!
I have a Single Crochet THERMAL STITCH AKA DOUBLE THICK CROCHET STITCH – PHOTO AND VIDEO TUTORIAL on my website that I think you should check out if you want to master the basics.

2. Understand how to count rows
As I mentioned above, you are essentially creating two pieces of crochet fabric. This is important to remember when you need to count rows in your thermal stitch project.
To count rows you have to count on both sides of your project. Because you are creating rows on the front and on the back of your work. Firstly, count the rows on one entire side using a familiar part of a stitch (like arches or loops). Secondly, you have to flip your project over and count the rows on the other side. This means you are counting twice to get the total number of rows.
This can be a little bit tricky to imagine but just to recap. Because you are working upwards in rows creating one row on the front and one row on the back, to count the full amount of rows you have to add up rows created on both sides.
3. Different types of thermal stitch
The thermal stitch is very versatile. You can apply this technique to create this super thick stitch to different crochet stitches achieving different results and properties of the fabric.
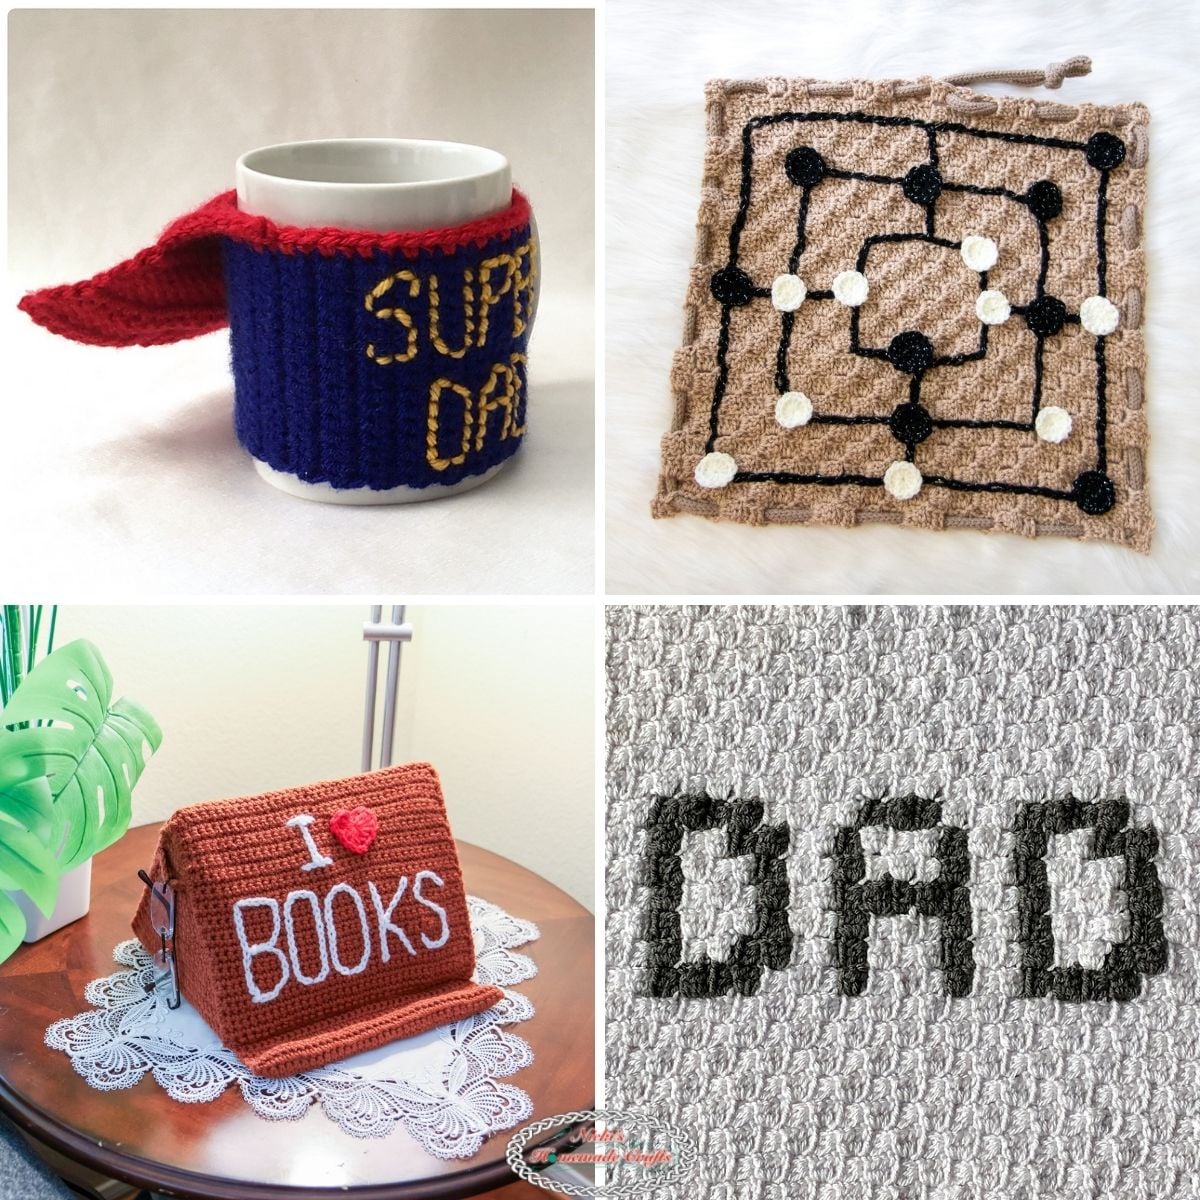
Most of the time crocheters use this technique with the simplest stitch creating a single crochet thermal stitch. The fabric this stitch creates is really thick and dense, almost stiff. It is ideally used for hot pads as it has no gaps at all.
Quick tip- make sure you do your starting chains a little taller and add a stitch marker to your first stitch. It is really easy to lose the last stitch as you work. Your project can get a bit wonky on the sides which is hard to see at first until it is too late!
I have made a swatch using half double crochet thermal stitch. It is made exactly the same way but using a slightly taller stitch. The fabric is just as thick but what a big difference in look! Although it’s made exactly the same way, the finished fabric is a bit more stretchy and has tiny gaps. Take a look at AMAZING HALF DOUBLE CROCHET THERMAL STITCH – EASY TUTORIAL.

Being as curious as I am, I have also experimented with double crochet thermal stitch. Again it looks different, but the distinctive thickness of the thermal stitch is still there. The fabric has a lot better stretch and bigger holes than the other two stitches.

4. Rows vs Rounds
The thermal stitch is traditionally worked in rows because of the technique of connecting two rows together. It is not impossible to work the stitch in the round, but it means you have to really be careful and connect the right rows to each other. This technique might be a bit difficult for a not-so-confident crocheter. I wouldn’t suggest practicing in rows first for beginners or intermediate crocheters. Once you build up your confidence and get familiar with the technique, give thermal stitch in rounds a go which you can learn here:
But in order to crochet circles using the Thermal Crochet or even use it to make something round like a ball or amigurumi or even a glow-in-the-dark pumpkin, you’ll also need these tutorials:
5. When to use thermal stitch
There are many different projects where the stiffness and thickness of the fabric the stitch creates are desired. I have listed below some quick and easy crochet project ideas which I think the thermal stitch would be perfect for.
A single crochet thermal stitch would be brilliant for hot pads and potholders. I have used this fun stitch for a project and created FREE CROCHET POTHOLDER PATTERN USING THERMAL STITCH.

It creates a stiff fabric that would work great as the bottom of handbags or even the entire bag. Check out my AMAZING CROCHET ORIGAMI BAG – EASY FREE PATTERN USING THERMAL STITCH. The bag consists of 2 rectangles sewn together using the origami technique. It’s extremely sturdy and durable, there are no holes which means you won’t lose anything small through gaps.

Other Project Ideas
Other project ideas are kitchen dishcloth, small cosmetic bag or zipper pouch because you can never have enough of those, right?
I have created a very detailed ad-free printer-friendly ebook all about the Thermal Crochet technique with a lot of patterns included.
Get the Thermal Crochet Made Easy Ebook here.
Quick tip- do not use acrylic or polyester yarns for hot pads or oven mats as these will melt, use only 100% cotton.
You can use half double and double crochet thermal stitch for any project you want. Combined with a single crochet thermal stitch it can create great projects. A combination of these stitches could be used for a variety of items like oven mitts, reusable mop covers, or dust mop slippers.
The taller stitches could be used for cat mats, dog beds, rugs, or bath mats. As you can see the list of projects is endless!
However thermal stitch isn’t just limited to homewares, you can use this stitch with the right yarn and create super warm hats, scarves, and even crochet jackets or coats.
Quick tip- it’s important to be patient when using thermal stitch. Because you are doing half a row at a time, it grows a bit slower than the standard crochet stitch. But remember you are making two sides at the same time!

I hope you feel inspired to try this fun stitch and use it for your next project. If you think your crafty friends would enjoy trying this new technique, share this post with them! Use the social media share buttons below and pin it to your Pinterest Board to come back to anytime.
Have you ever wondered how to work linked double crochet thermal stitch? If you are curious to find out, come and join me in The Crochet Club– the membership-only club where I go in-depth over some cool crochet techniques and stitch tutorials, give lots more tips and tricks.
Even MORE Crochet Tips for YOU
Ok, that was a lot of crochet tips already, I know. But believe me when I say that is NOT all of them. I have created a huge collection of over 300+ Crochet Tips and Tricks with 48 video tutorials in my new video ebook.
Over 60 pages in an ebook with 48 video tutorials to guide you through more crochet ideas and techniques you may have never thought about.

And if that is not enough, you can also get me to help and guide you through crochet challenges. I love teaching and supporting fellow crocheters to become a better version of themselves.
Join over 300 members in The Crochet Club and experience a crochet world you didn’t know existed.

If you enjoyed this informative blog post, I share more tips and tricks on my Facebook page where I go live every Wednesday at 8pm PT. Come and join me for some crochet fun!